Submitted by
Categories: [Custom Tools] [Wood]
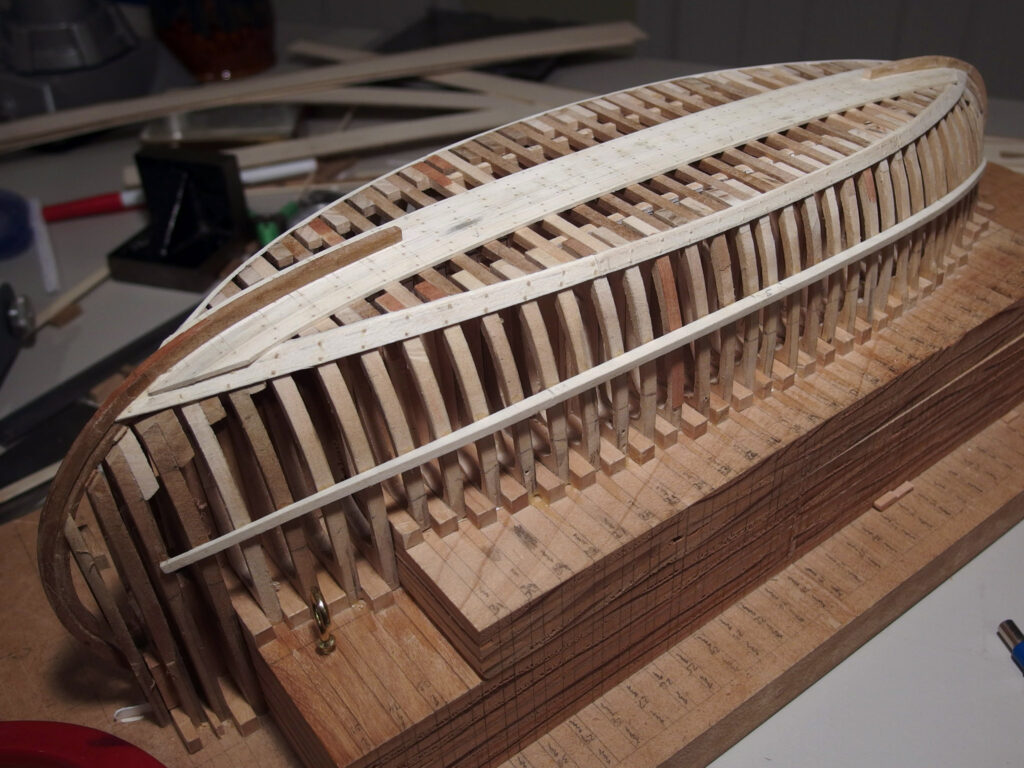
I made this sanding jig for parts too long to easily cut with a tapering jig used on a hobby-sized table saw. I imagine it is also easier to set precisely.
If you know of a better way, please write. Otherwise, perhaps you'll find this handy.
What You Will Need
- 3/4 plywood, MDF, or coated particle board. The coated particle board is handy for erasing pencil marks. In the steps that follow, I'll simply refer to it as plywood.
- Hanger bolts, ~1/4" (4)
- Washers, ~1/4" (4)
- Wing nuts, ~1/4" (4)
- Craft plywood (1/4", 6mm, or similar)
- Block of scrap of wood
- Sand paper
- Double-sided tape
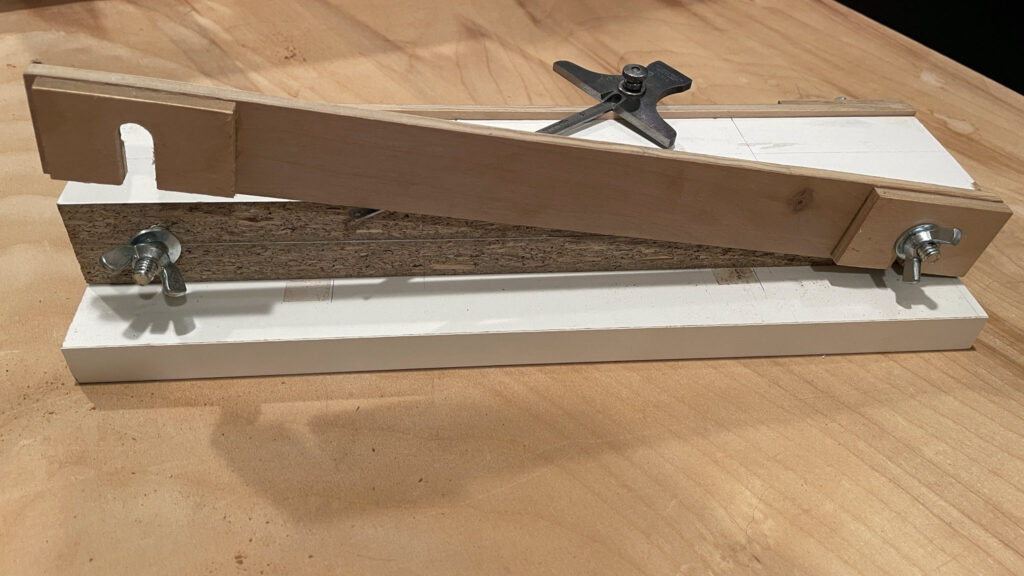
Assembling the Jig
- Cut 2 strips of the 3/4" plywood, 2" wide and 12" long. You can adjust the width and length as you see fit.
- Glue and/or screw the 2 pieces together. This is the sanding platform.
- Drill 2 pilot holes for the hanger bolts on both sides of the sanding platform, at half the depth, ~1" from each end
- Insert the hanger bolts
- Cut a piece of 3/4" plywood the same length as the strips above and 2" wider. This is the base.
- Align the sanding platform with the center of the base and glue and/or screw them together
- Cut strips of the thinner plywood equal to the length and depth of the sanding platform. It is best to cut it slightly wider than the depth of the sanding platform and sand it down later. These are the risers.
- If the distance from the side of the sanding platform to the threads on the hanger bolts is greater than the thickness of the risers, then cut pieces of the thinner plywood 2" long and equal to the depth of the sanding platform. Glue these onto the risers to double the thickness where they overlap the hanger bolts.
- Drill, cut, or route slots in the risers so they will slip over the hanger bolts.
- Put a washer and wing nut on each hangar bolt and lightly tighten over the risers, with the risers lying flush on the base.
- If necessary, sand the risers flush with the top surface of the sanding platform.
Using the Jig
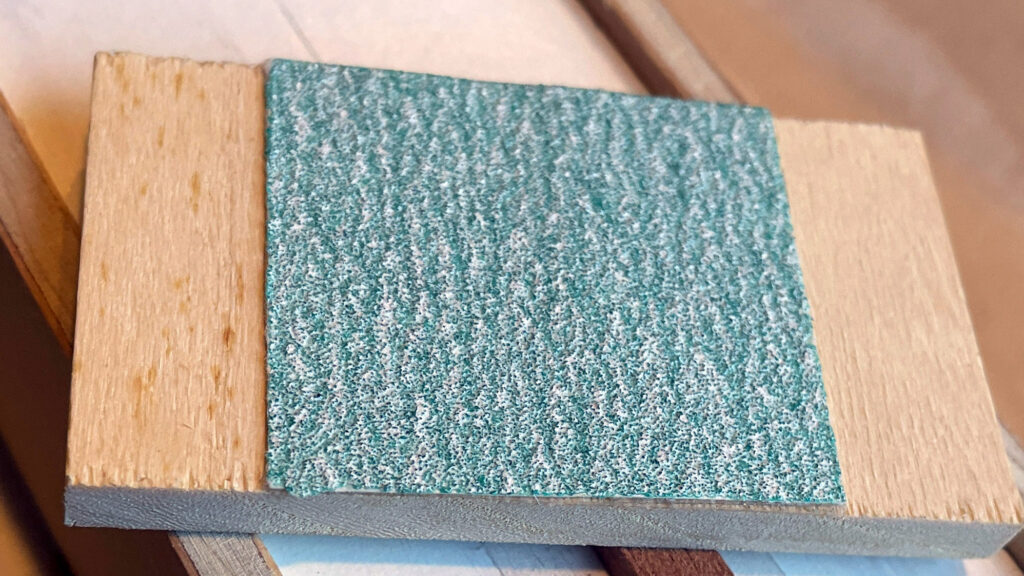
- Using double-sided tape, adhere sandpaper to the center of a block of wood. The block of wood must be wide enough to overlap the risers, with enough margin to prevent it slipping off while sanding. The sandpaper must be narrower than the sanding platform, with enough margin to avoid hitting the risers while sanding.
- The thickness of the sanding paper and the tape with which it is adhered must be accounted for, as they project toward the work piece. You can either add non-abrasive padding (wood, construction paper, etc.) to each side of the sandpaper or adjust the spacer thickness (subsequent step), whichever is more convenient. Presuming the padding is also mounted with the same double-sided tape, it should be equal to the thickness of the sandpaper.
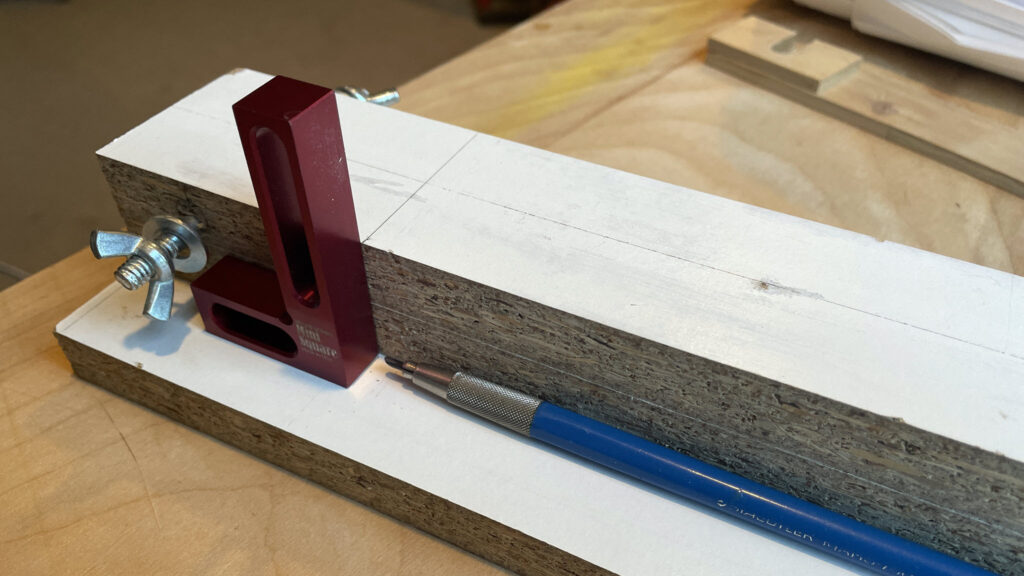
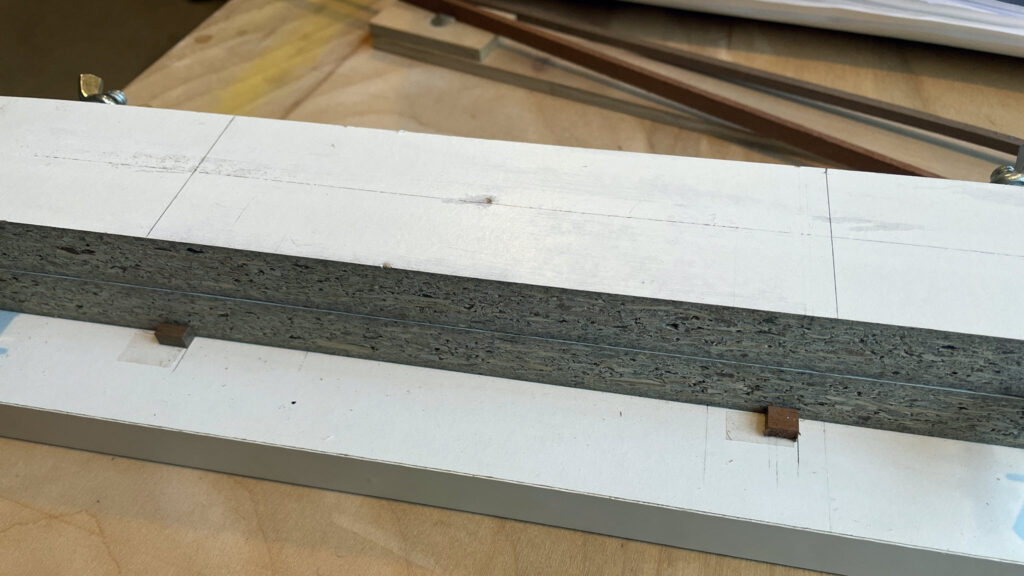
- With the risers removed, mark the beginning and end of the taper on the sanding platform

- Transfer the marks to the base
- Create spacers for the risers
You need 4 spacers. Two will be equal to the desired depth at the beginning of the taper, and two will be equal to the desired depth at the end of the taper. If the sanding block was not padded (step 2), then the riser thickness must be increased by the combined thickness of the sandpaper and the tape with which it was adhered. - Attach the spacers to the base using double-sided tape. Each spacer should be aligned with the mark on the base, placed on the side of the mark where the thickness of the work piece is to increase.
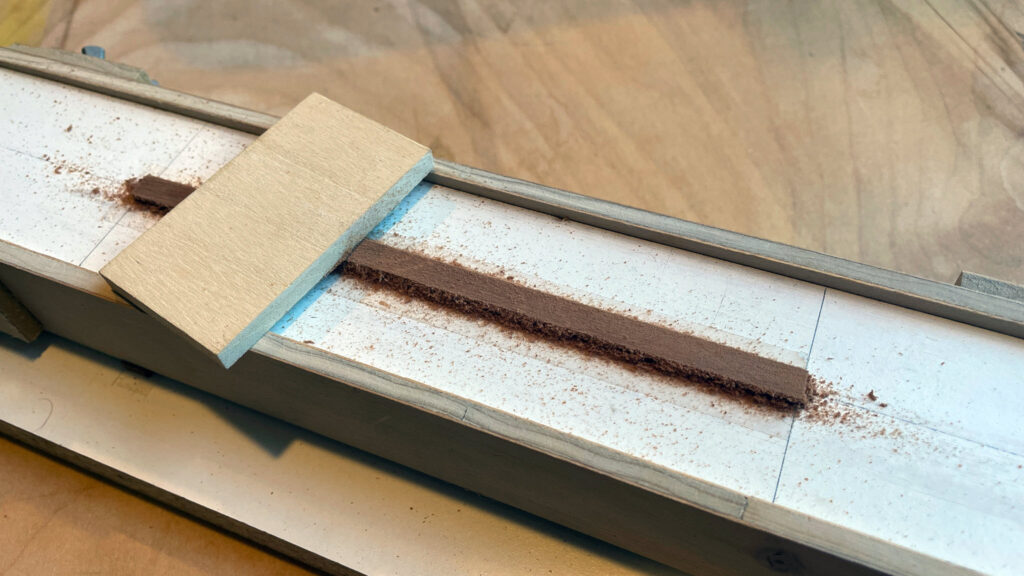
- Adhere the work piece to the sanding platform using double-sided tape, aligning the places where the taper is to start and end with the marks on the platform. Note that the risers and the work piece are both lifted by the thickness of the double-sided tape, so no adjustment to the spacer thicknesses is required on this account.
- Sand away!
Test Results
I started with stock that was 0.157" thick. I used the same material for the thicker spacer and stock of 0.122" for the thinner. I did not add padding to my sanding block, so I expect the final dimensions to decrease by the thickness of the sandpaper (0.017") and the tape (0.005").
0.157 - 0.017 - 0.005 = 0.135
0.122 - 0.017 - 0.005 = 0.100
If the taper is even, you'd expect a thickness of 0.117 in the middle.
The goal here is an angle of only 0.33° (0.035" over a span of 6"), which would be rather hard to set up on a table saw. So this jig is handy for precise small angles as well as pieces too long for a hobby saw.
The dimensions on my final piece were 0.119, 0.100, and 0.091; errors of 0.016, 0.017, and 0.009.


I cannot explain why I was nearly 20 thousandths off or why the error at the thin end was not consistent with the others. But after a test such as this, the error can be accounted for when doing pieces for your actual model. The results on your final piece could easily be within 0.005", which I trust will be inconsequential.