by Mike Pelland
Categories:
- Build type: [Kit][Midwest]
- Material: [Wood]
- Scale: [1:27.4 (7/16" = 1')]
- Subject Type: [Fishing][Trawl / Dredge]
- Era: [1815-1914]
- Nationality: [United States]
- Propulsion: [Sail]
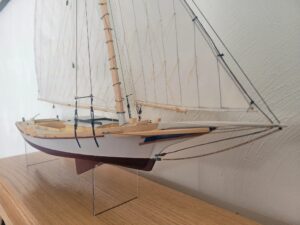
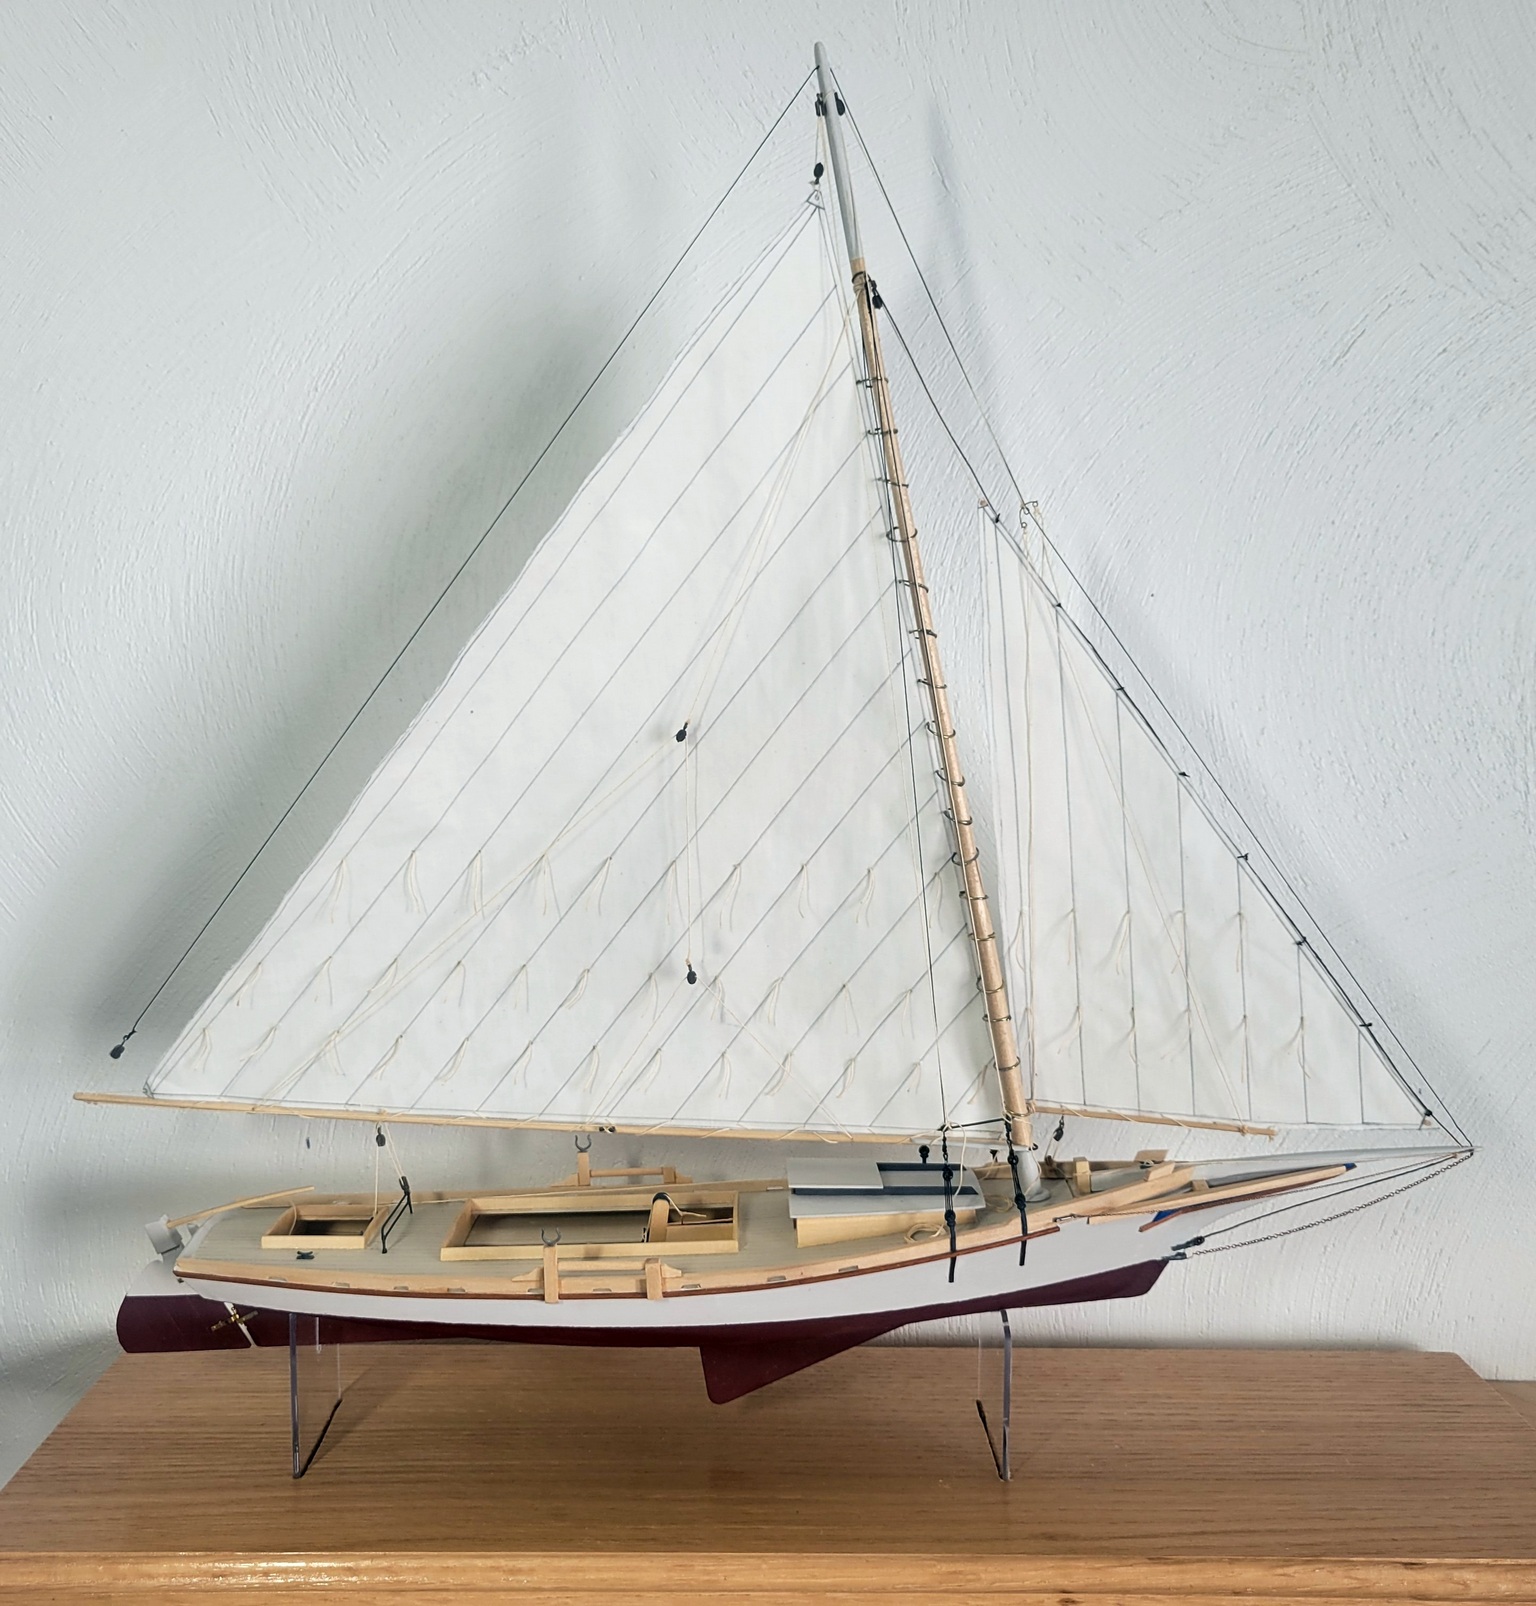
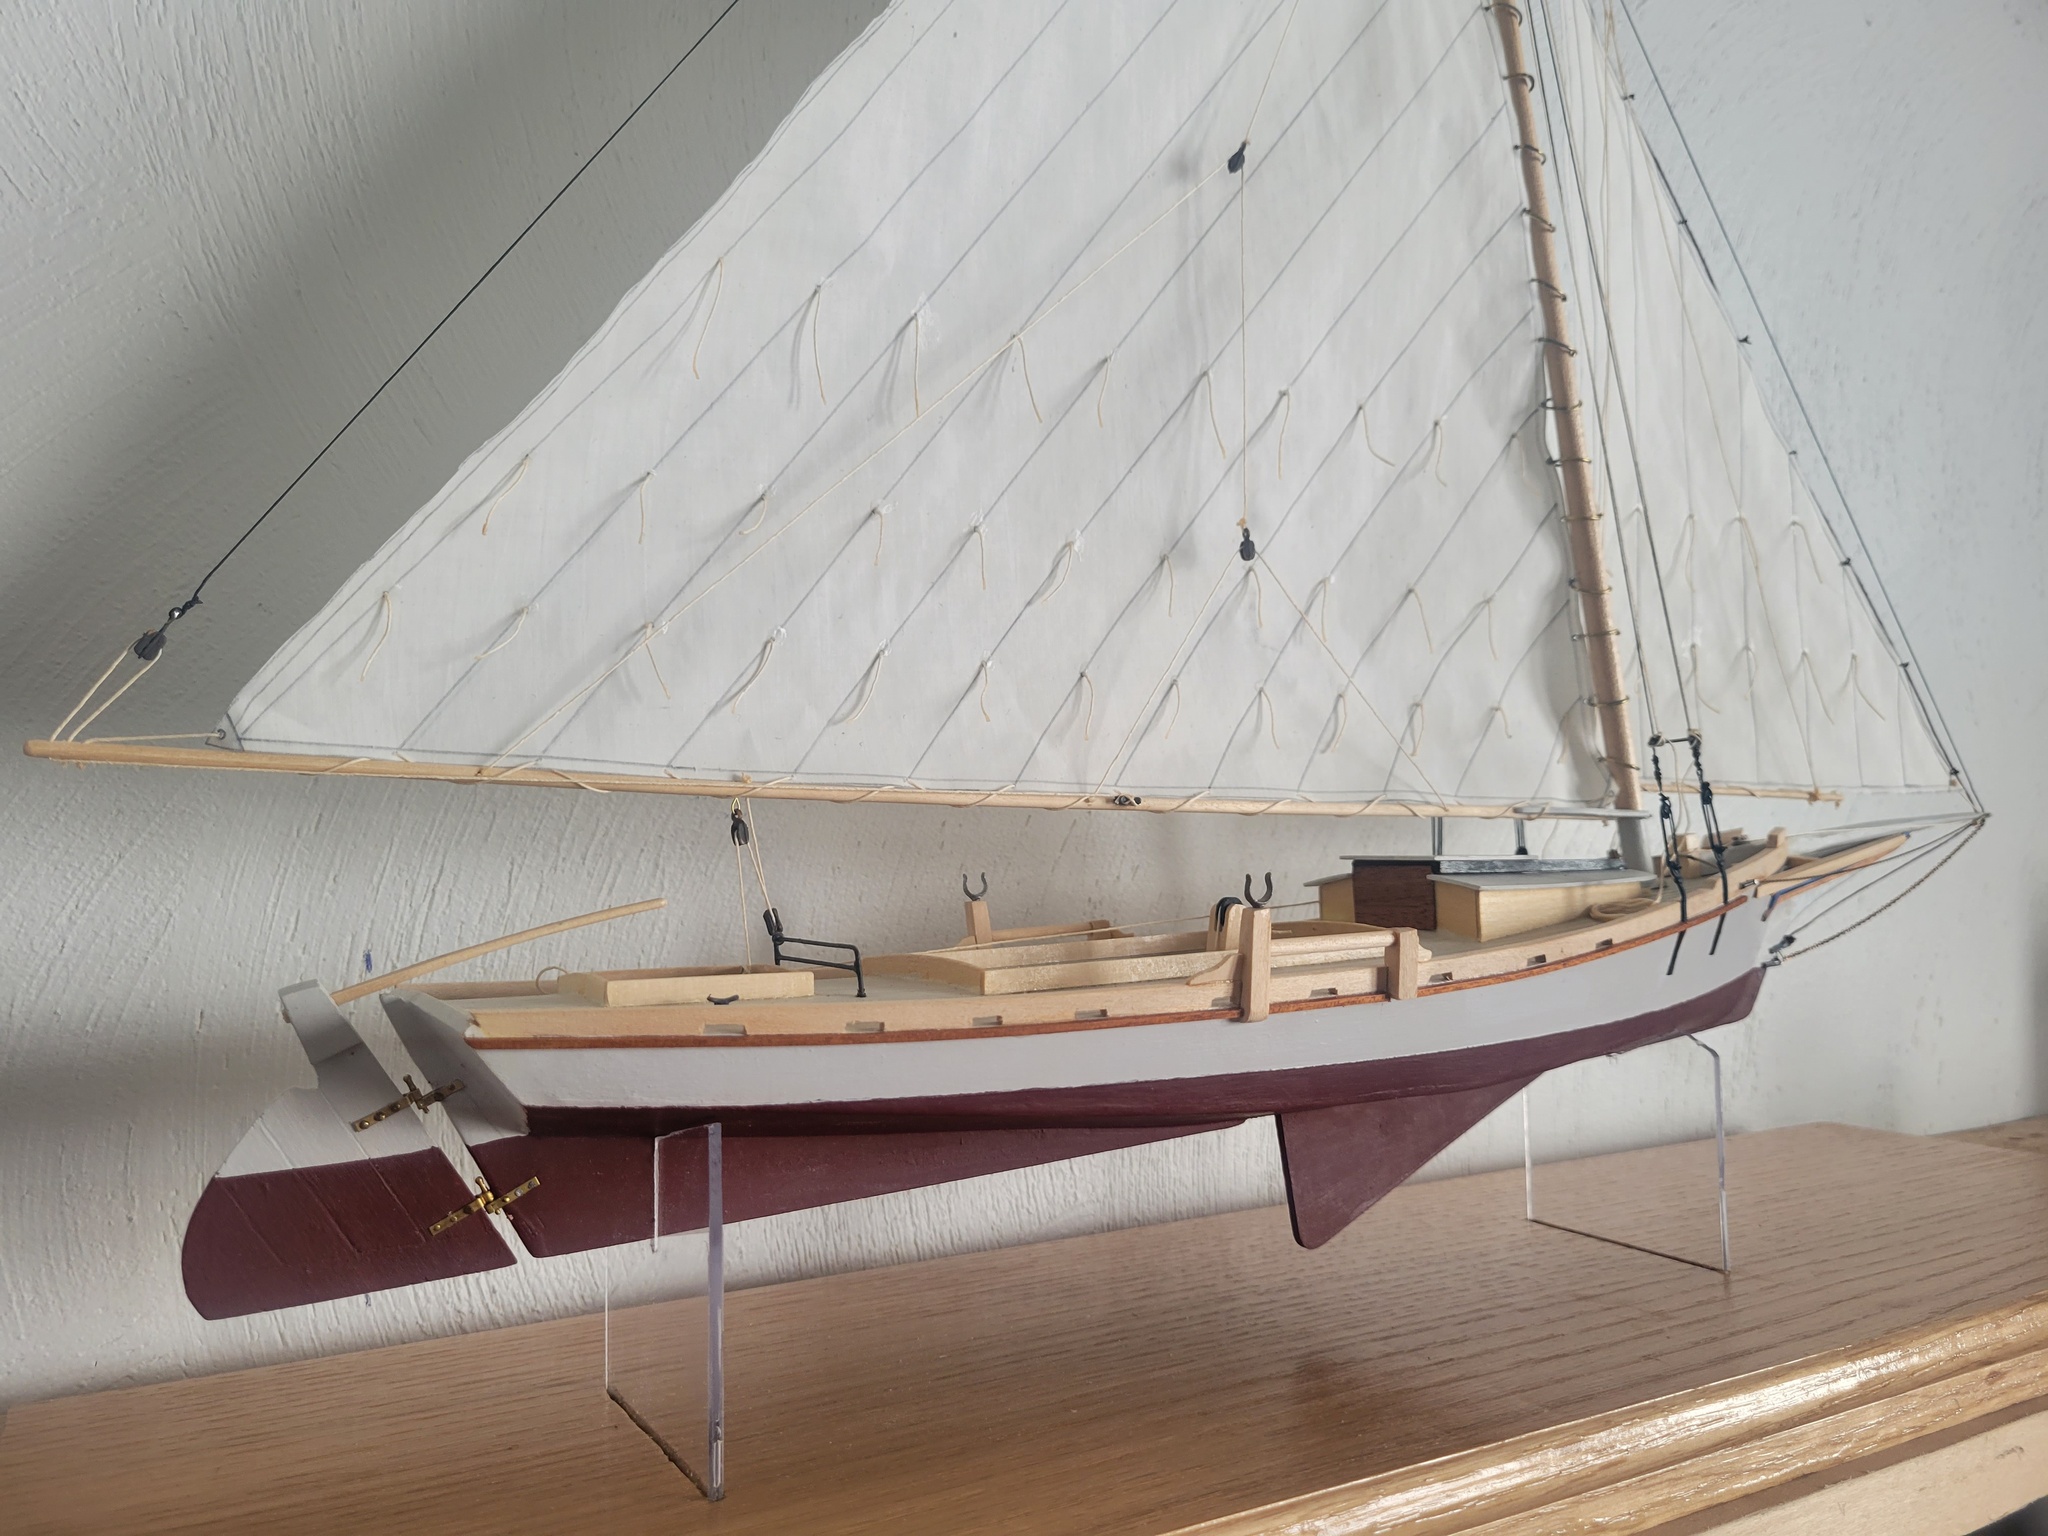
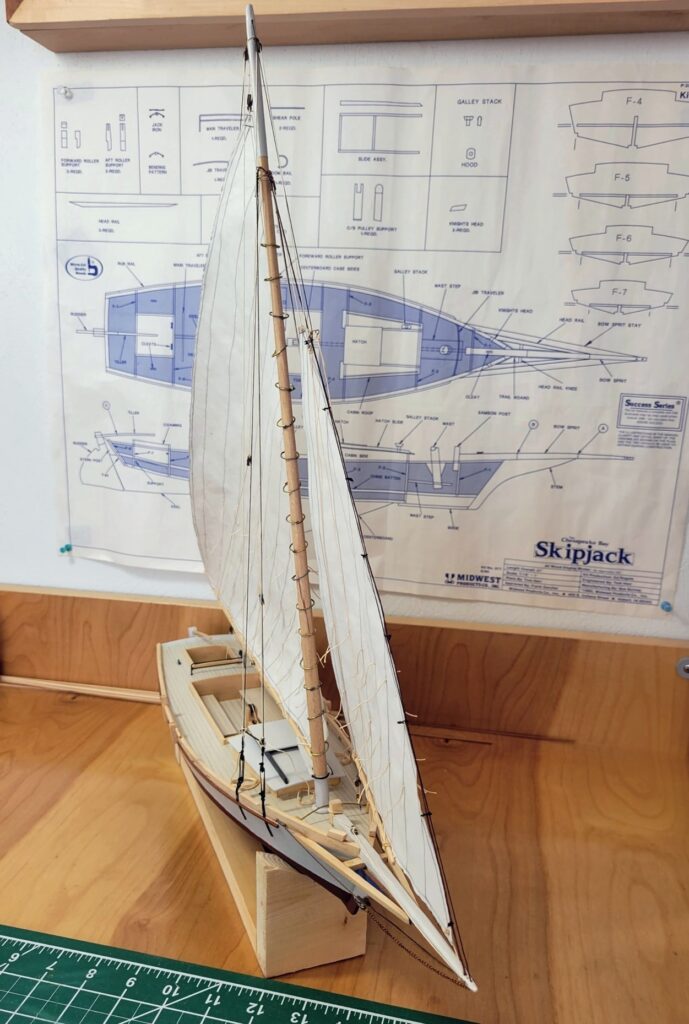
The Finished Model

Build Log
Blue, italic, text indicates where I deviated from the kit instructions
The Kit

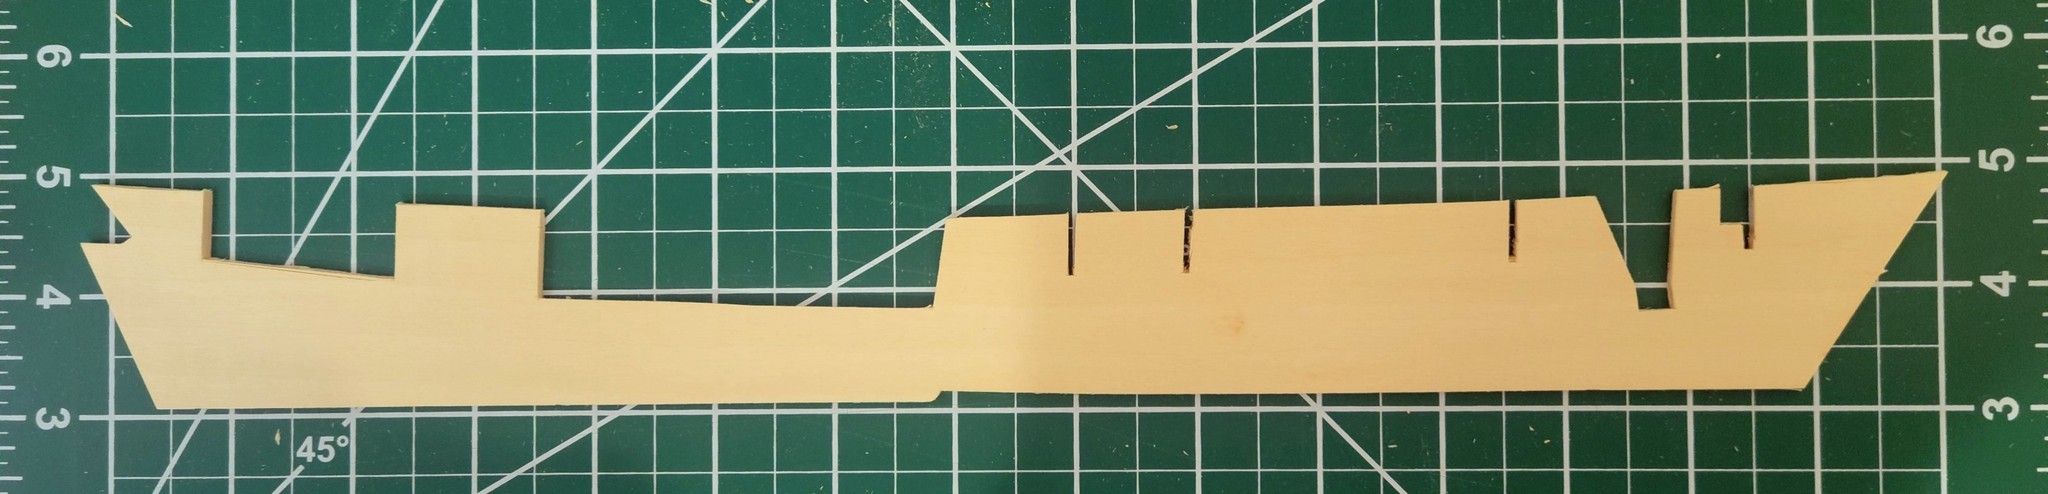
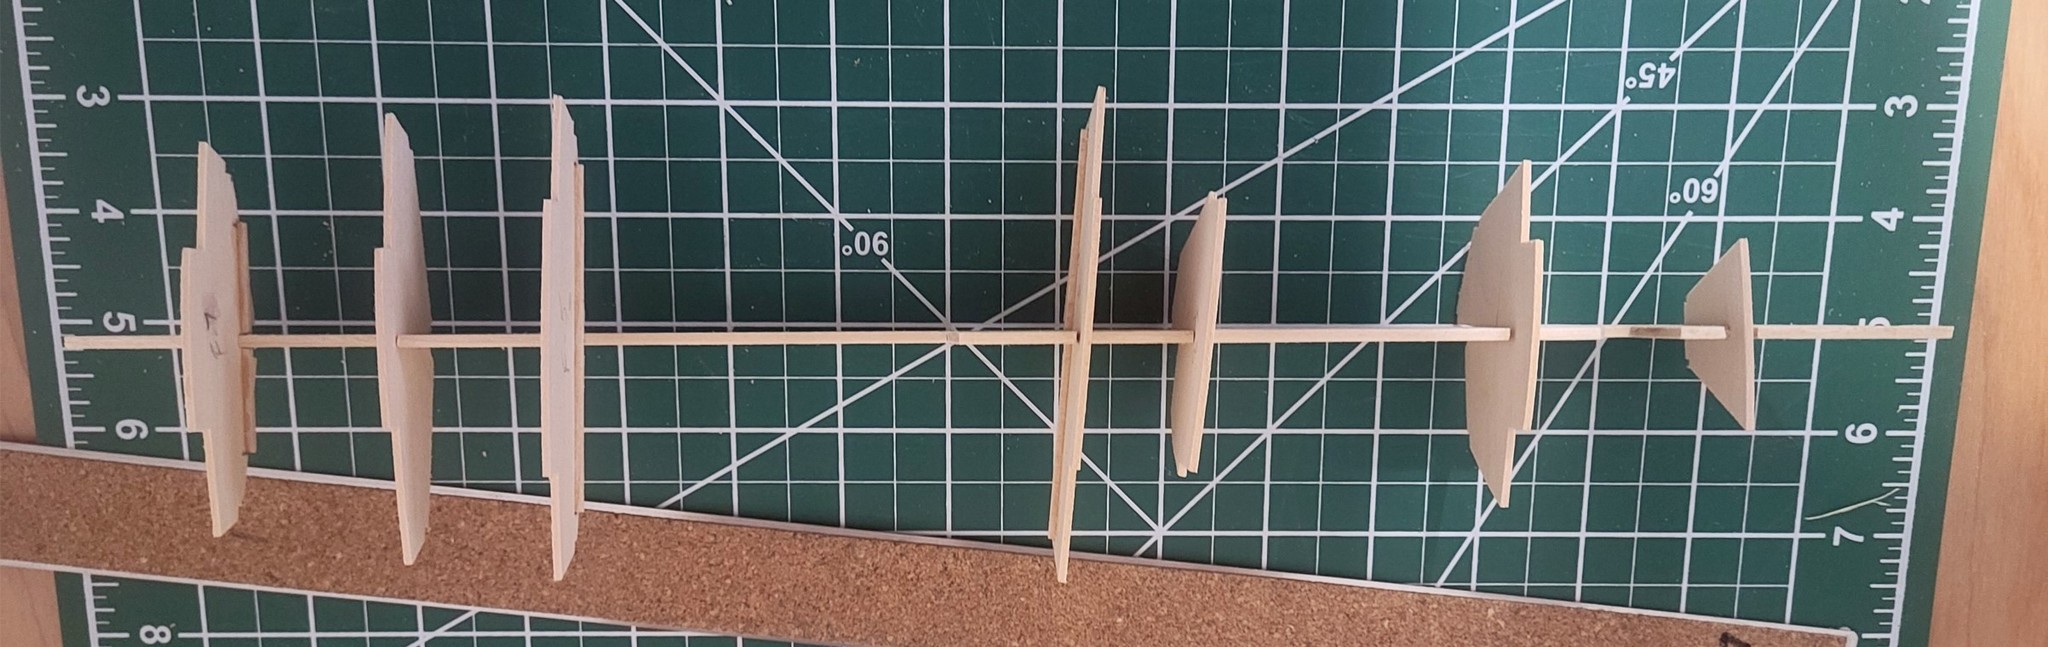
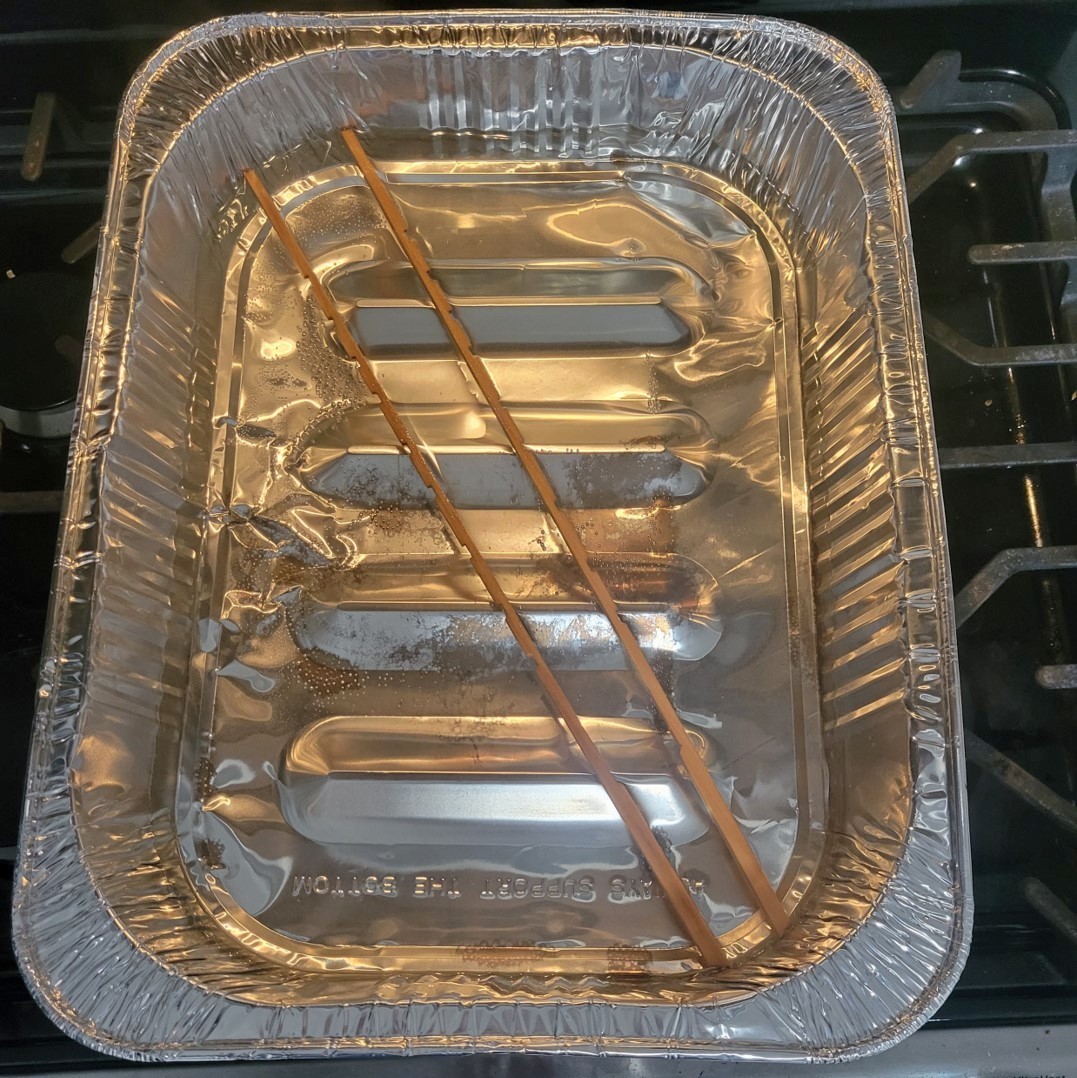
The Keel

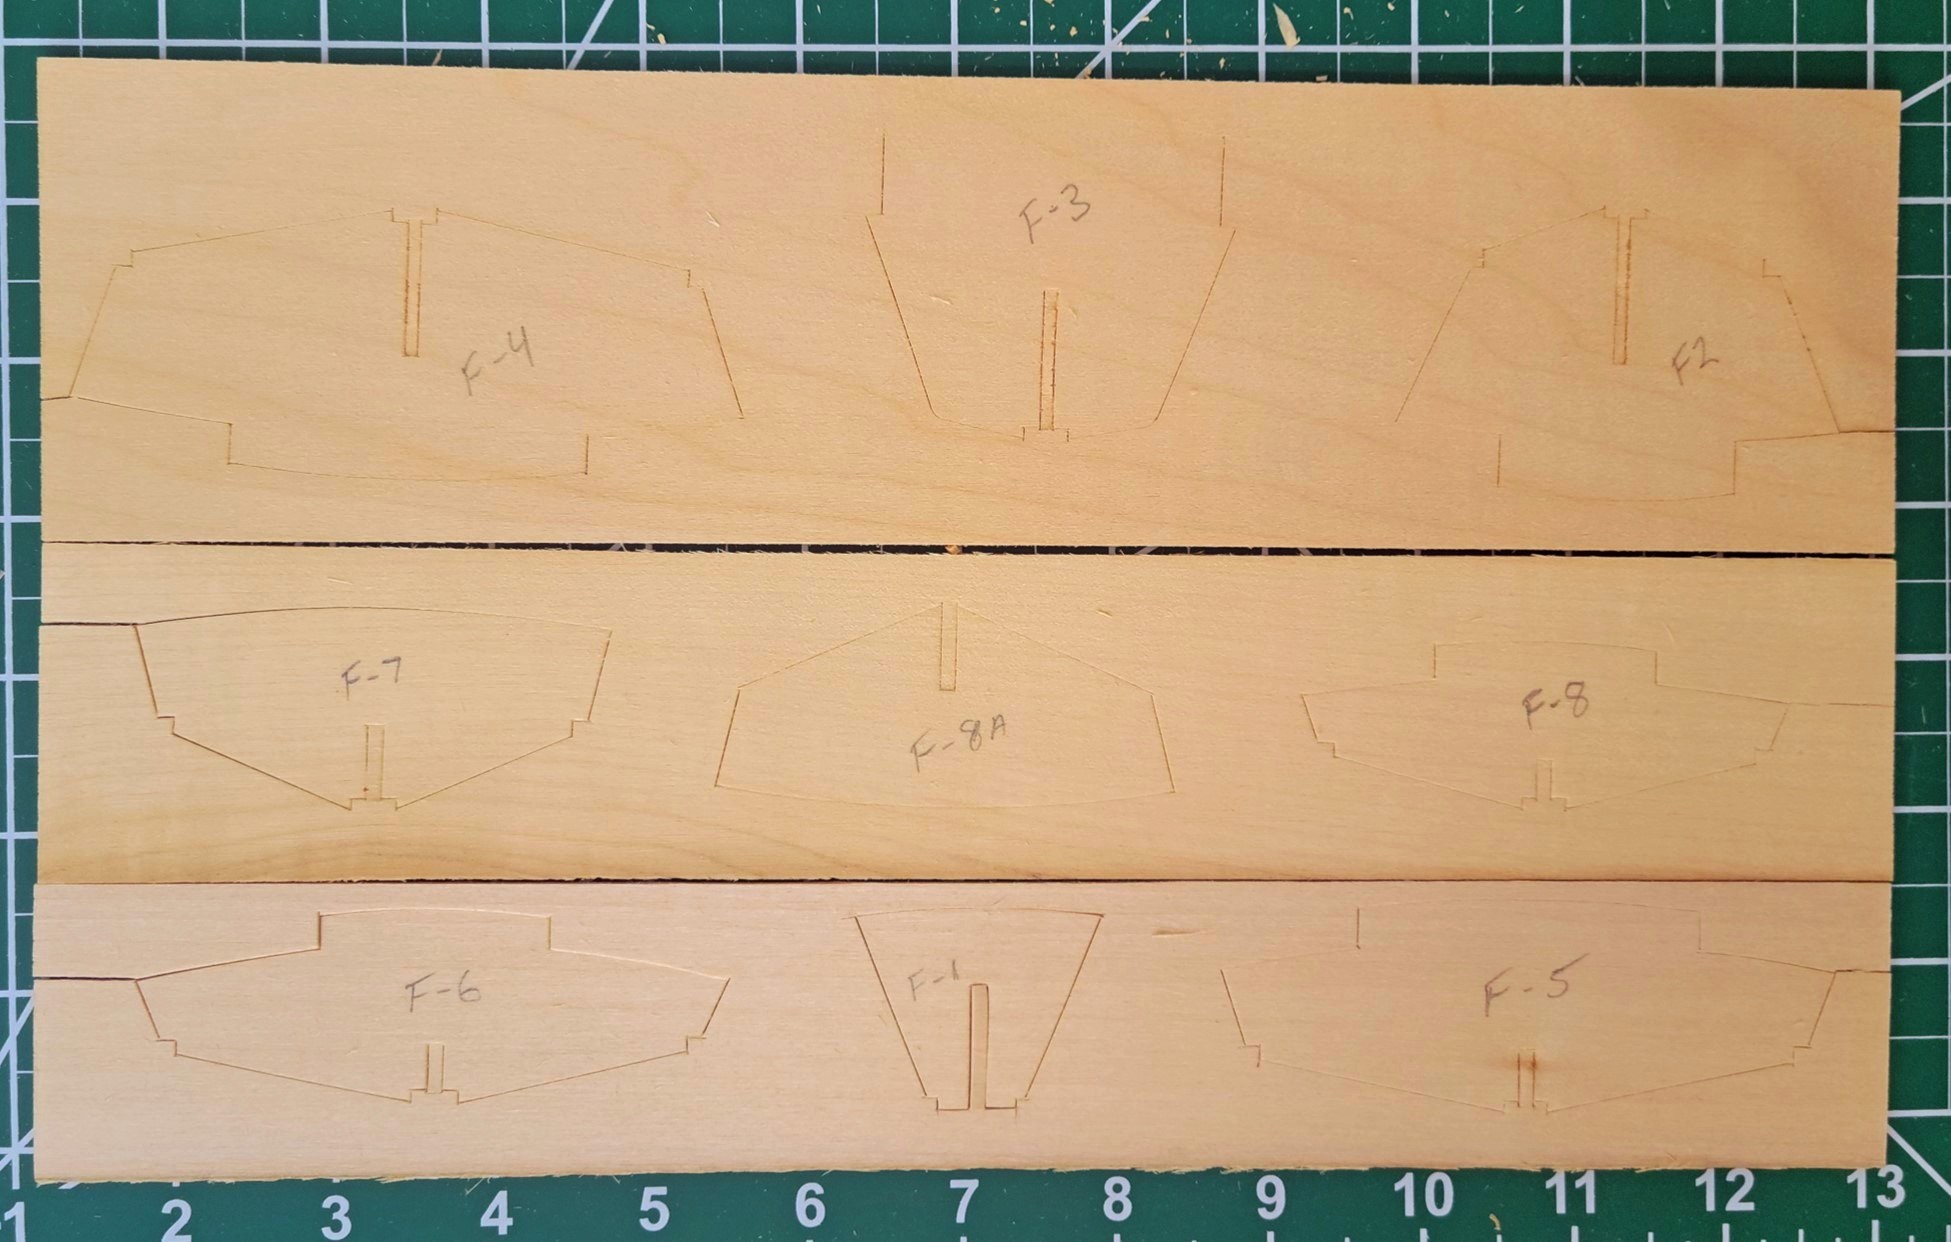
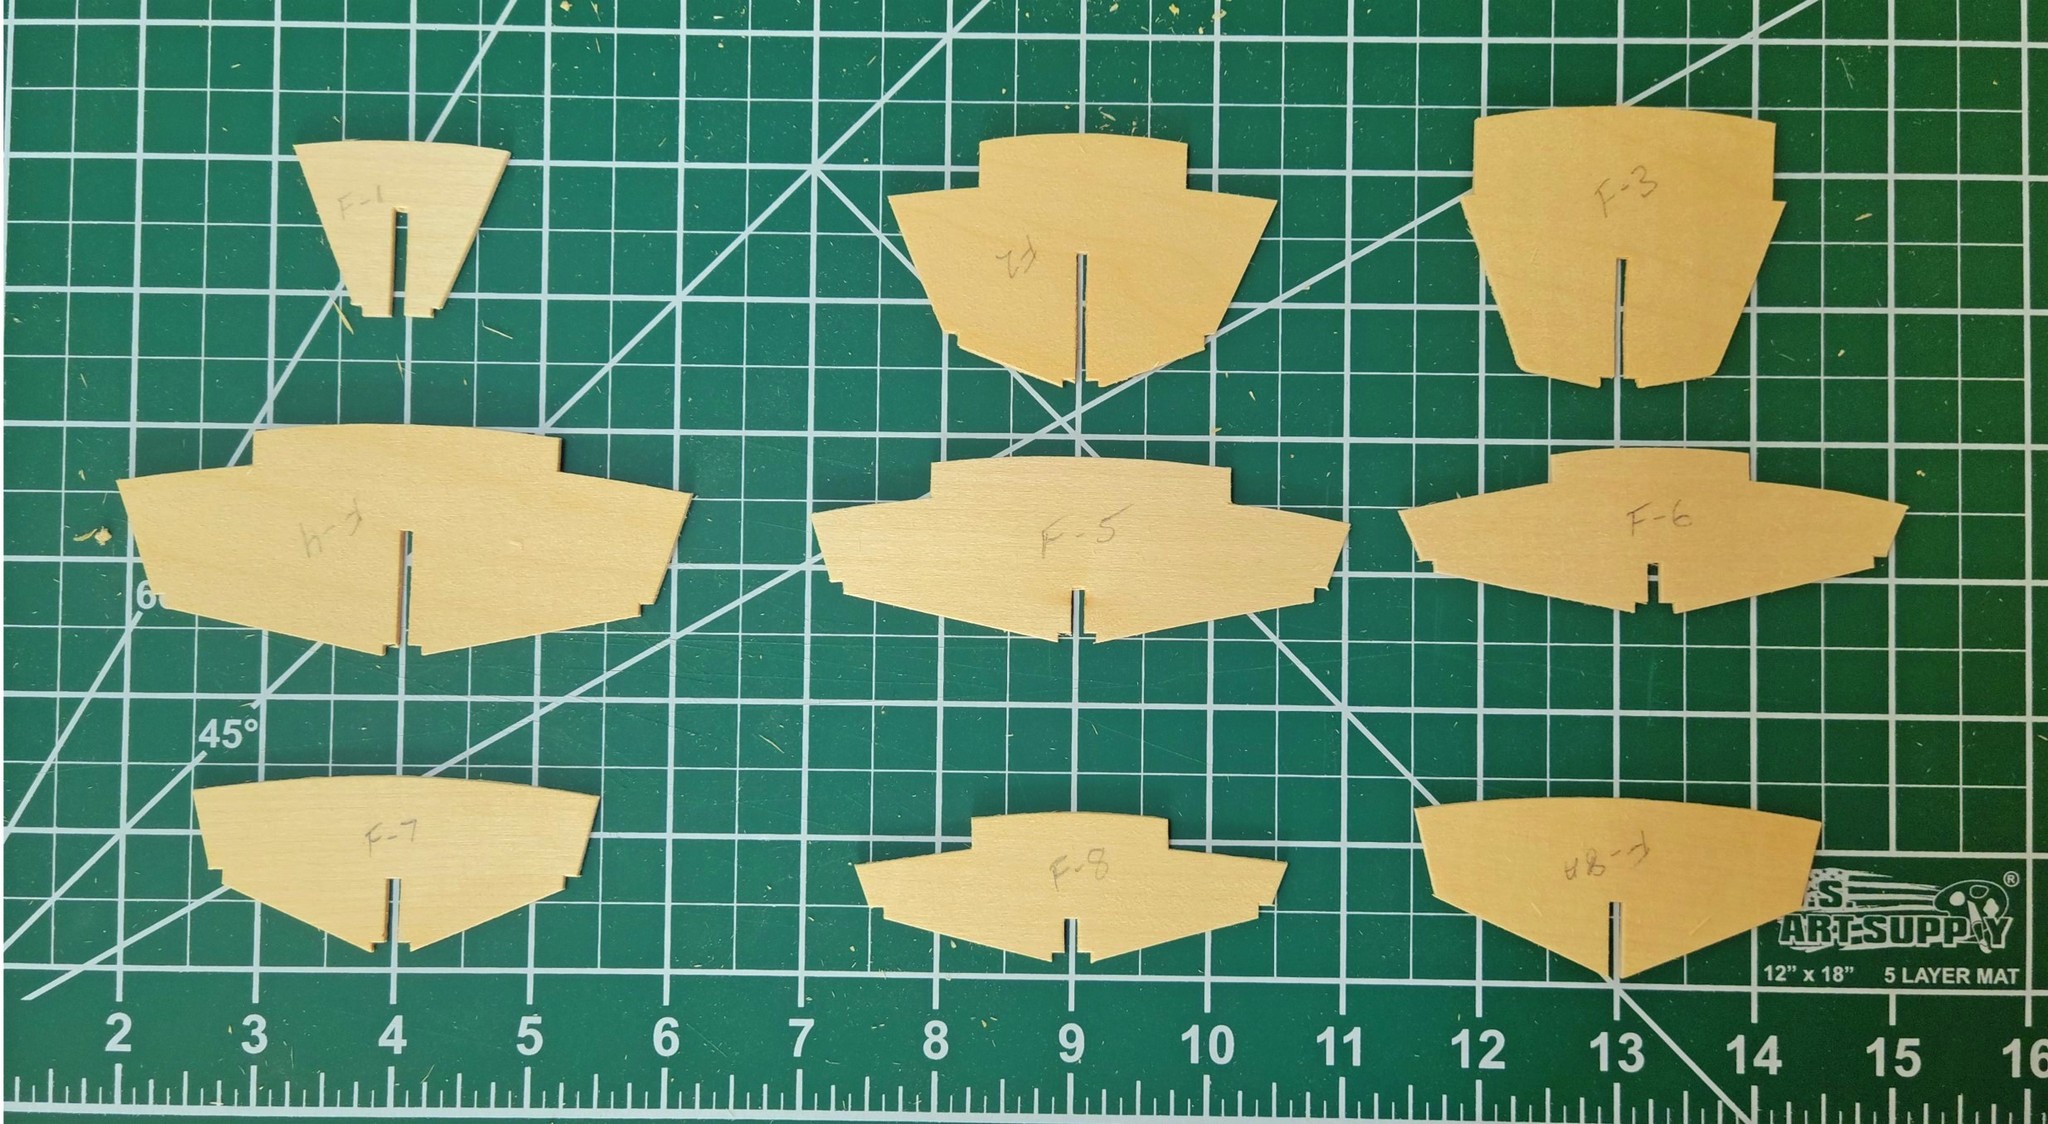
Bulkheads
Mark each one LIGHTLY in pencil so it is easy to place them.
Mark lower than I did so you do not have to sand off the writing.
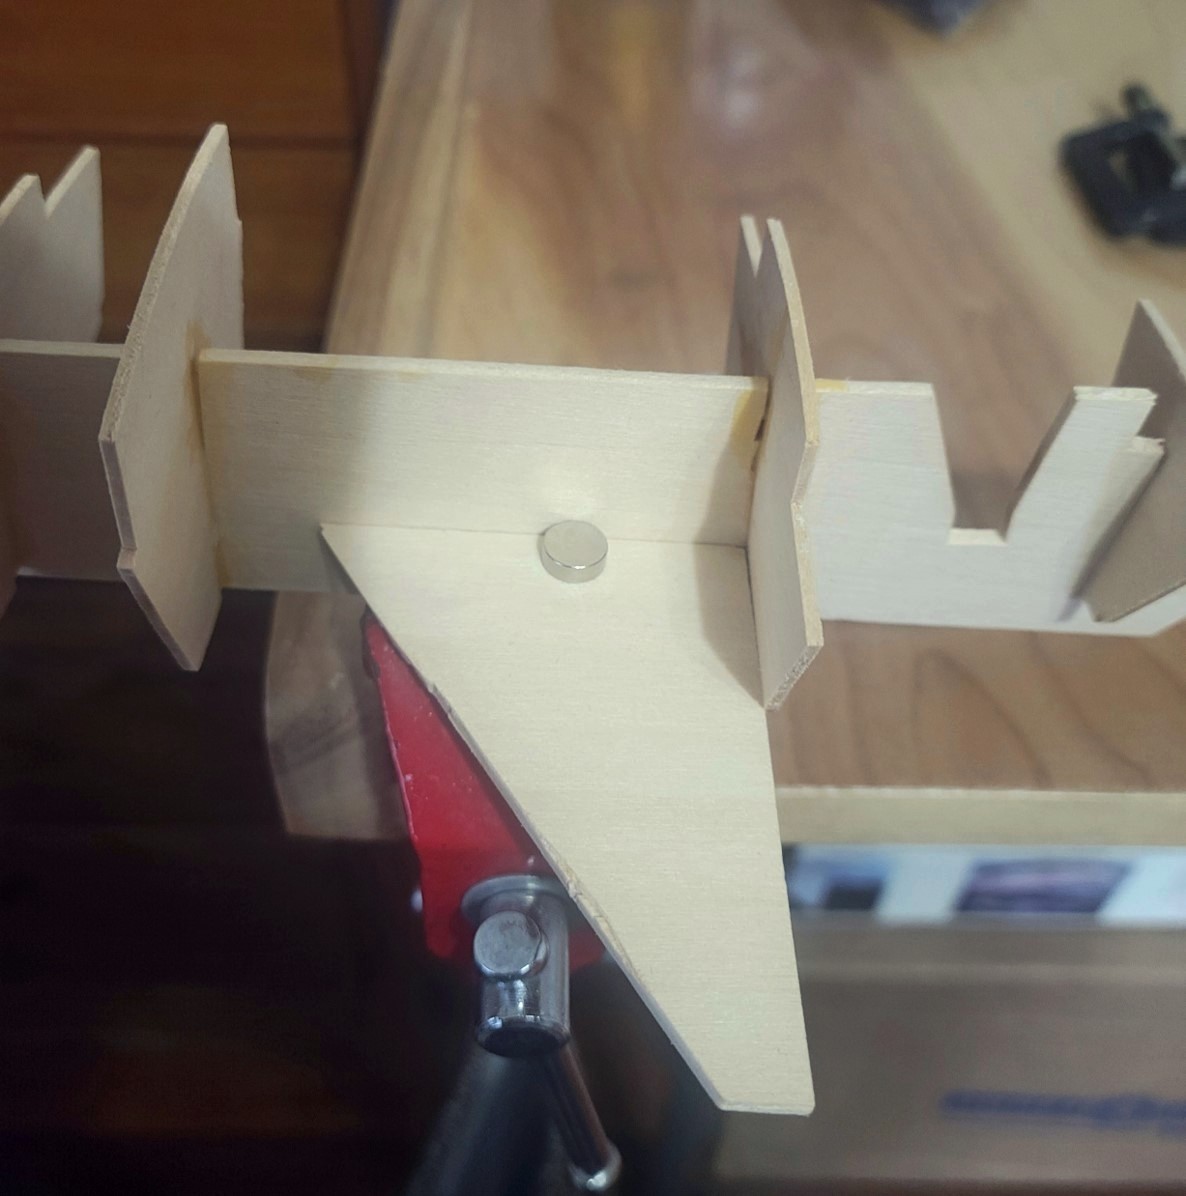
Ready for Assembly
I used neodymium magnets to hold my square with the keel in a mini vice.

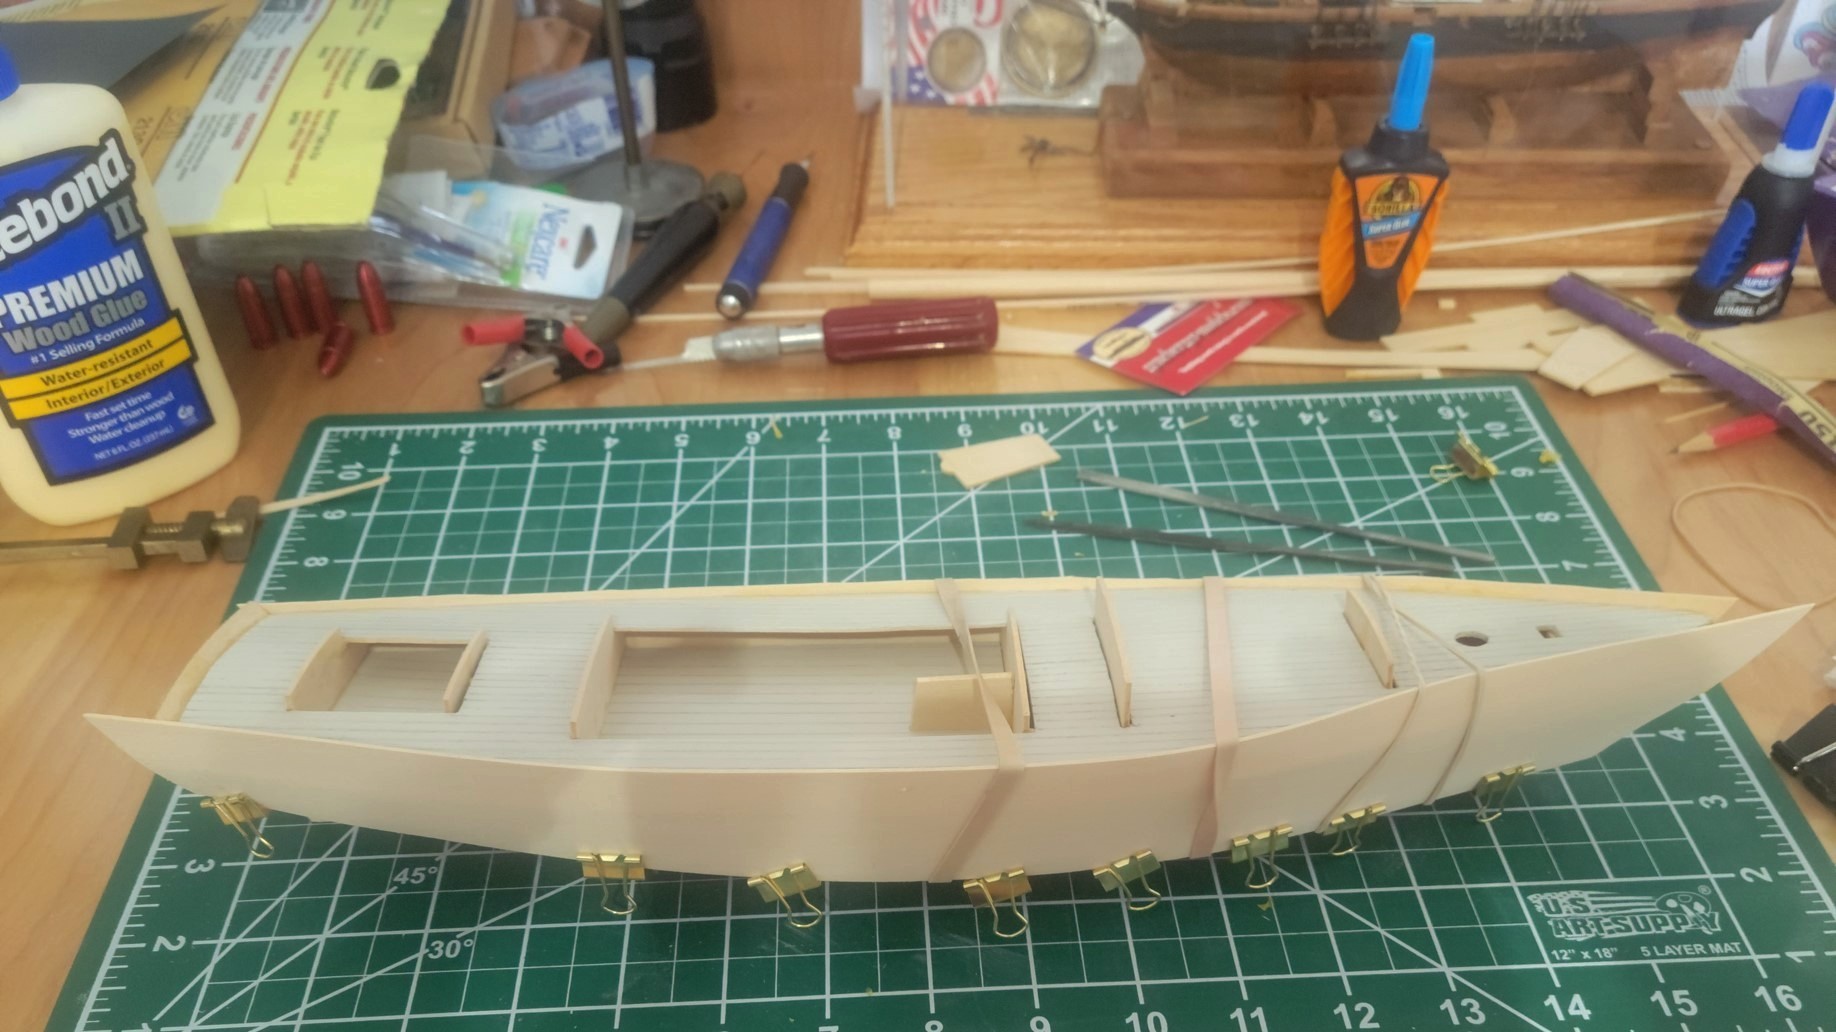
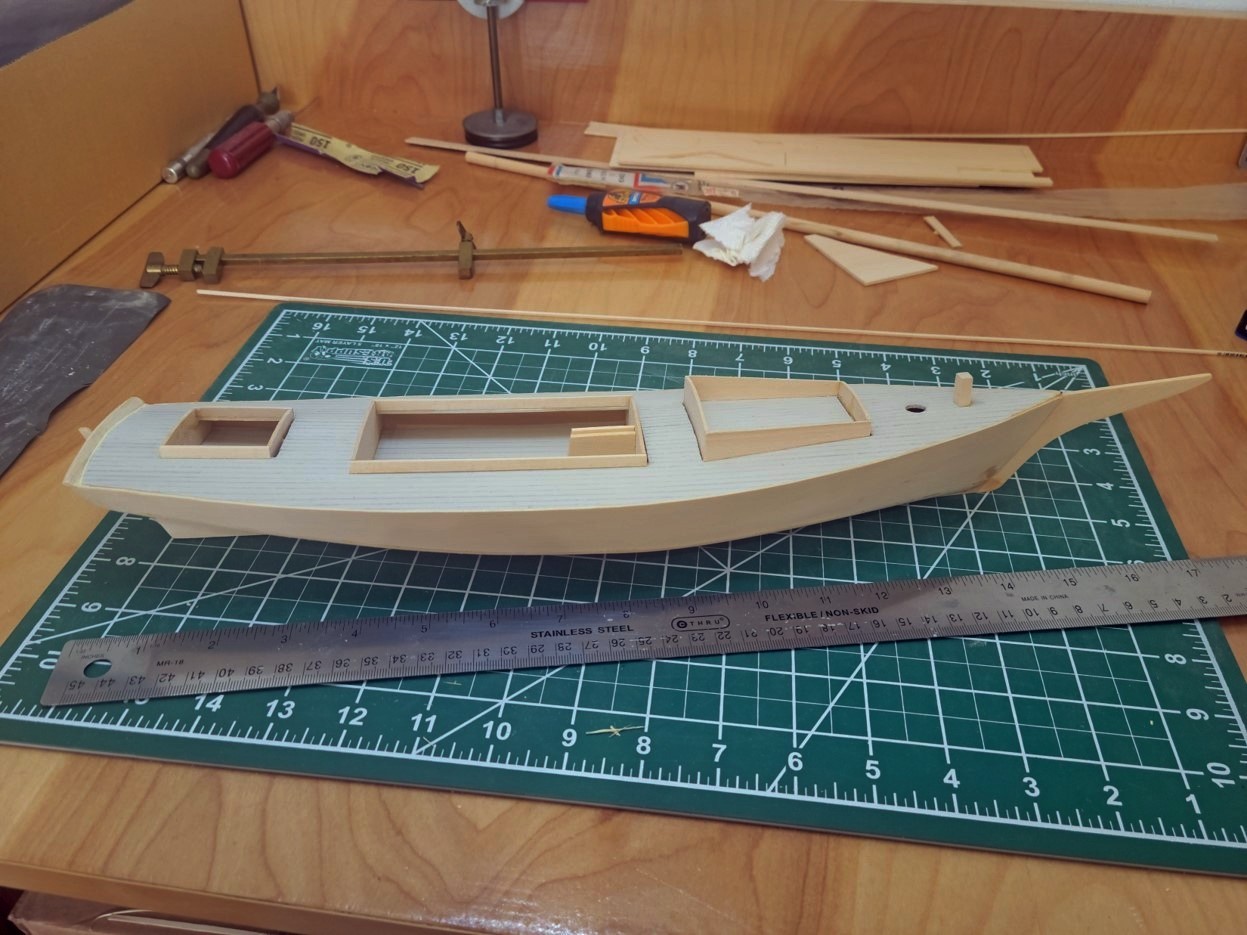
Lower Decks
Deck boards drawn on in pencil than stained with MINWAX Semi-Transparent Stain – Tinsmith Gray 1091
Clear coat on top of MINWAX: Polycrylic Crystal Clear Topcoat Clear Ultra Flat

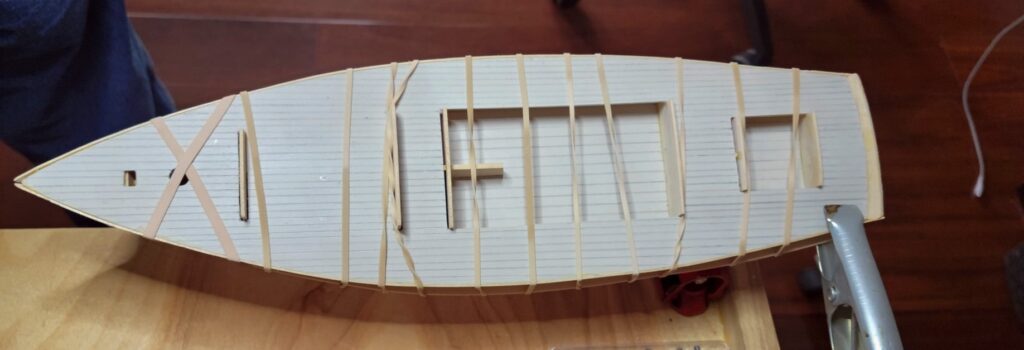
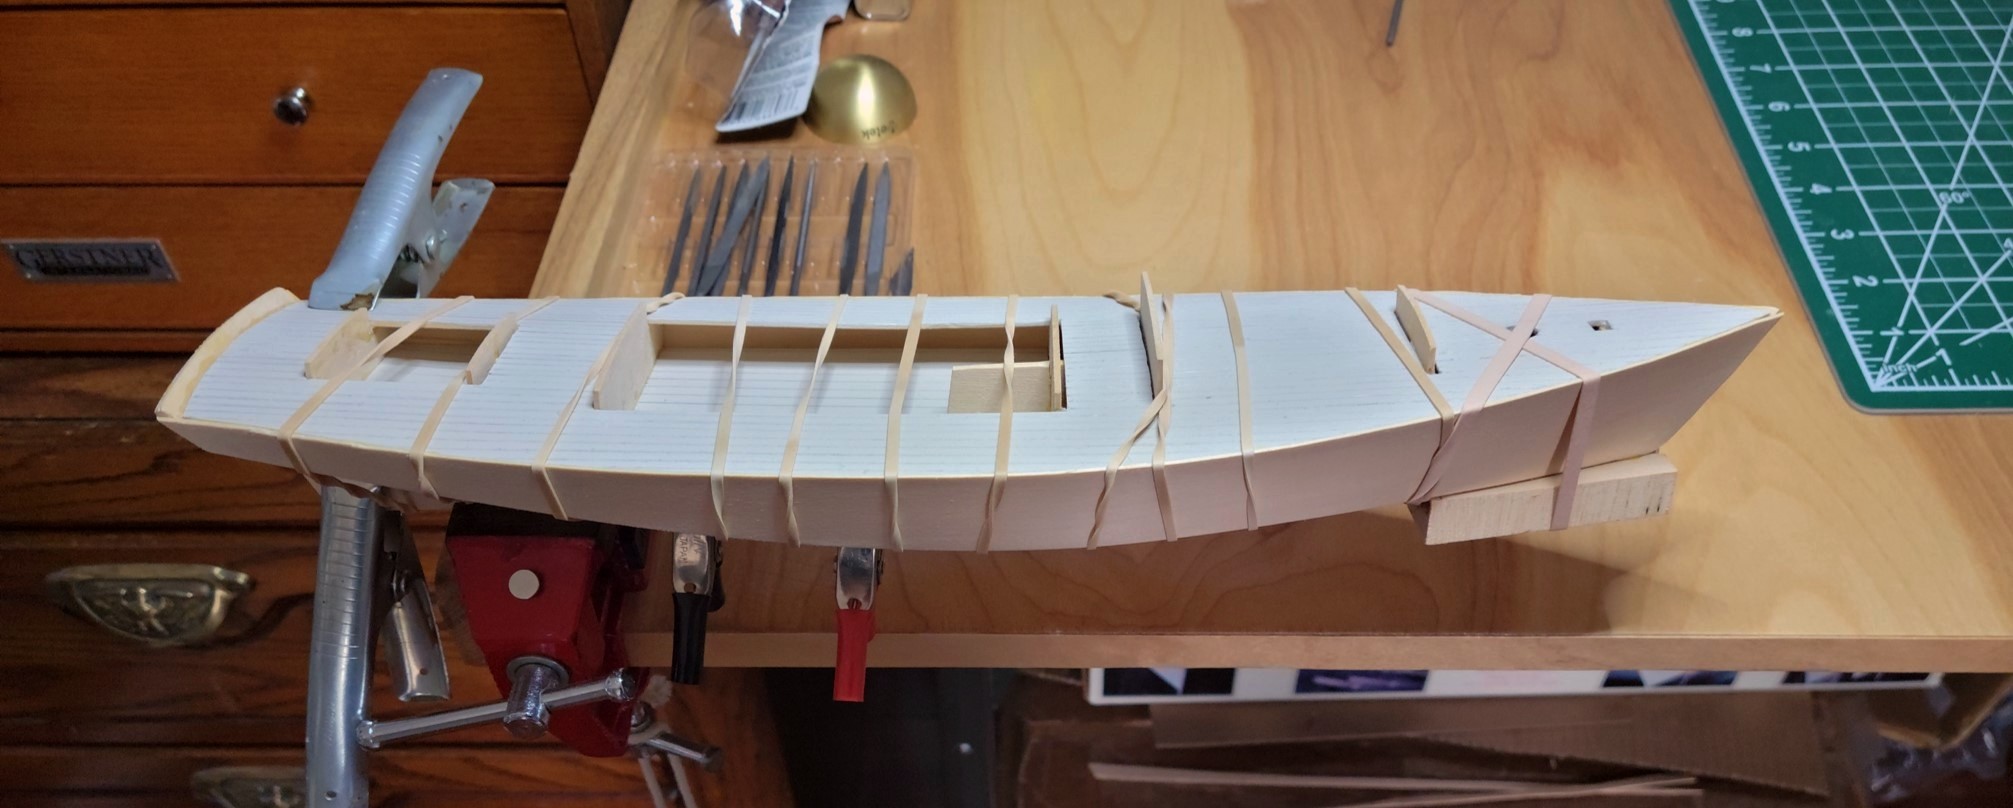
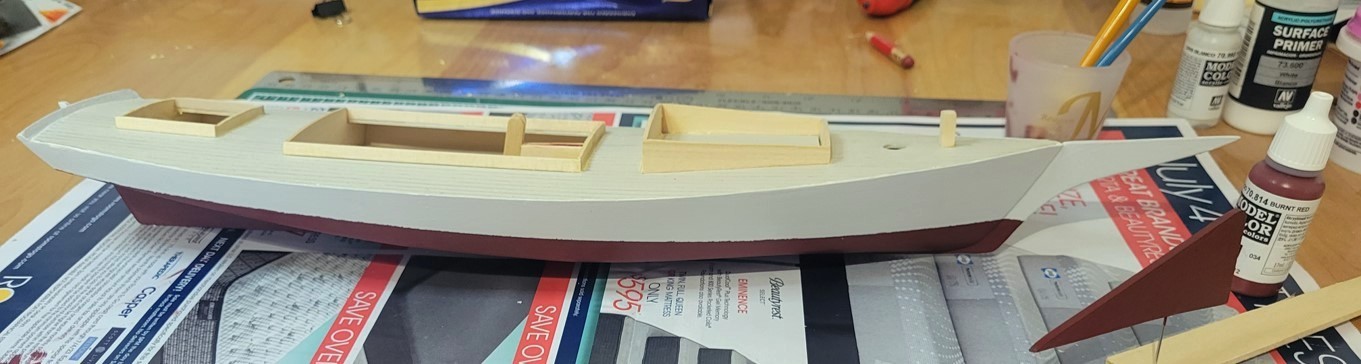
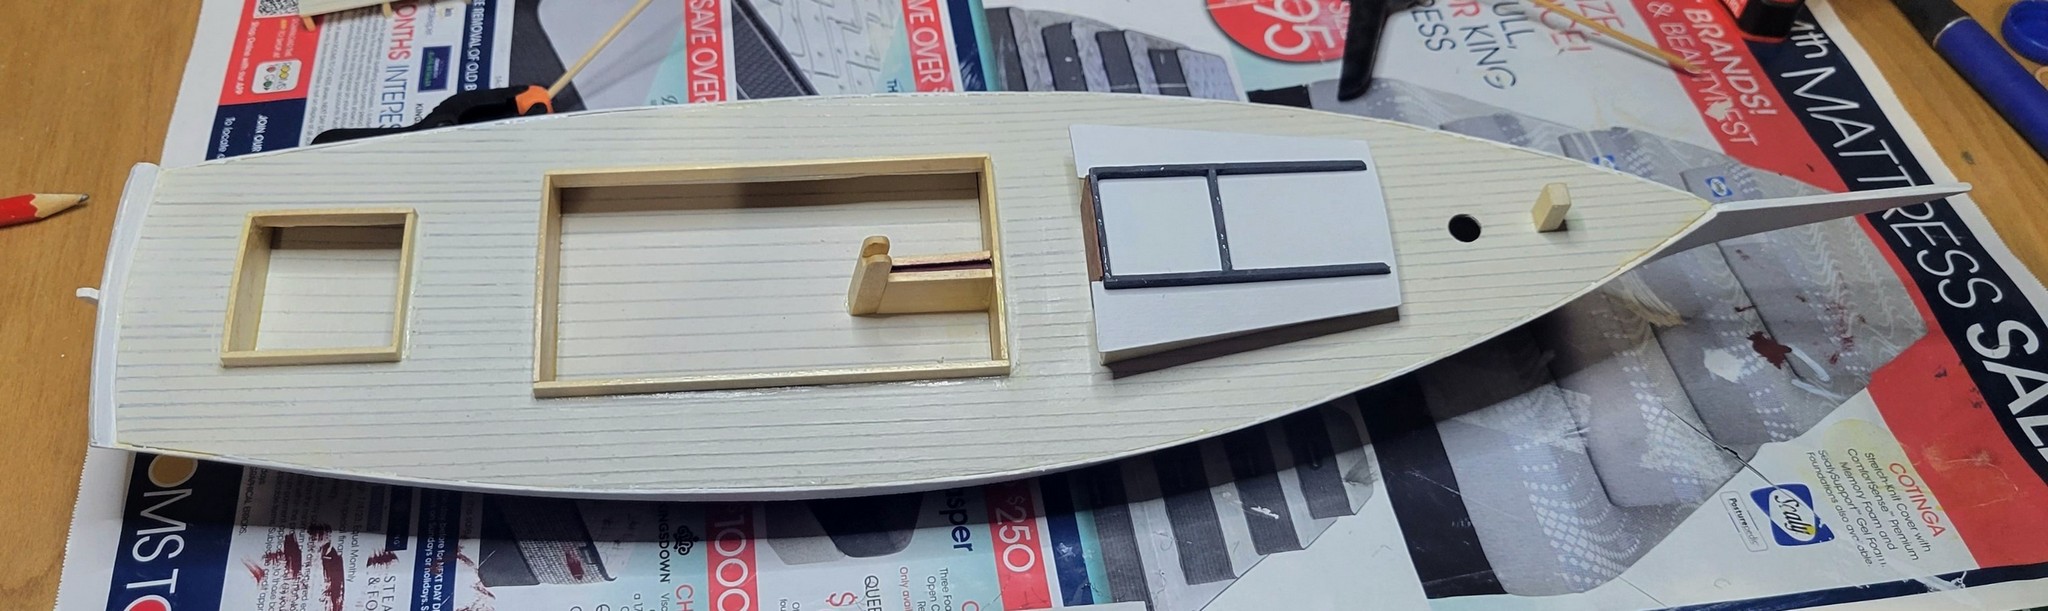
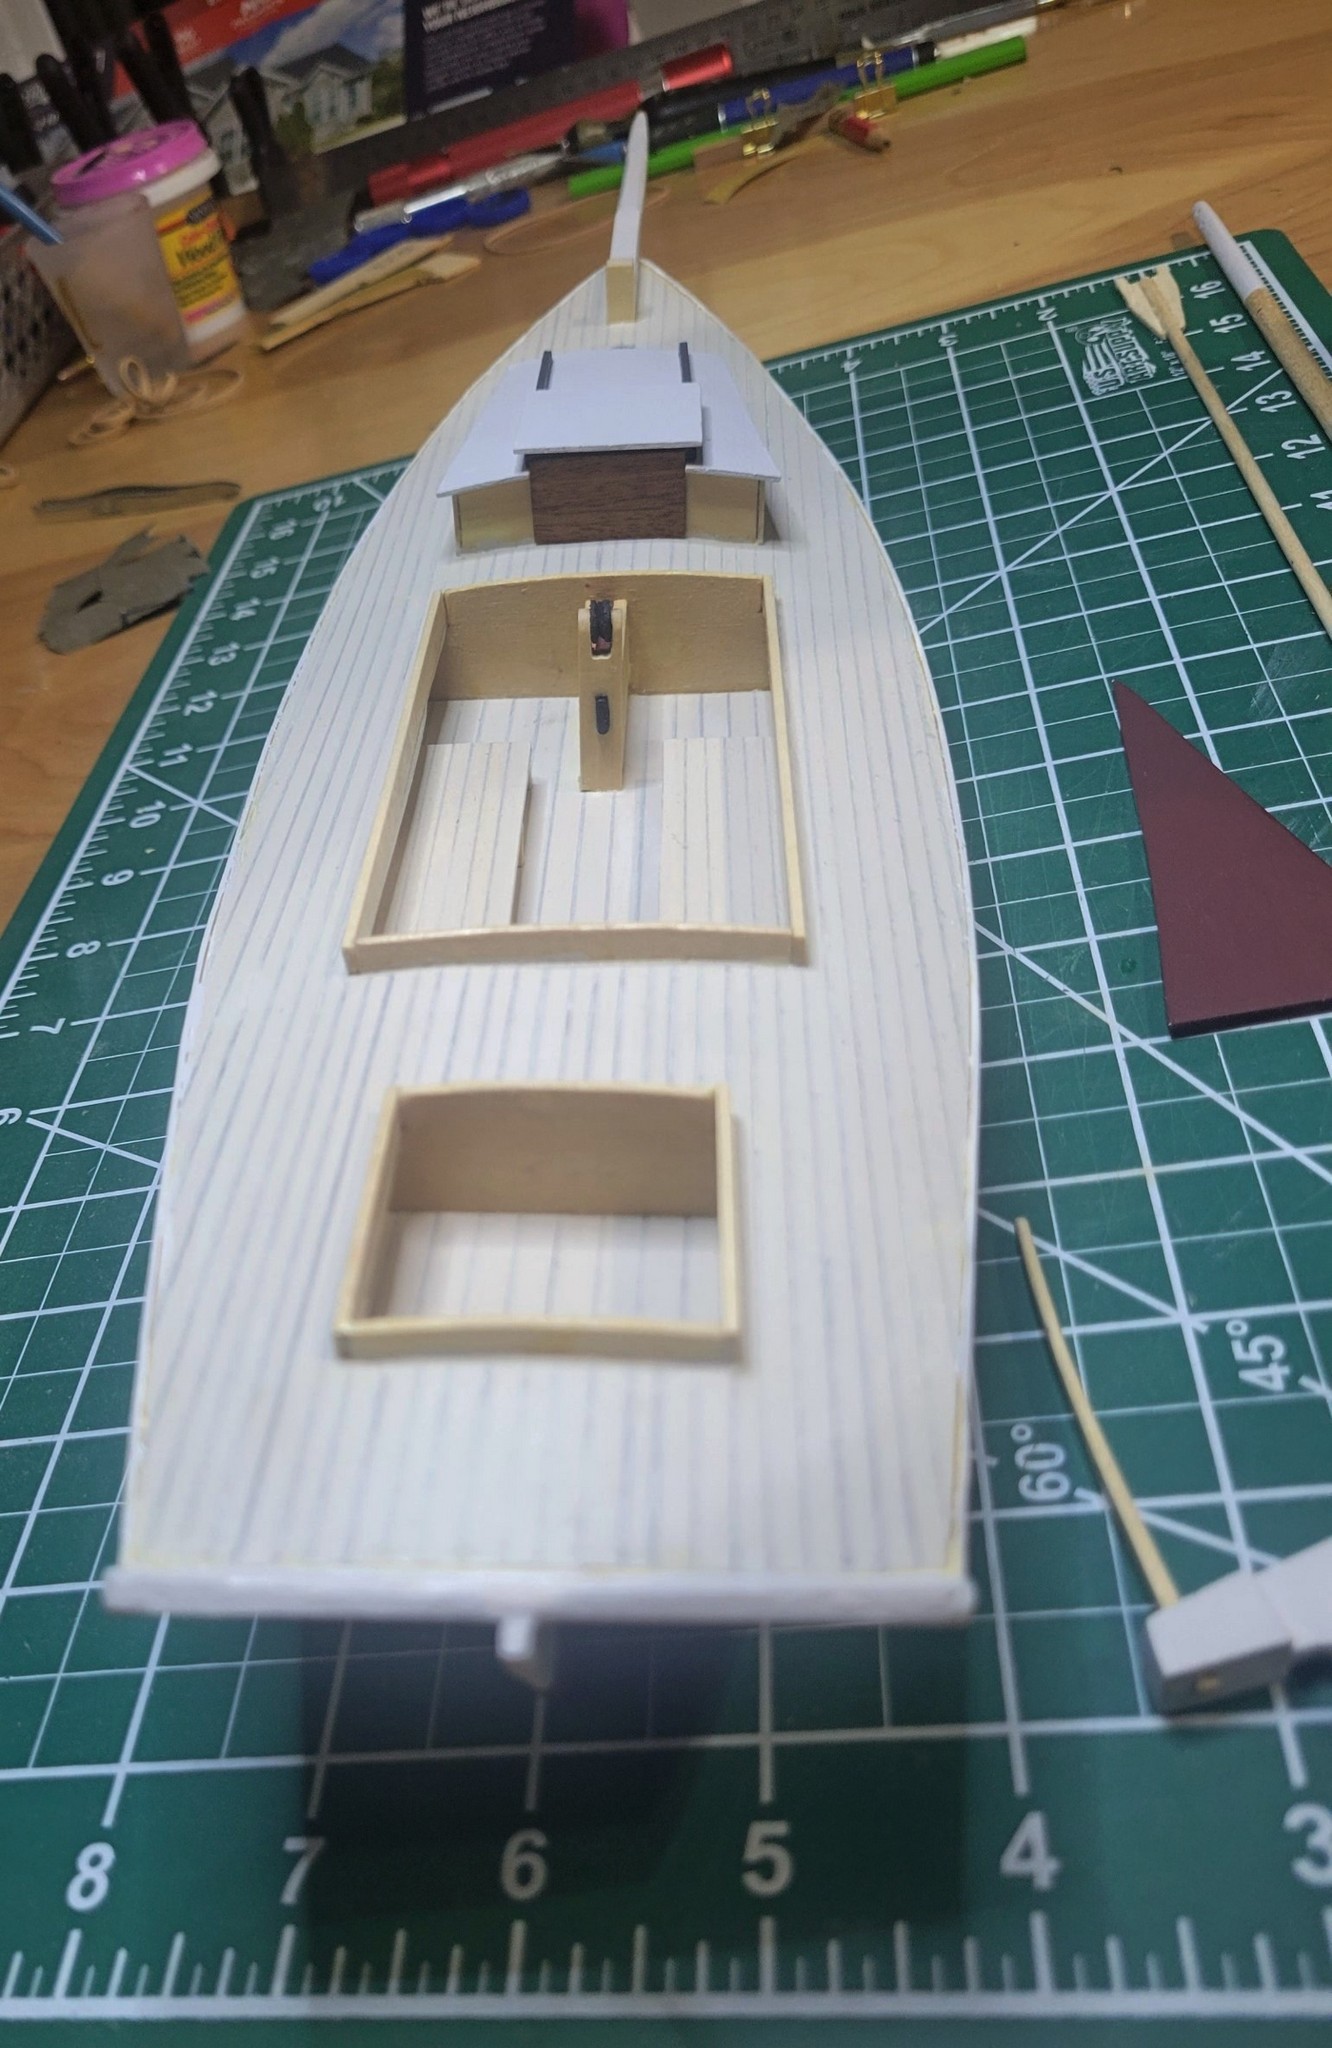
Upper Deck and Sides
Upper deck fitted, should have fitted before installing bulkheads, had some issues and had to widen some openings.
Little gold binder clips are from Walmart – small and weak.
Perfect for modeling, do not dent the wood like regular binder clips

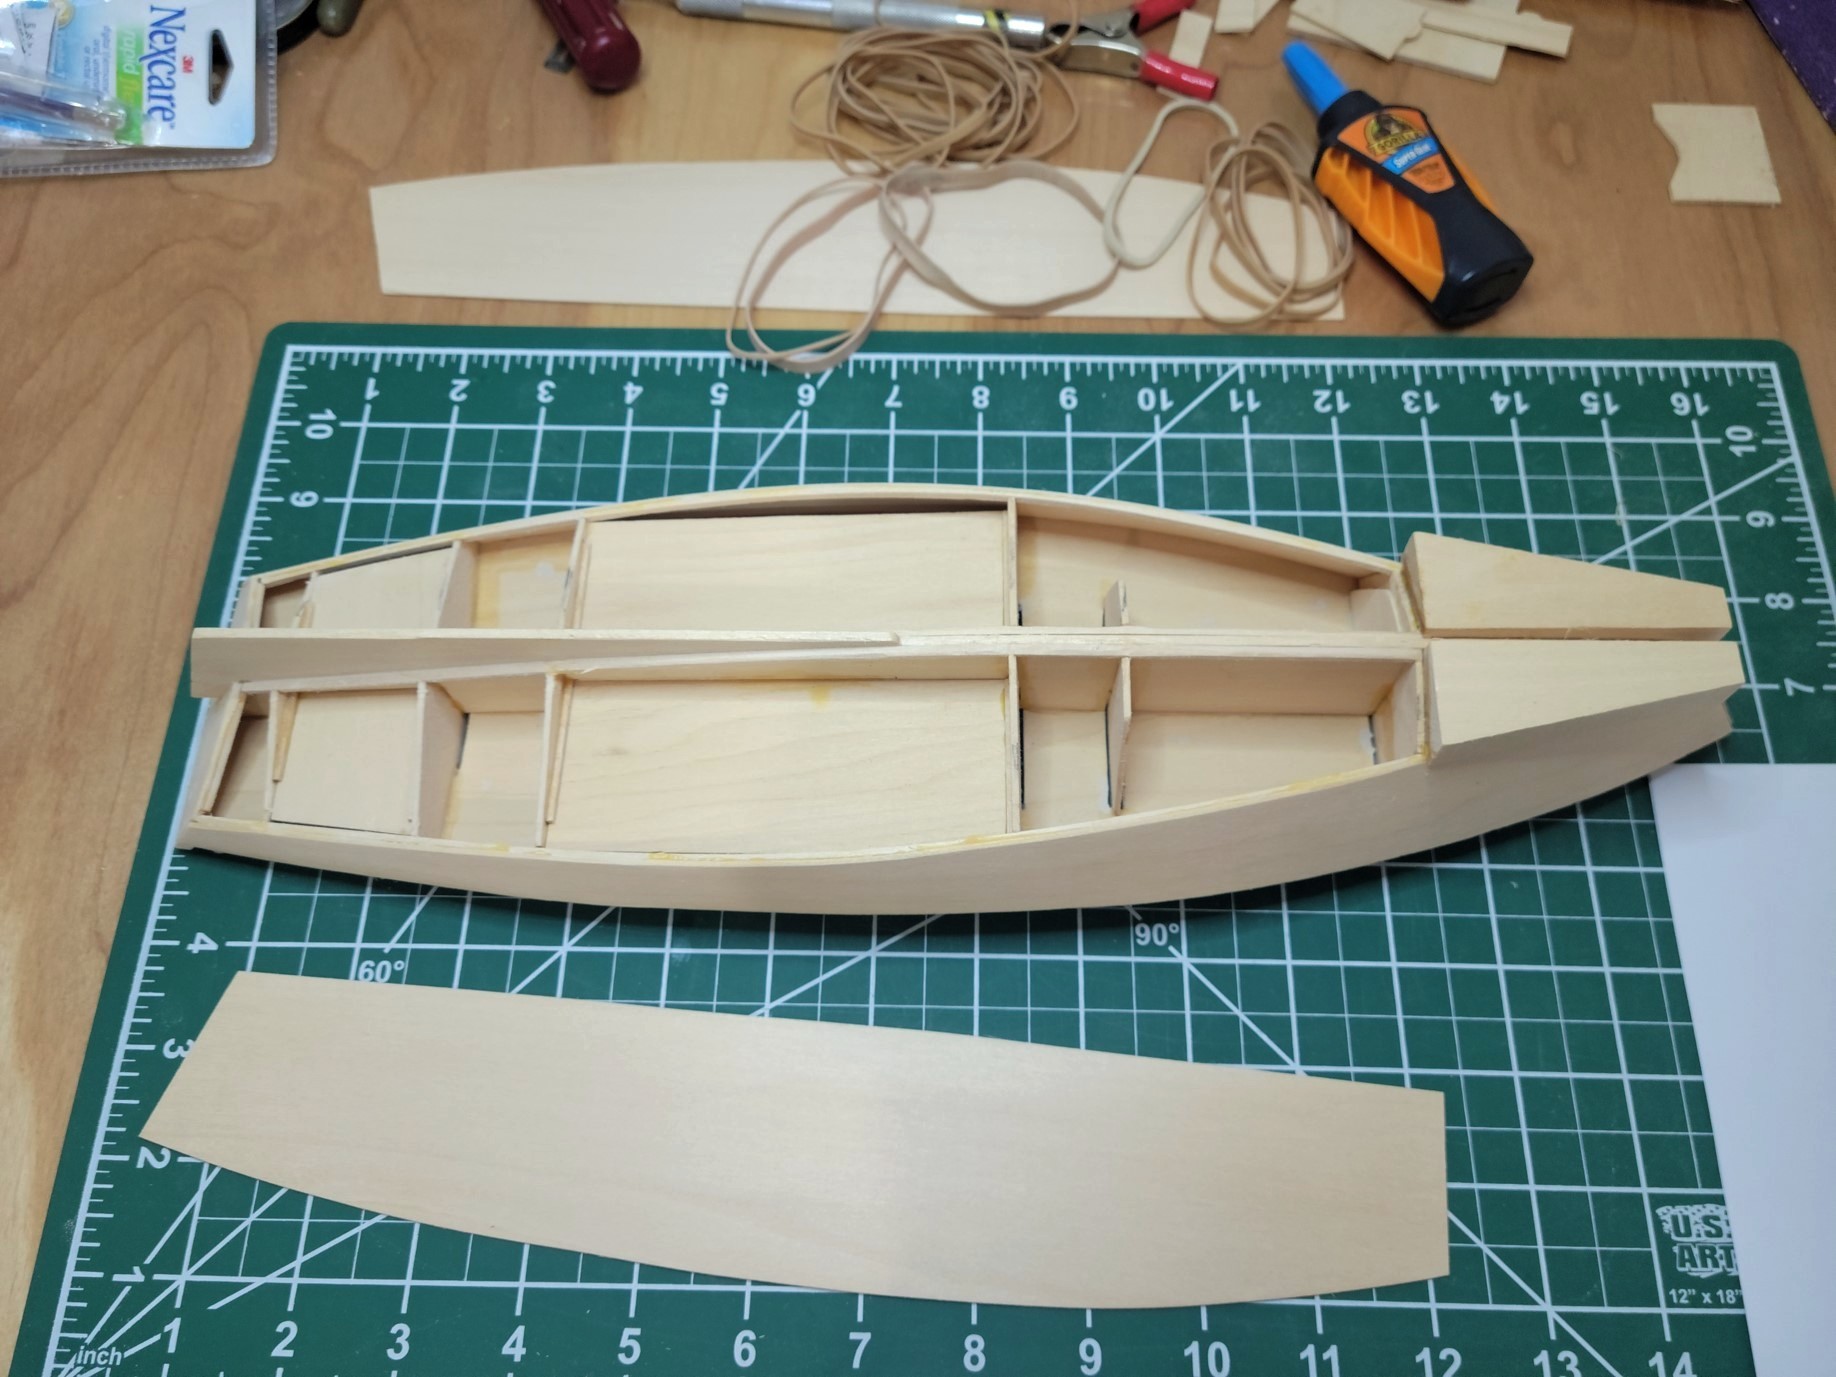
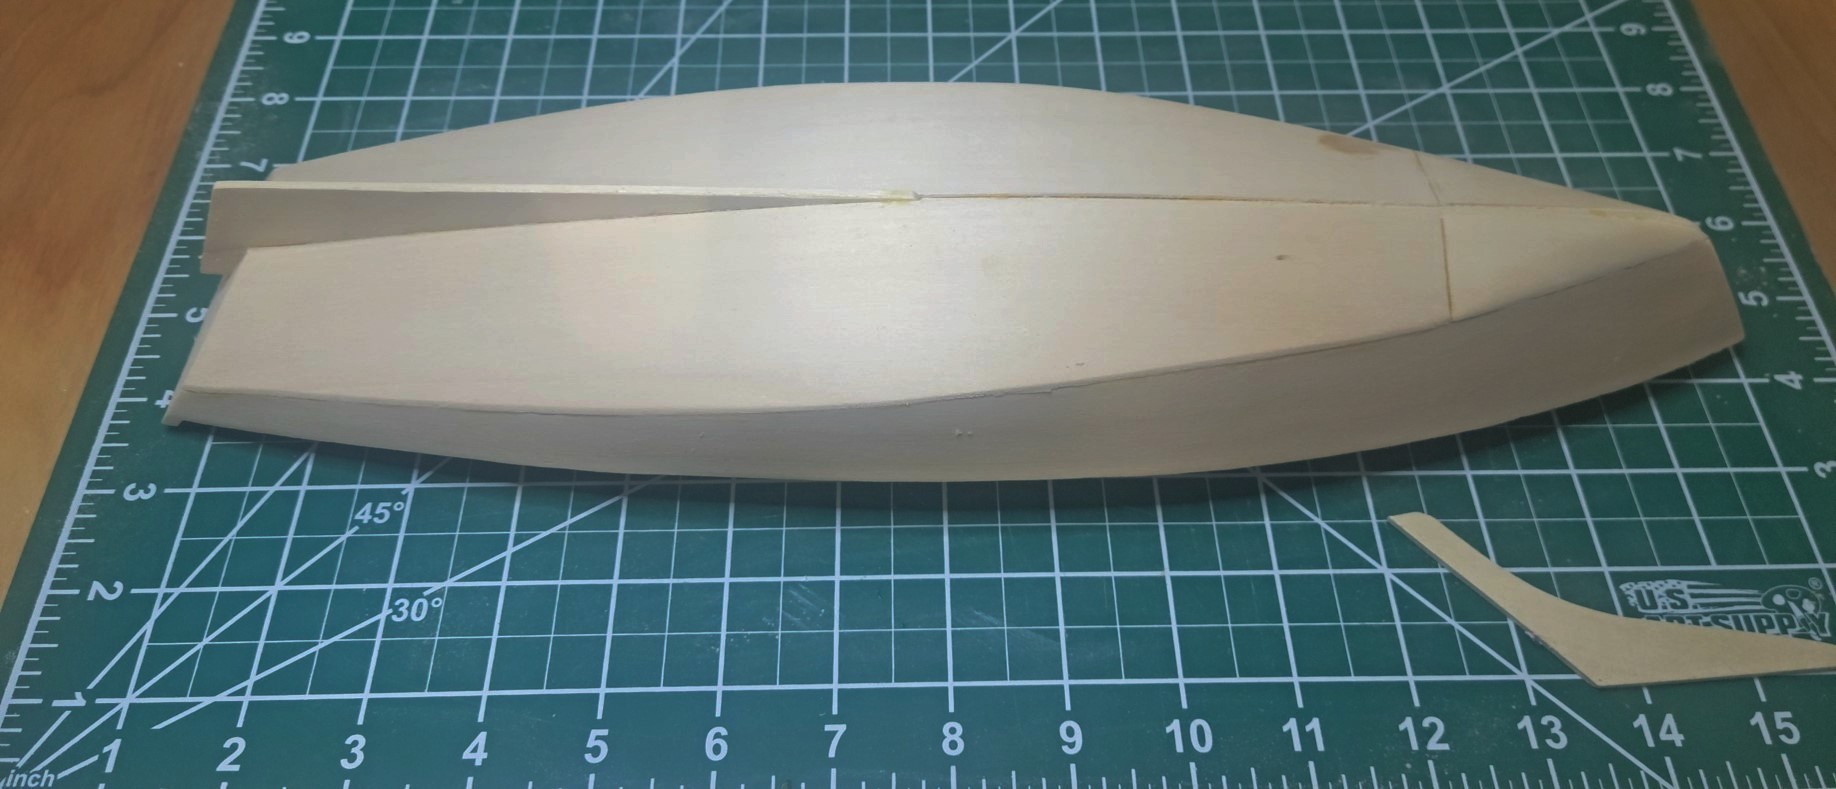
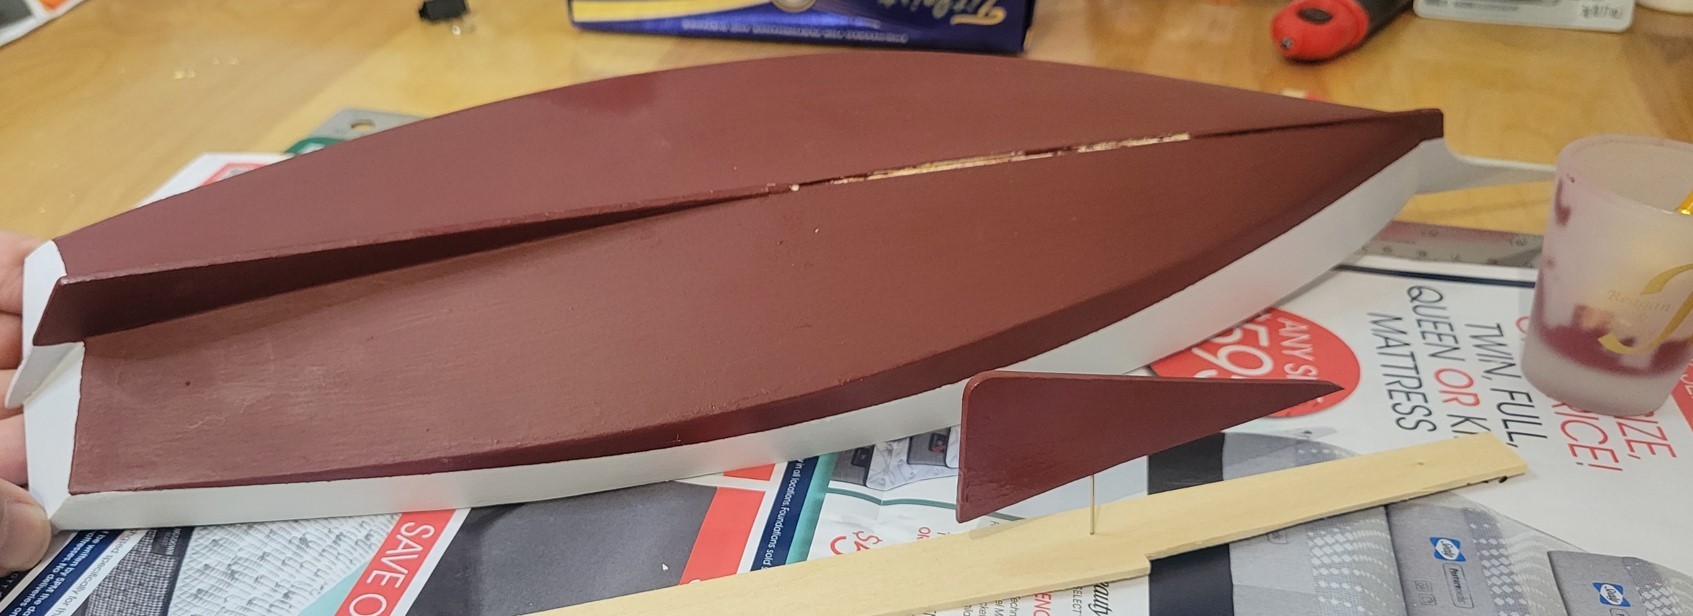
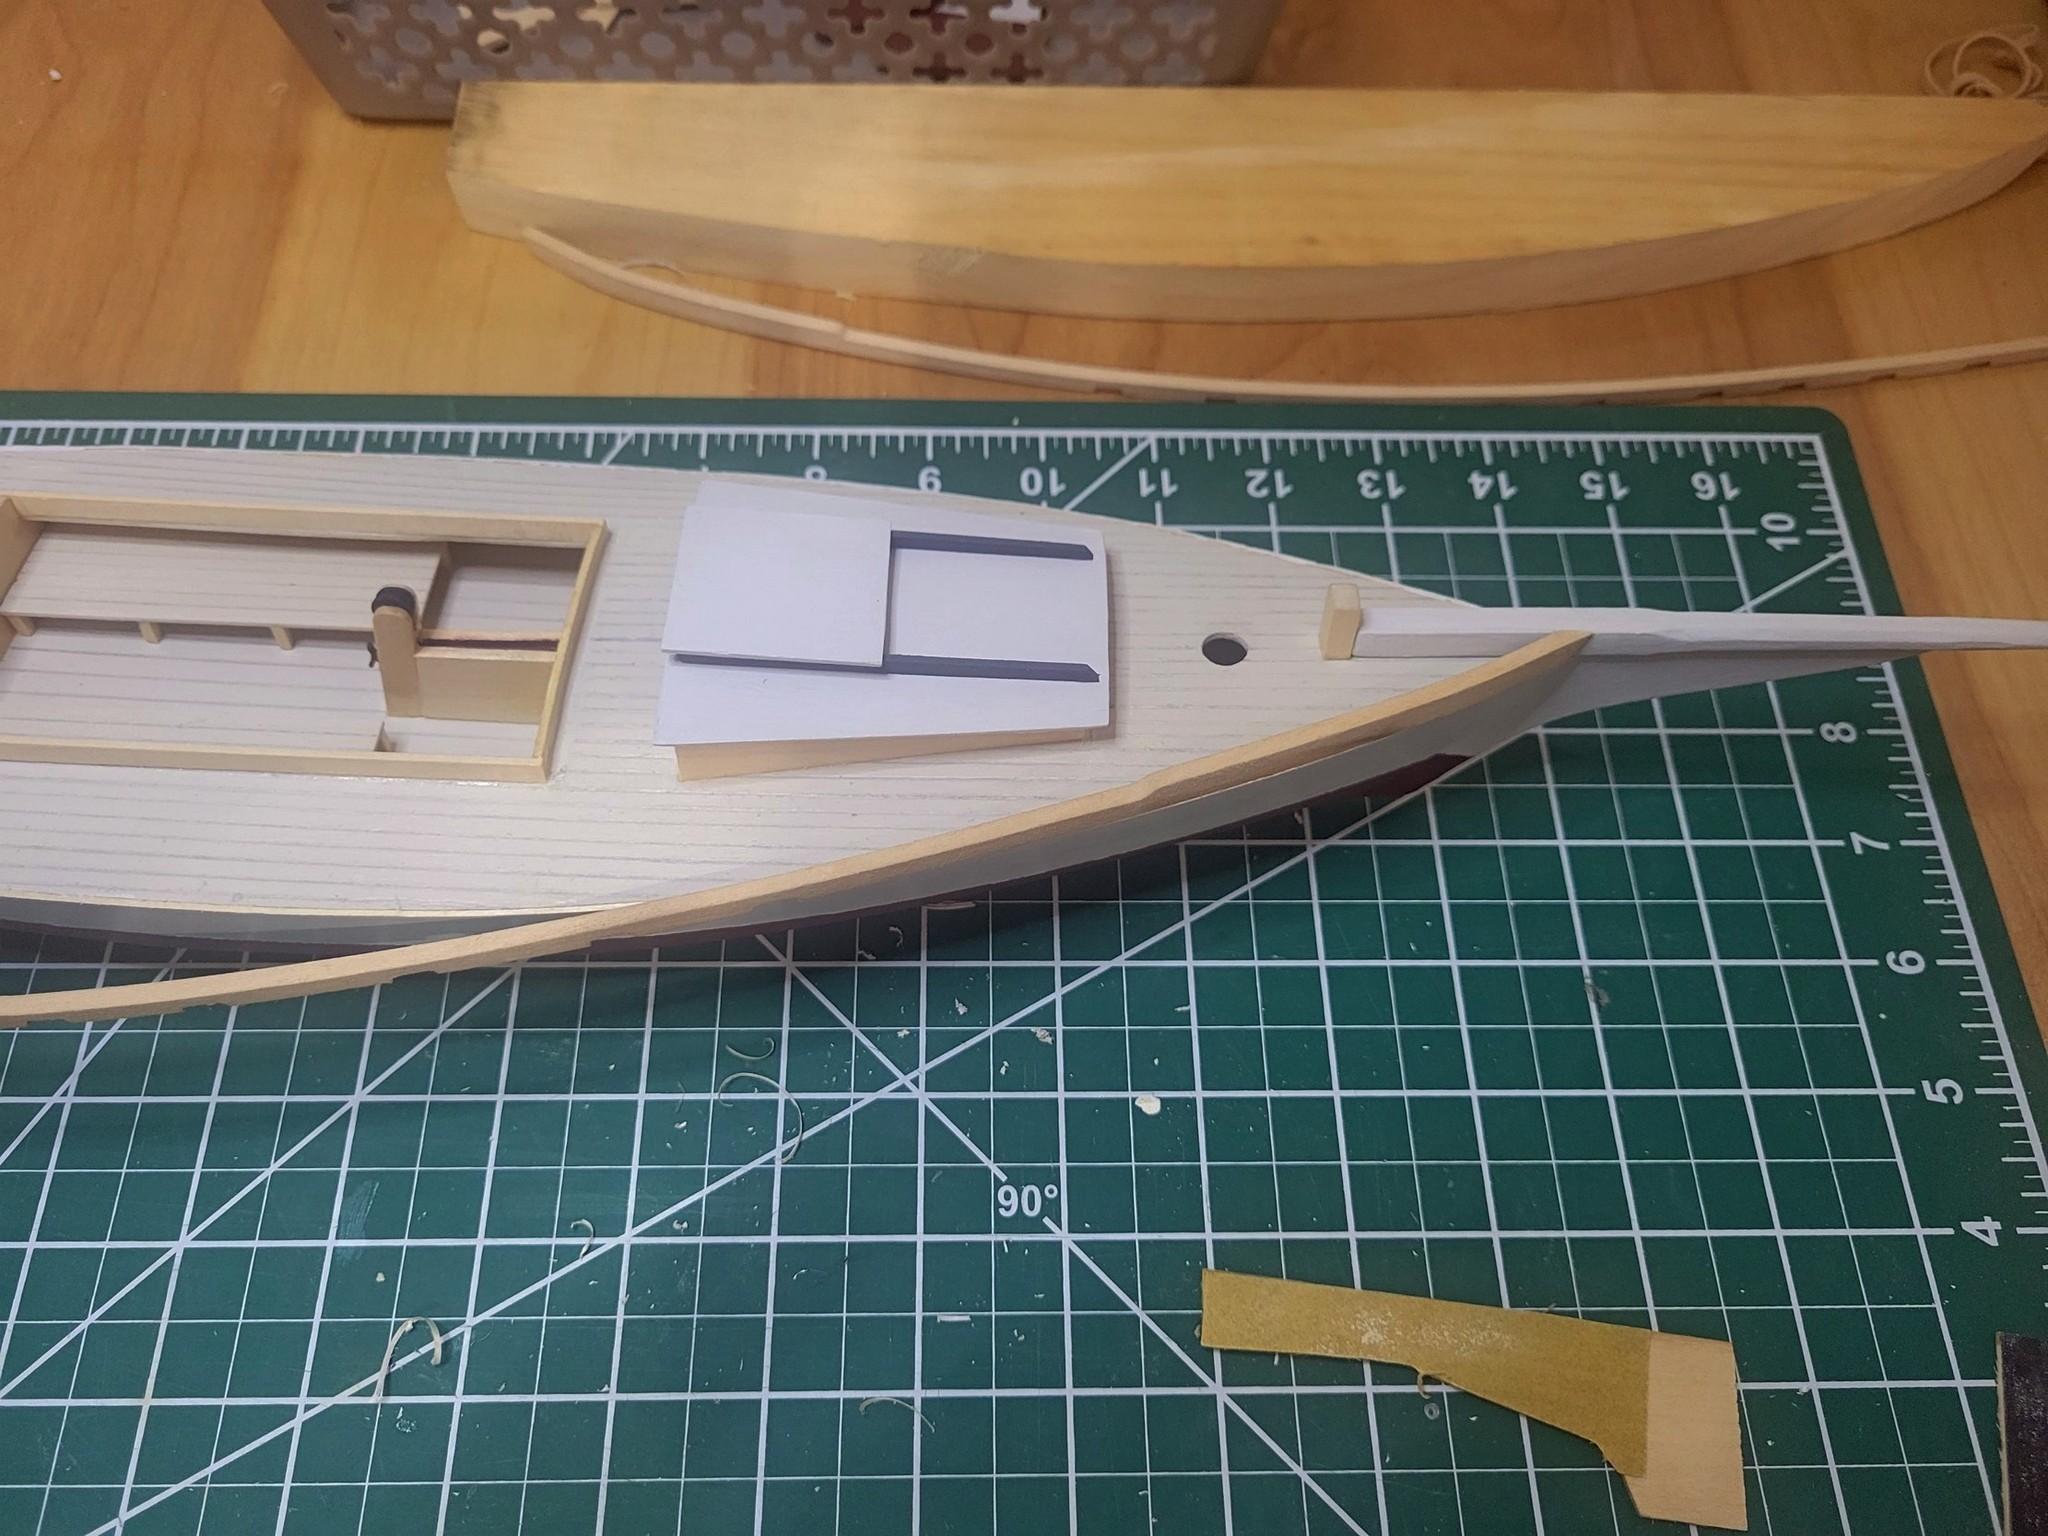
The Bow
Glue on the solid bow pieces then the bottom of the hull.
Carve and sand the bow pieces to shape.
Lot of material to remove, I started with a Dremel then a knife then sandpaper.
Needed a little bit of plastic wood.
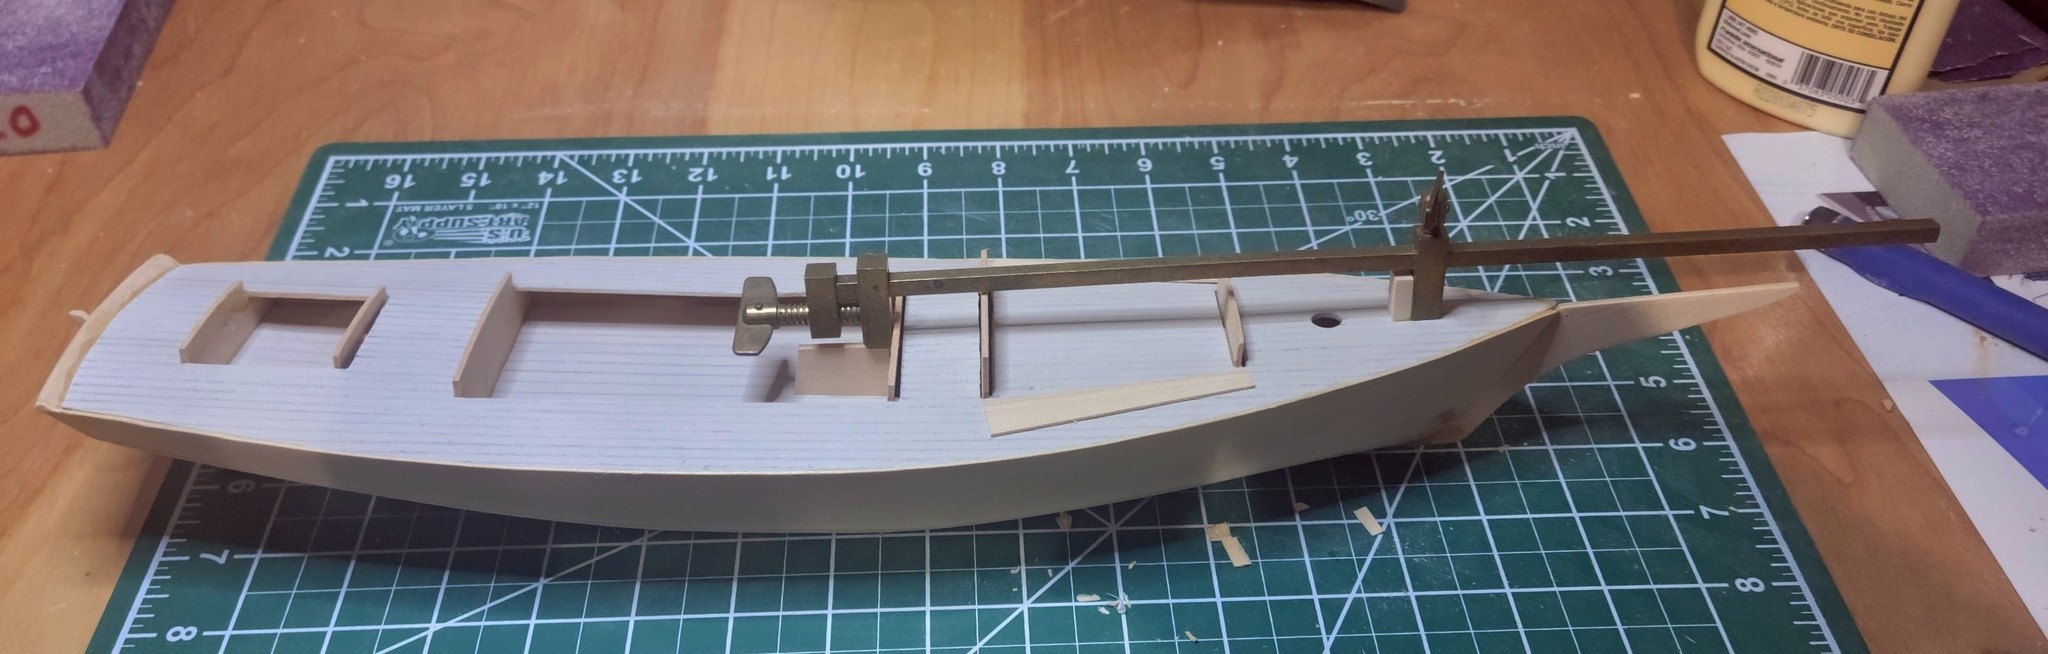
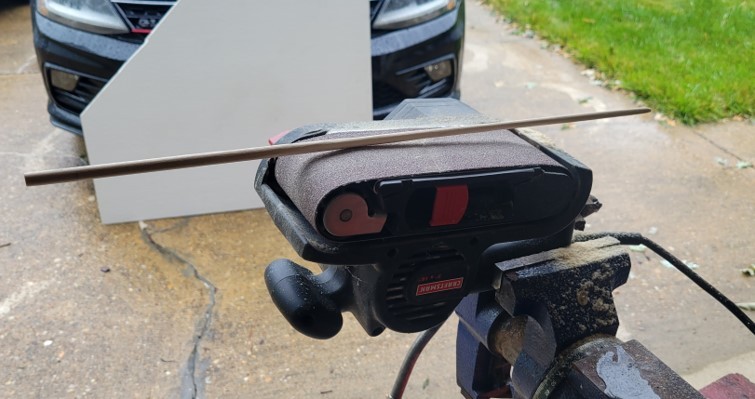
Deckhouse, Coamings, and Mast
For rough shaping the mast, I clamped my belt sander in a big vise.
Go slow and hold tight (nothing in the path of the mast in case you loose grip).
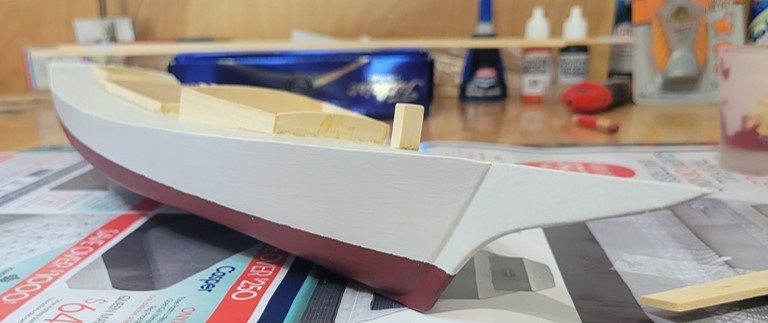
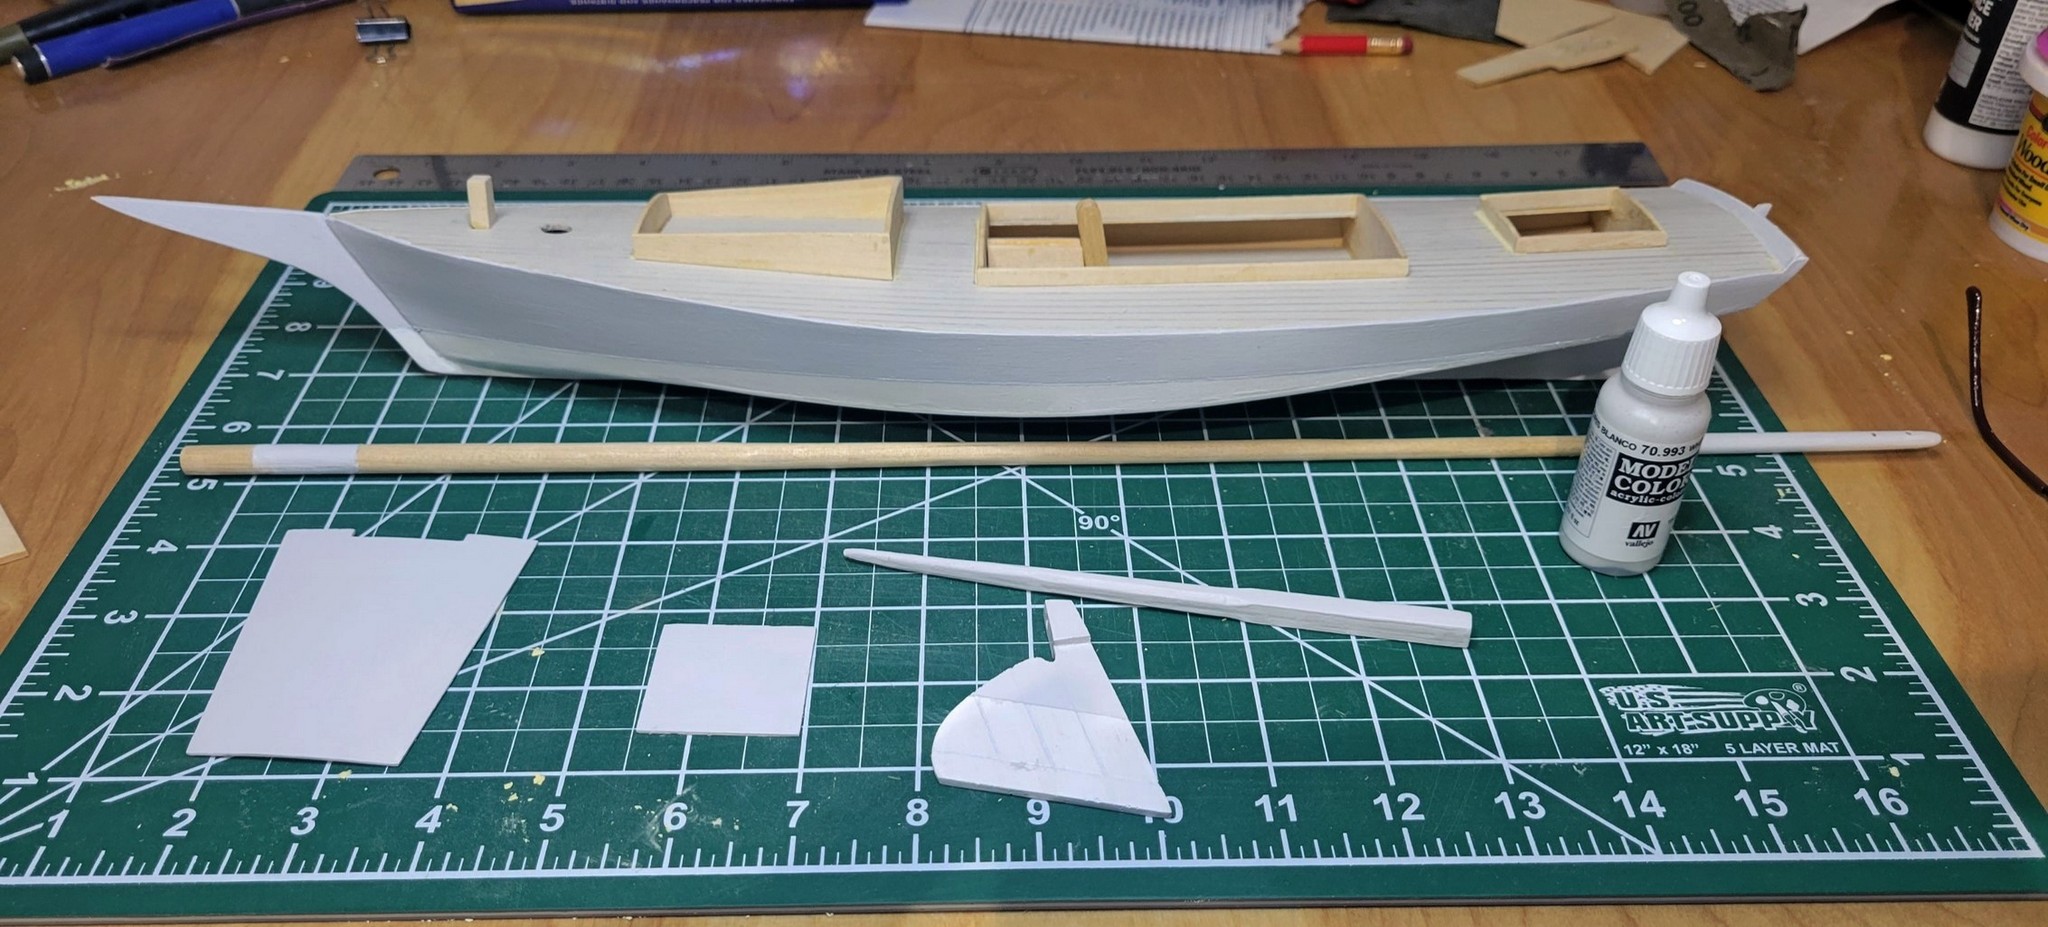
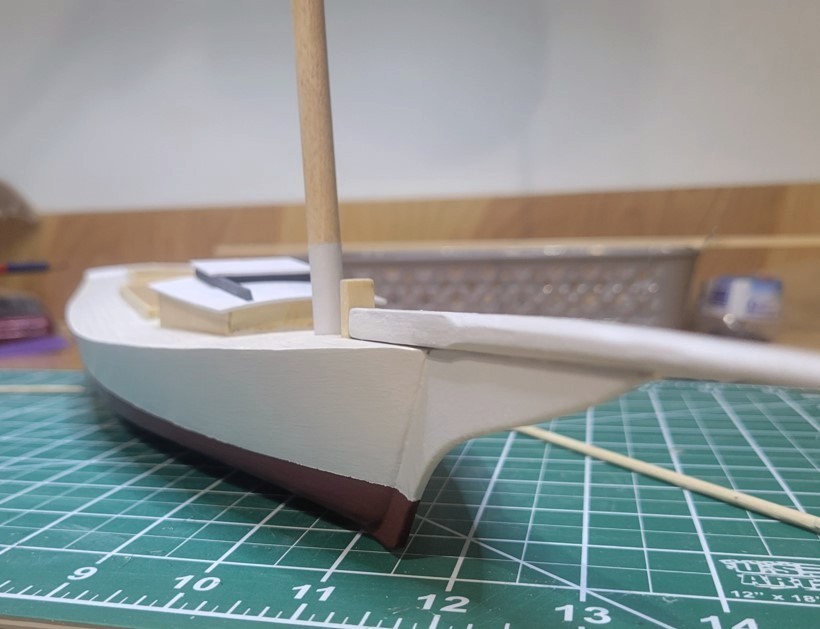
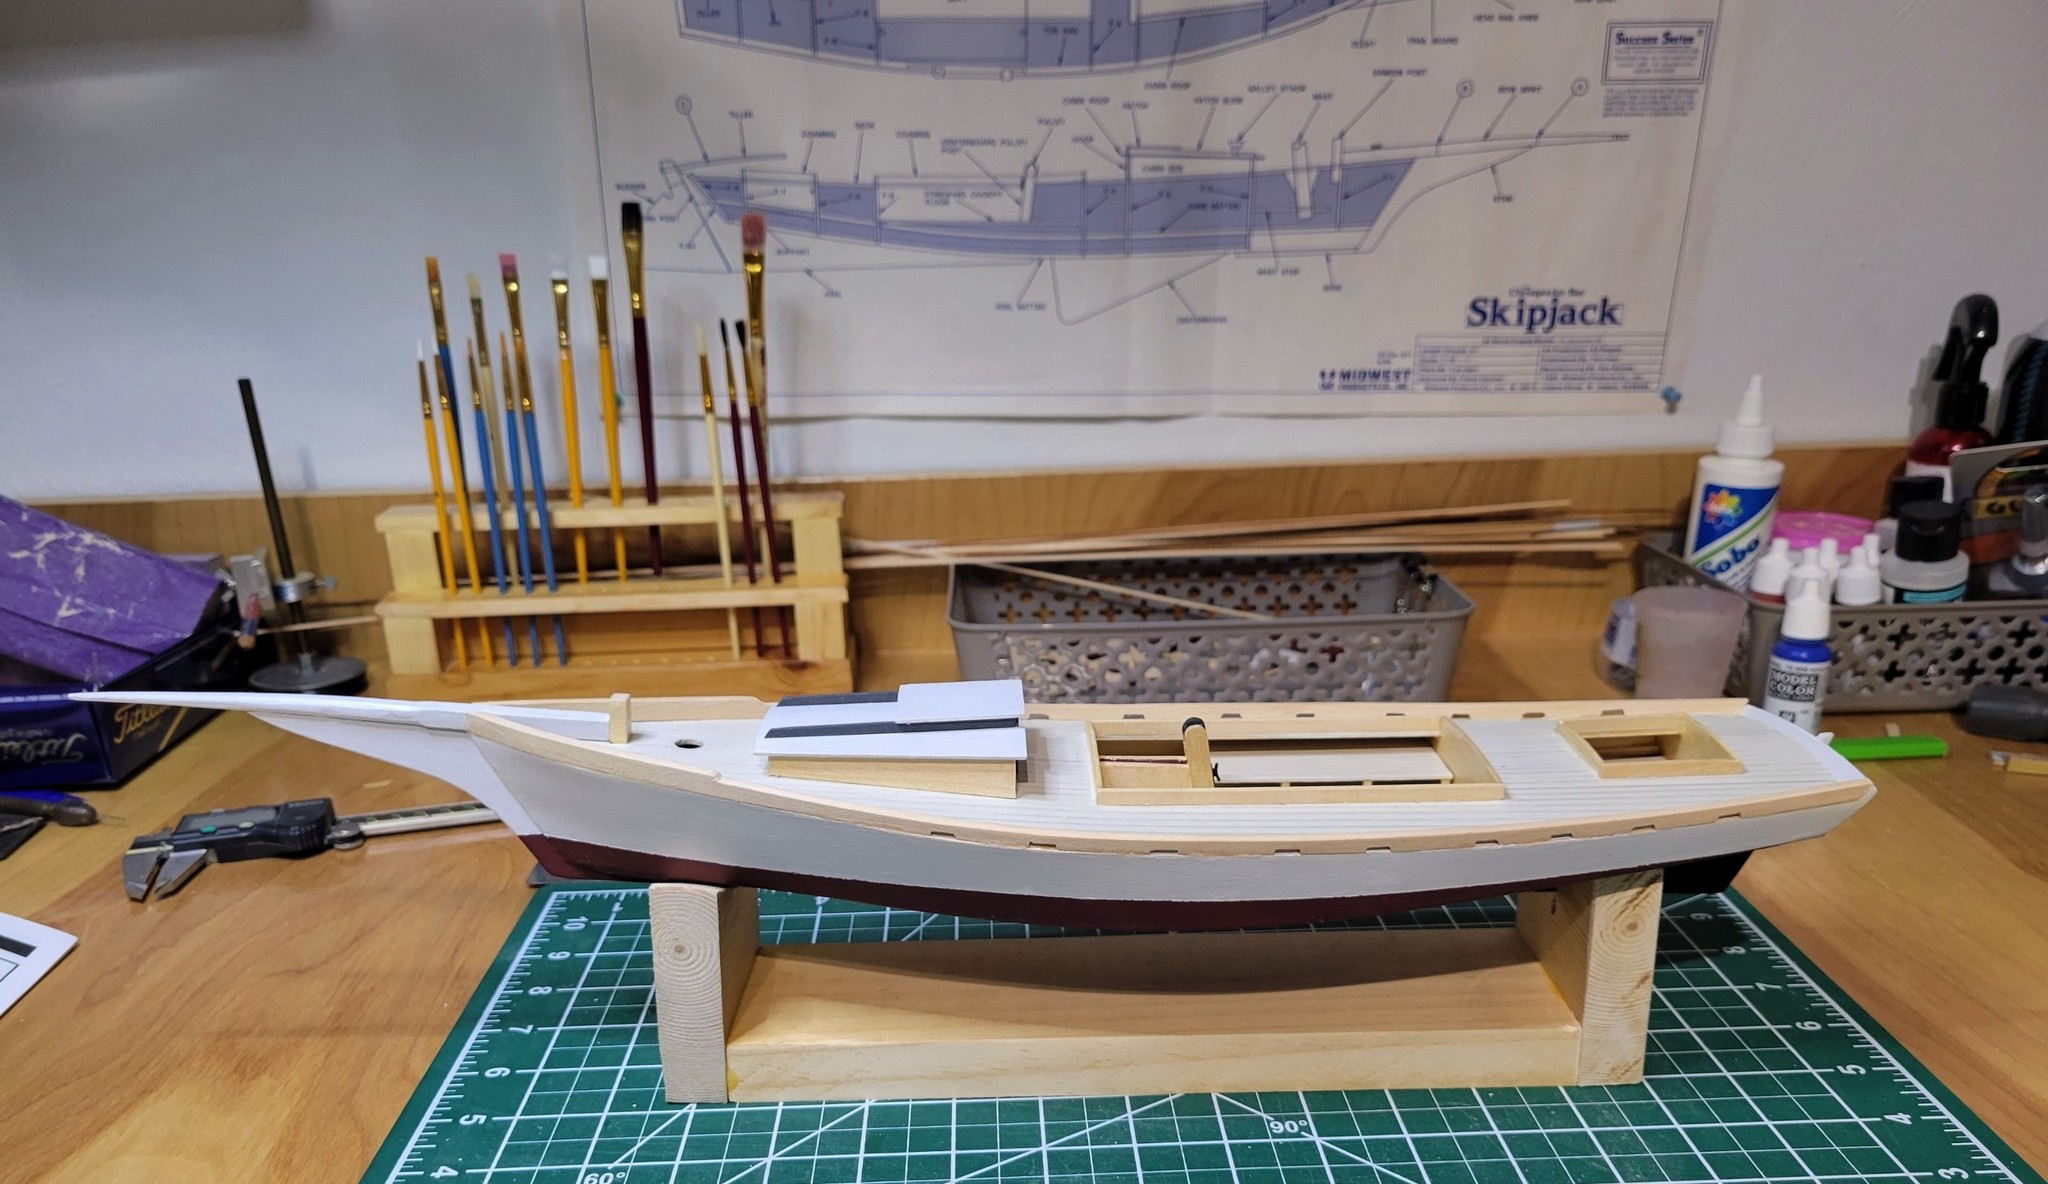
Paint
Painted the Hull, Rudder, Bowsprit, Deck Roofs, Vallego White Grey 70.993.
Then Painted the lower Hull, Centerboard and Lower Rudder, Vallejo Burnt Red 70.814.
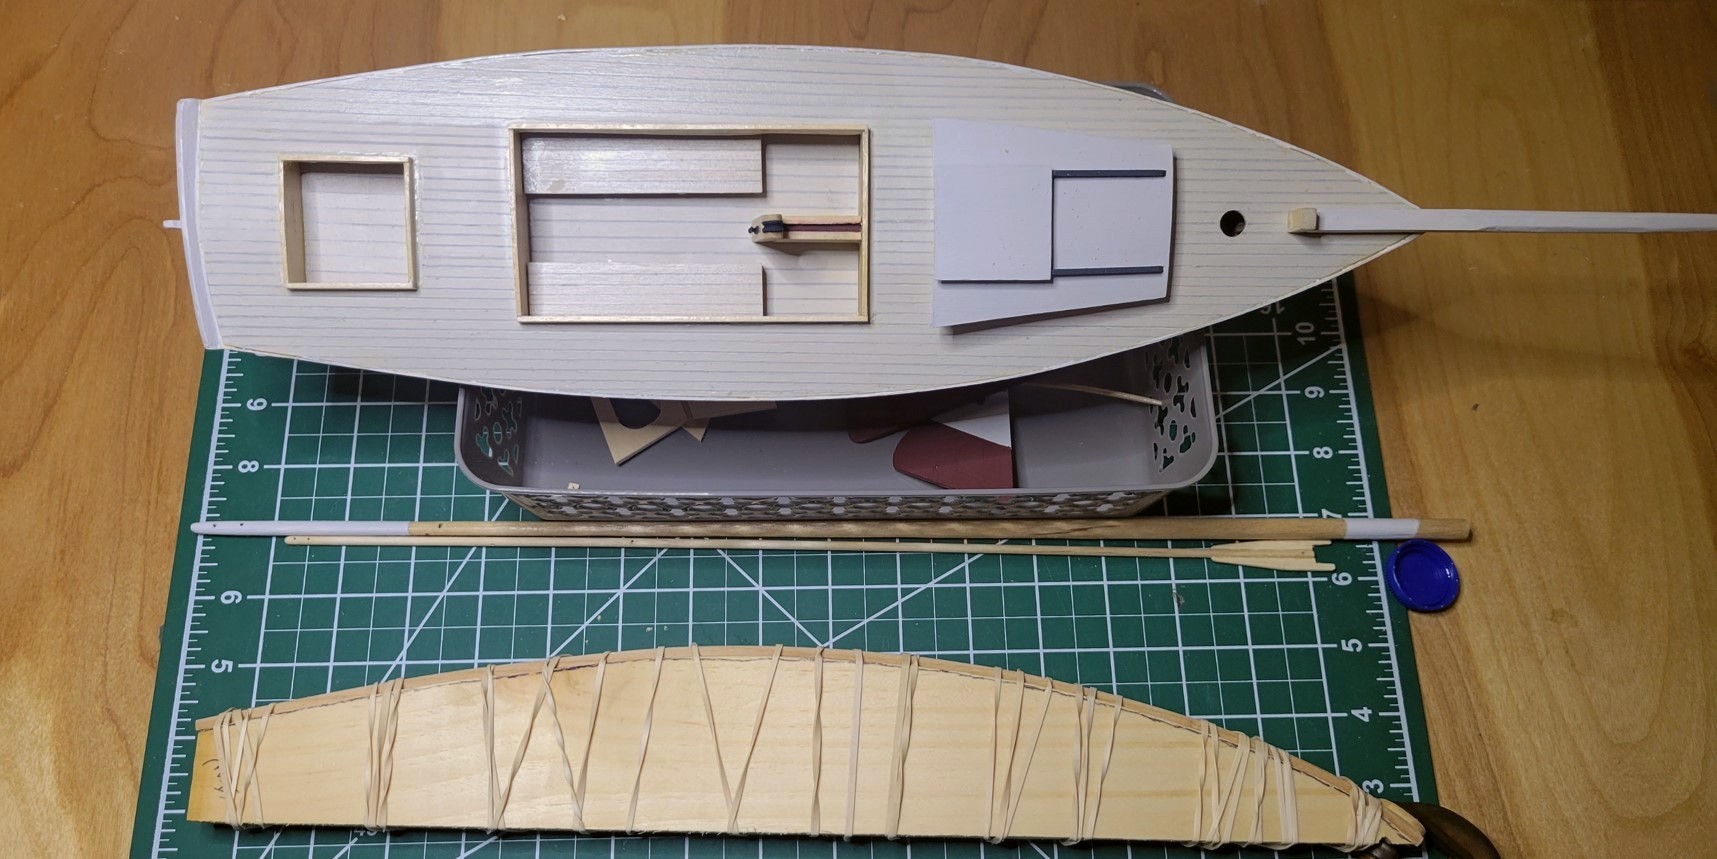
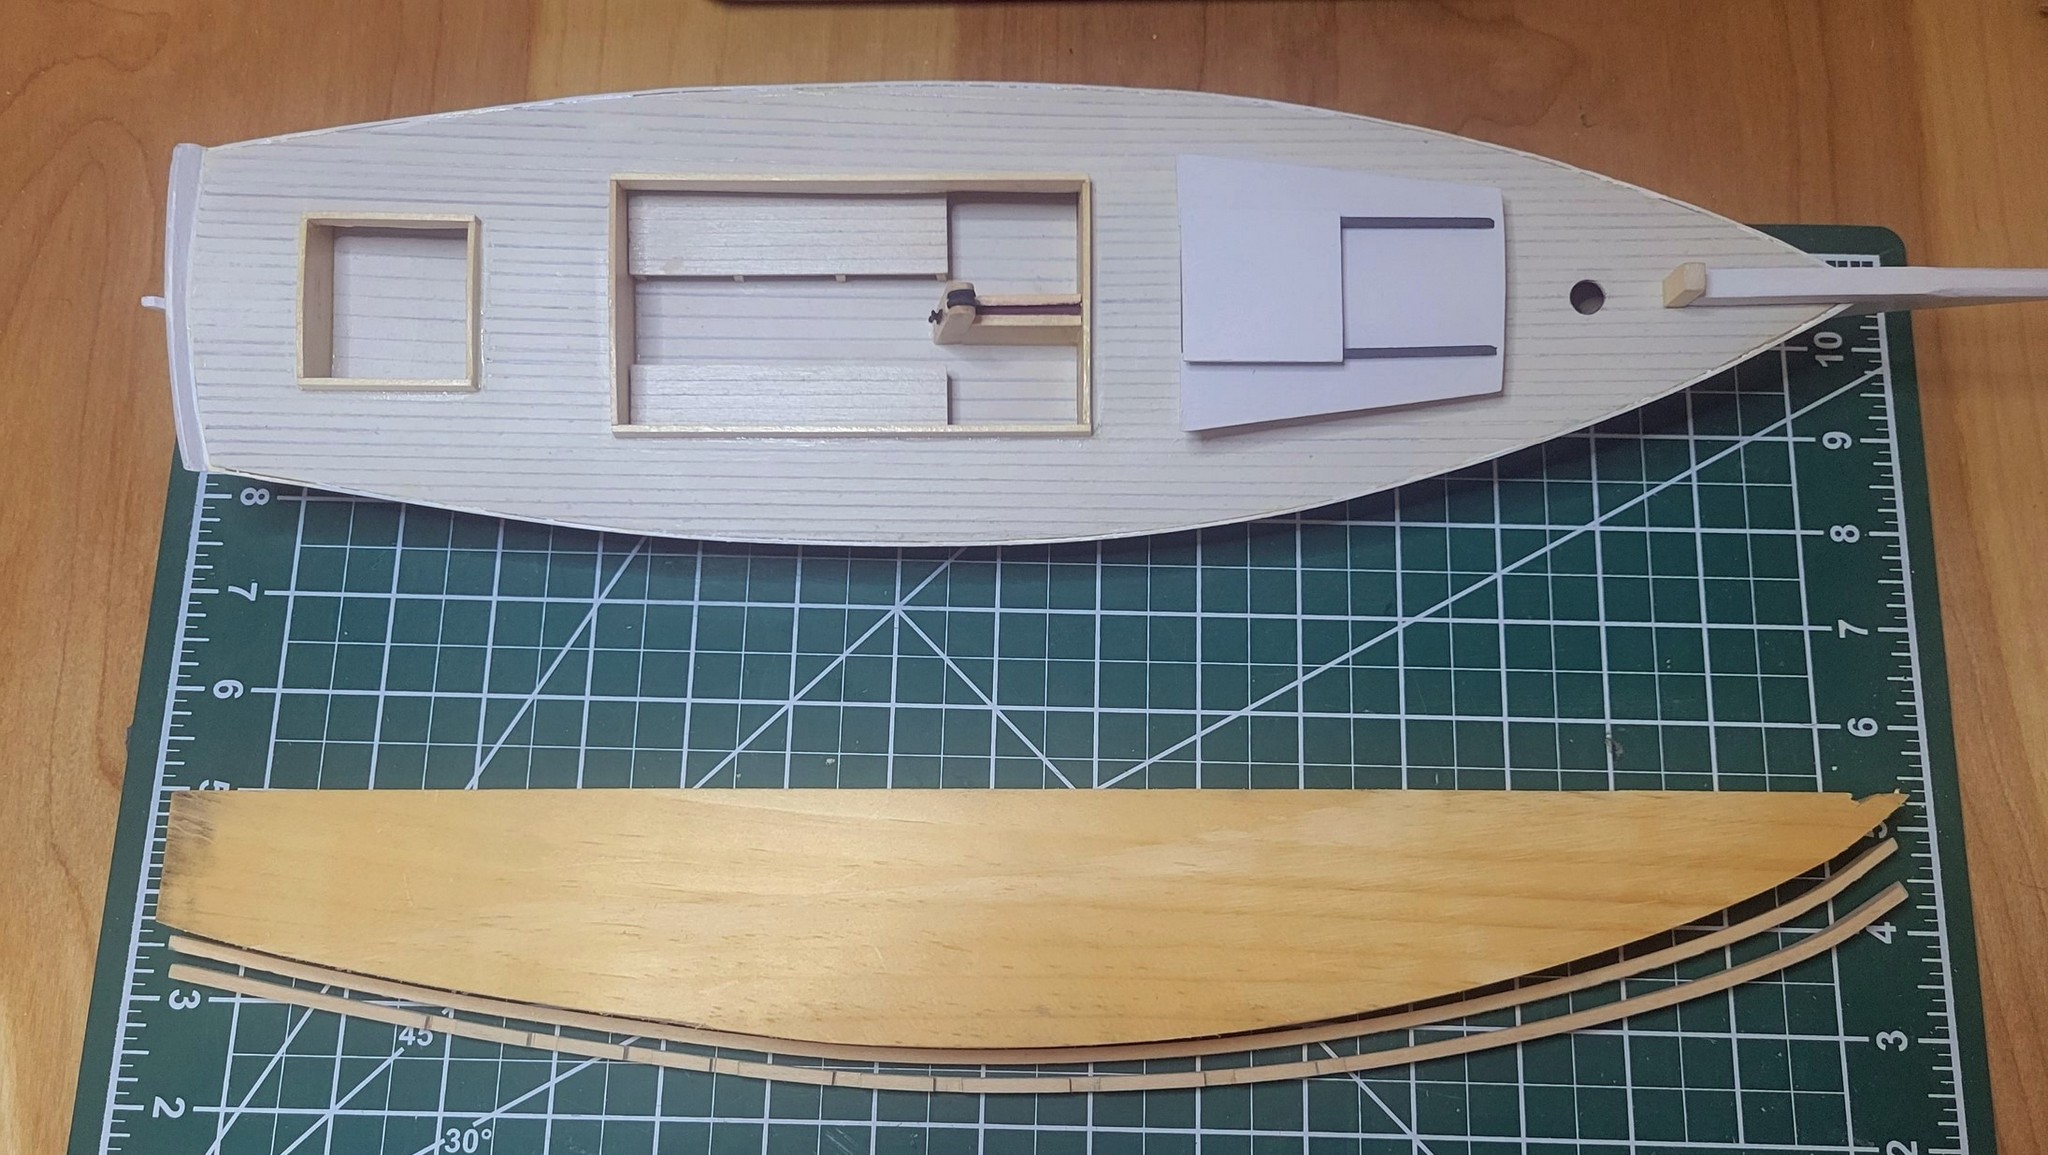
Cabin Roof and Bowsprit
Shaping the Toe Rail
Created a form of the hull.
Soaked the cut toe rails on the center skillet of the stove in water I pre-boiled and kept hot.
To get the bow end to pull in I needed to notch my form and clamp the end with a spacer to protect the wood
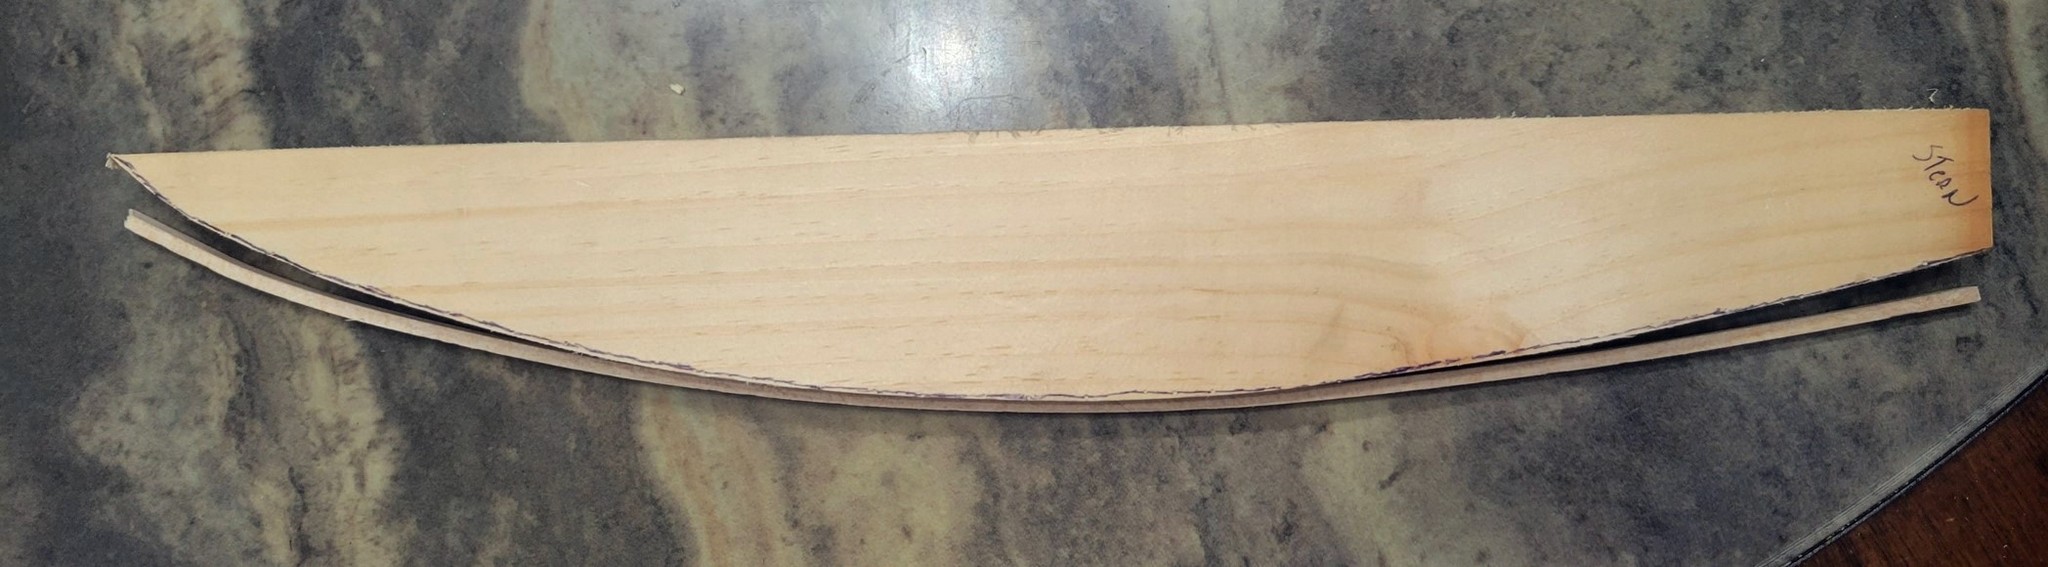
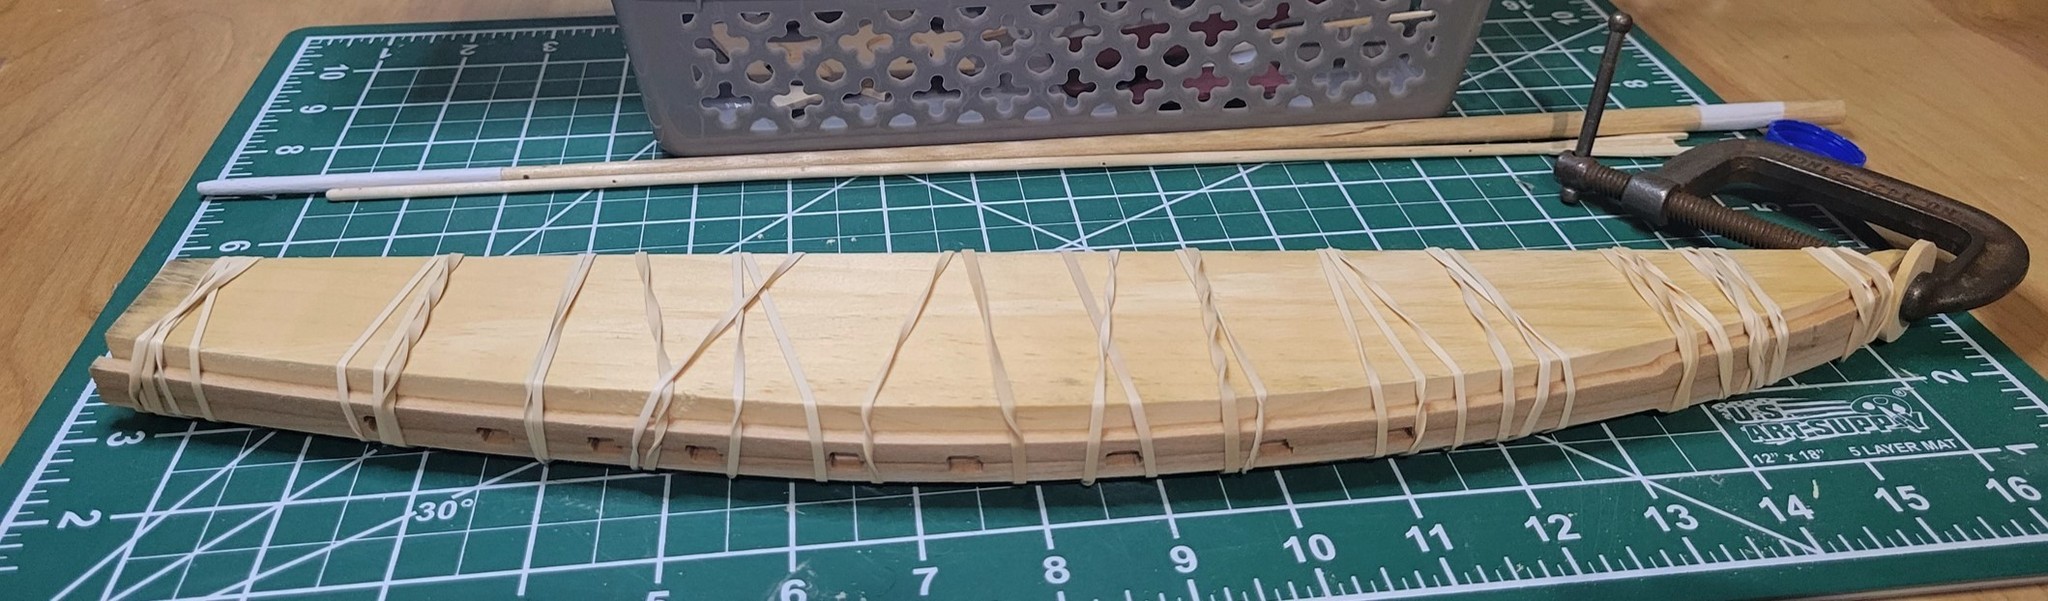
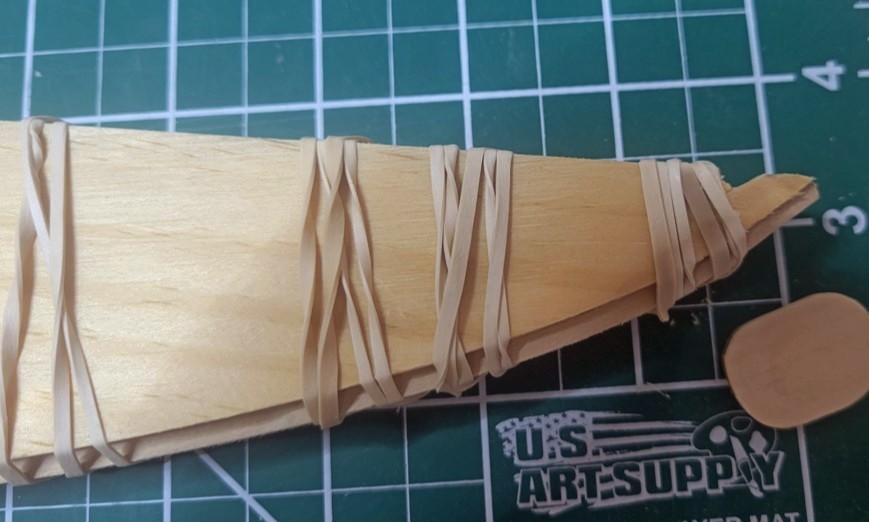
After soaking and clamping, the toe rails were close enough to the hull shape that I did not have to fight them, like I would have had too if they were straight.
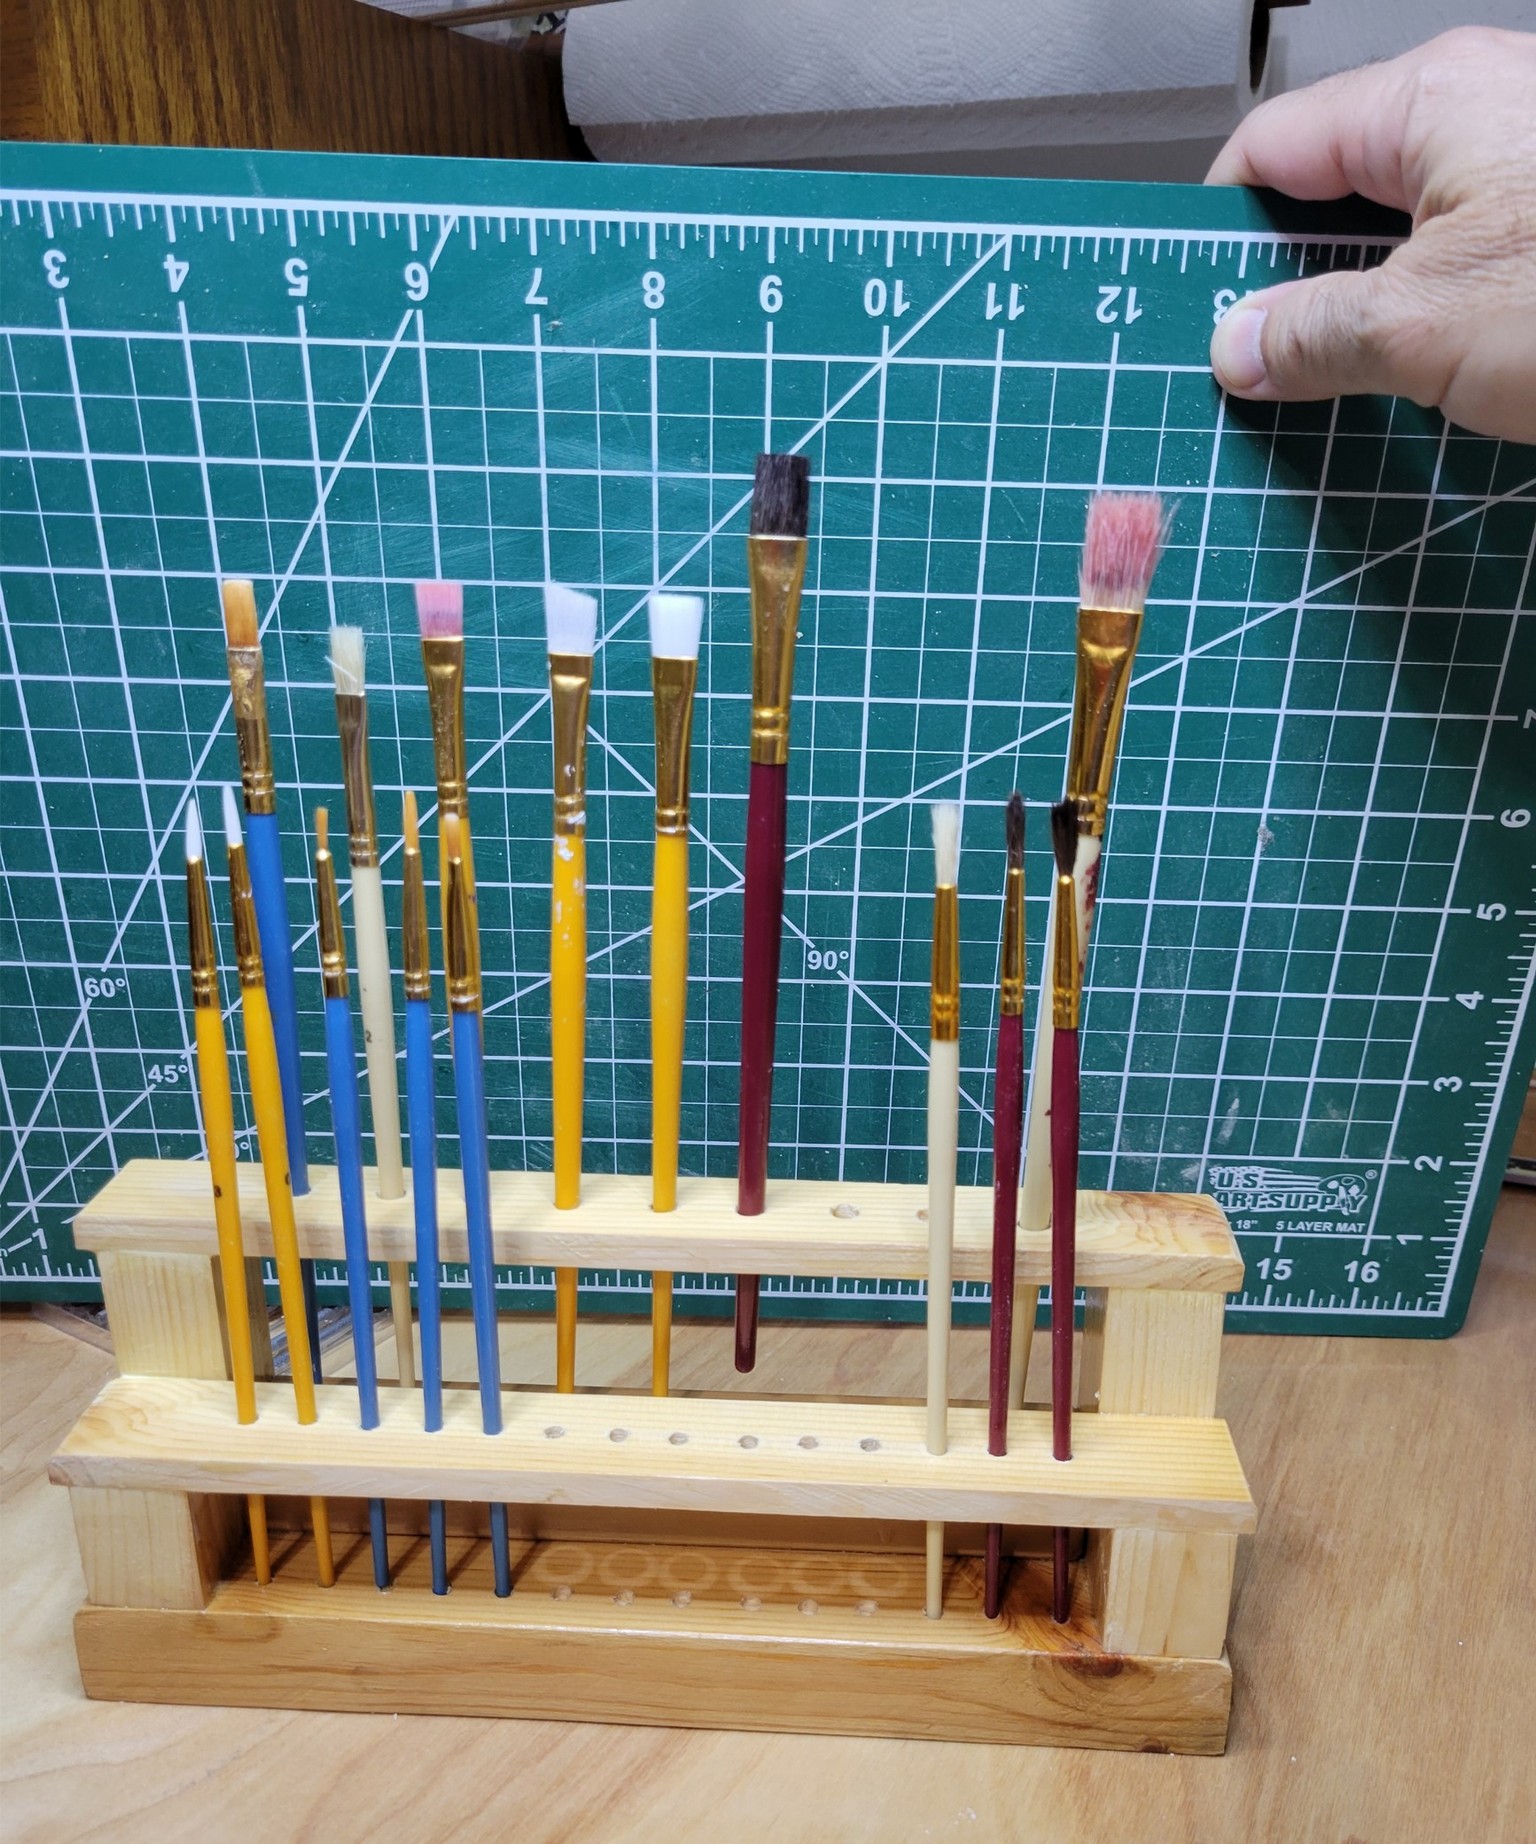
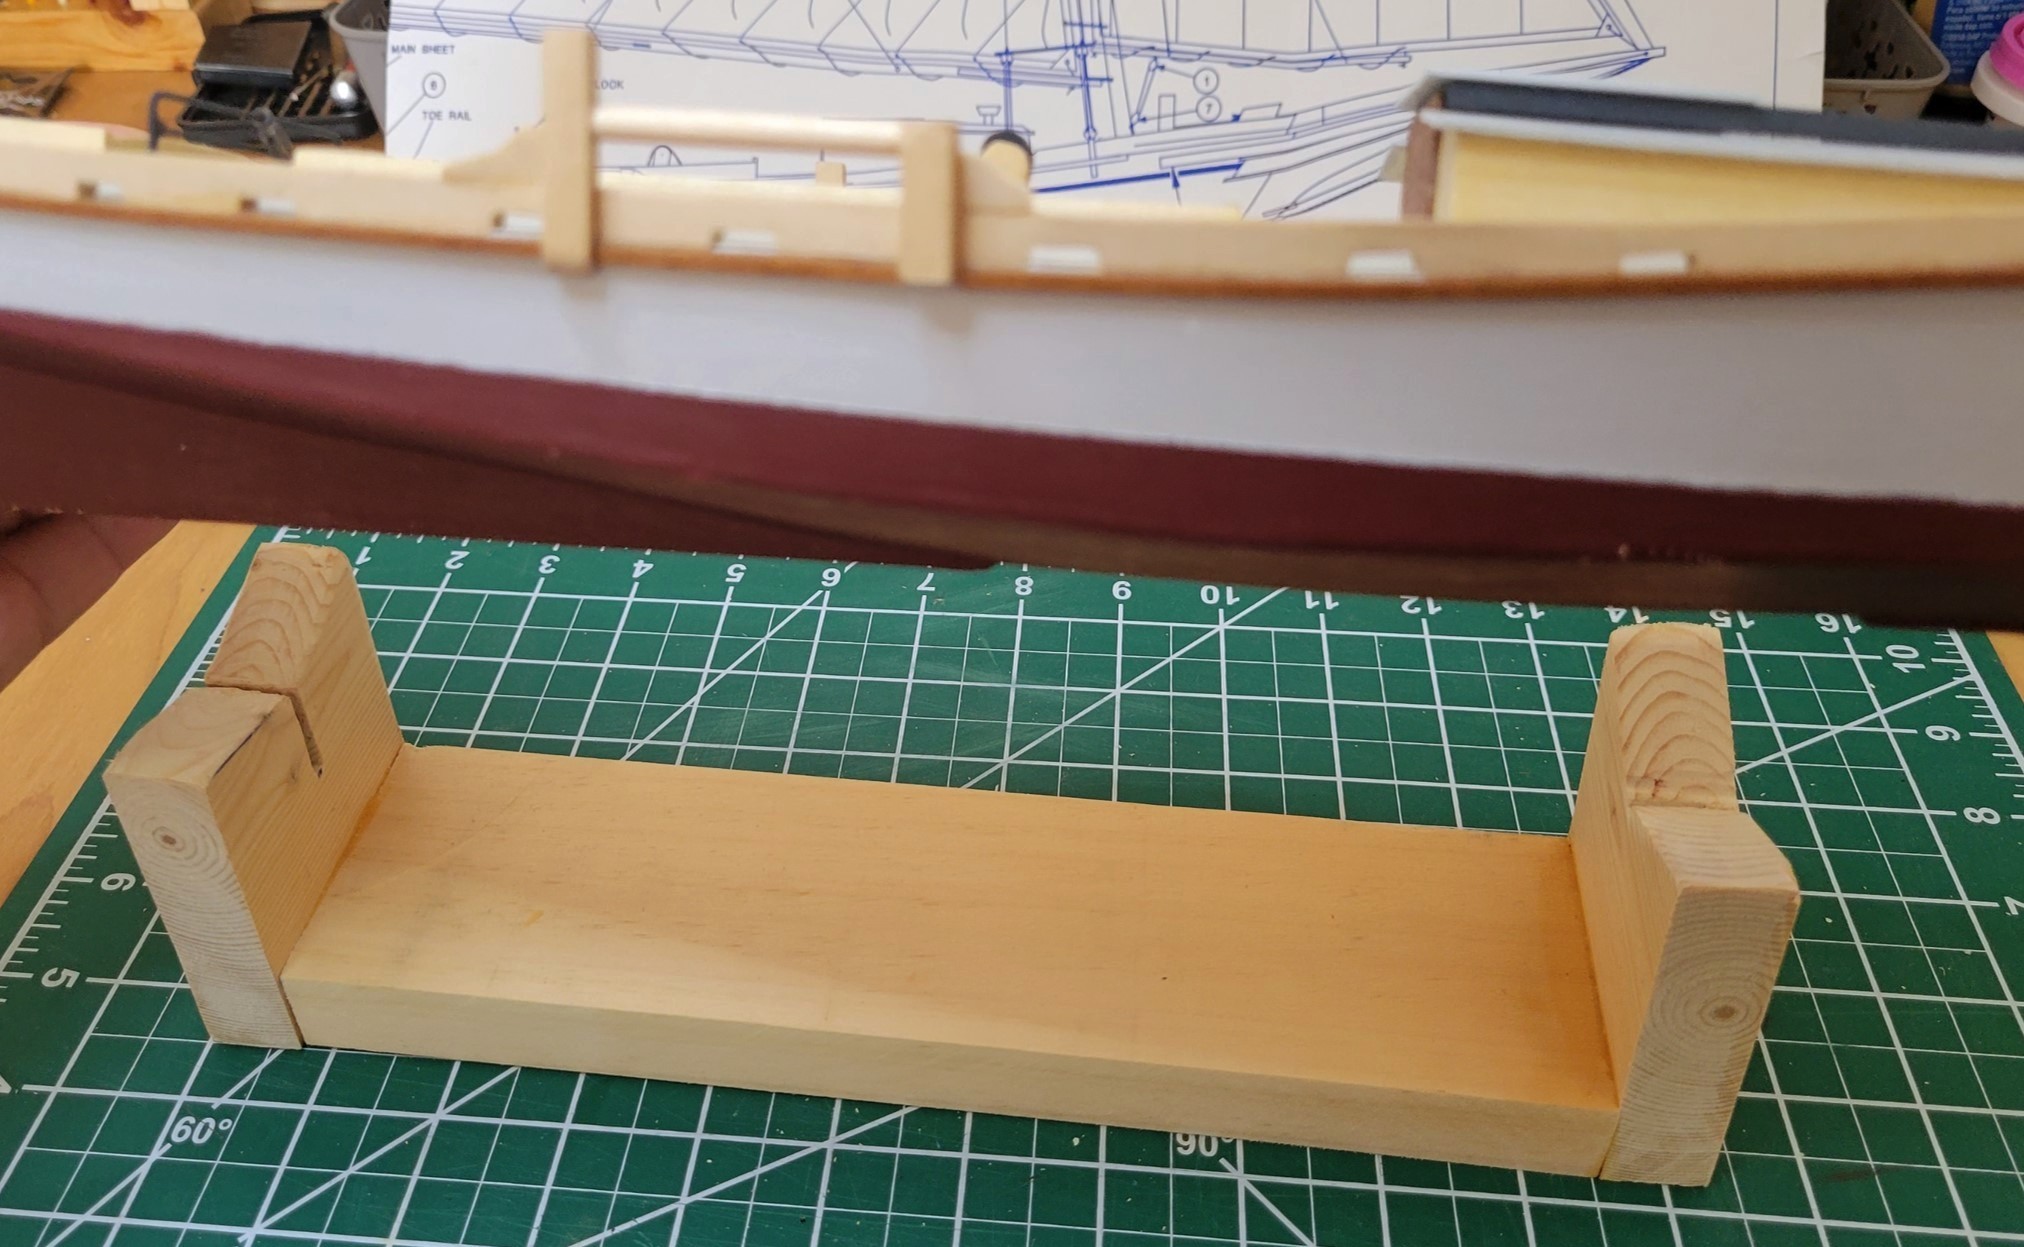
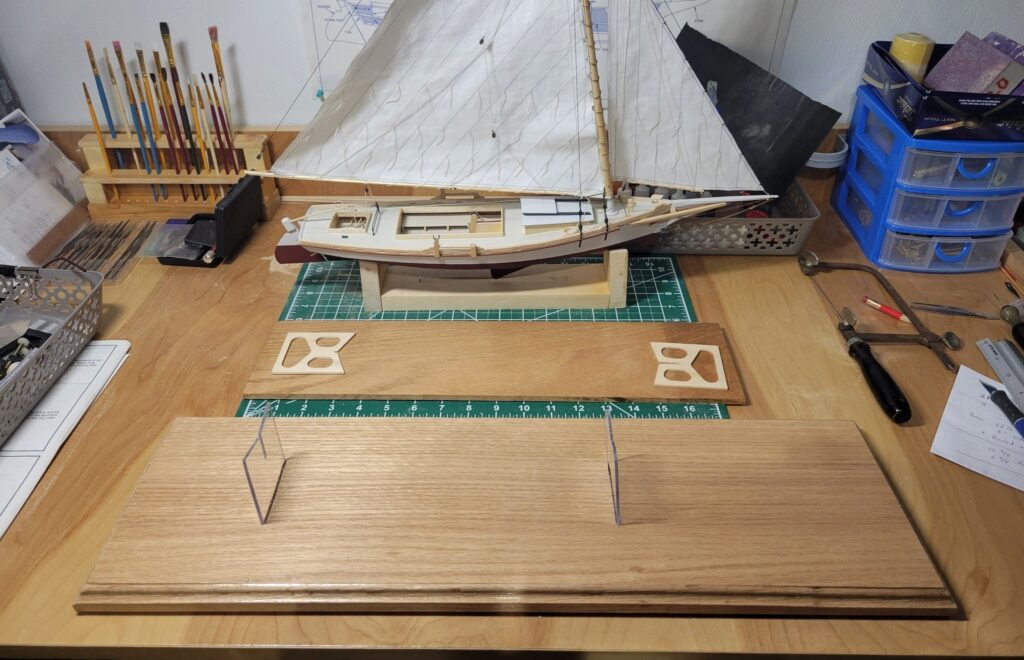
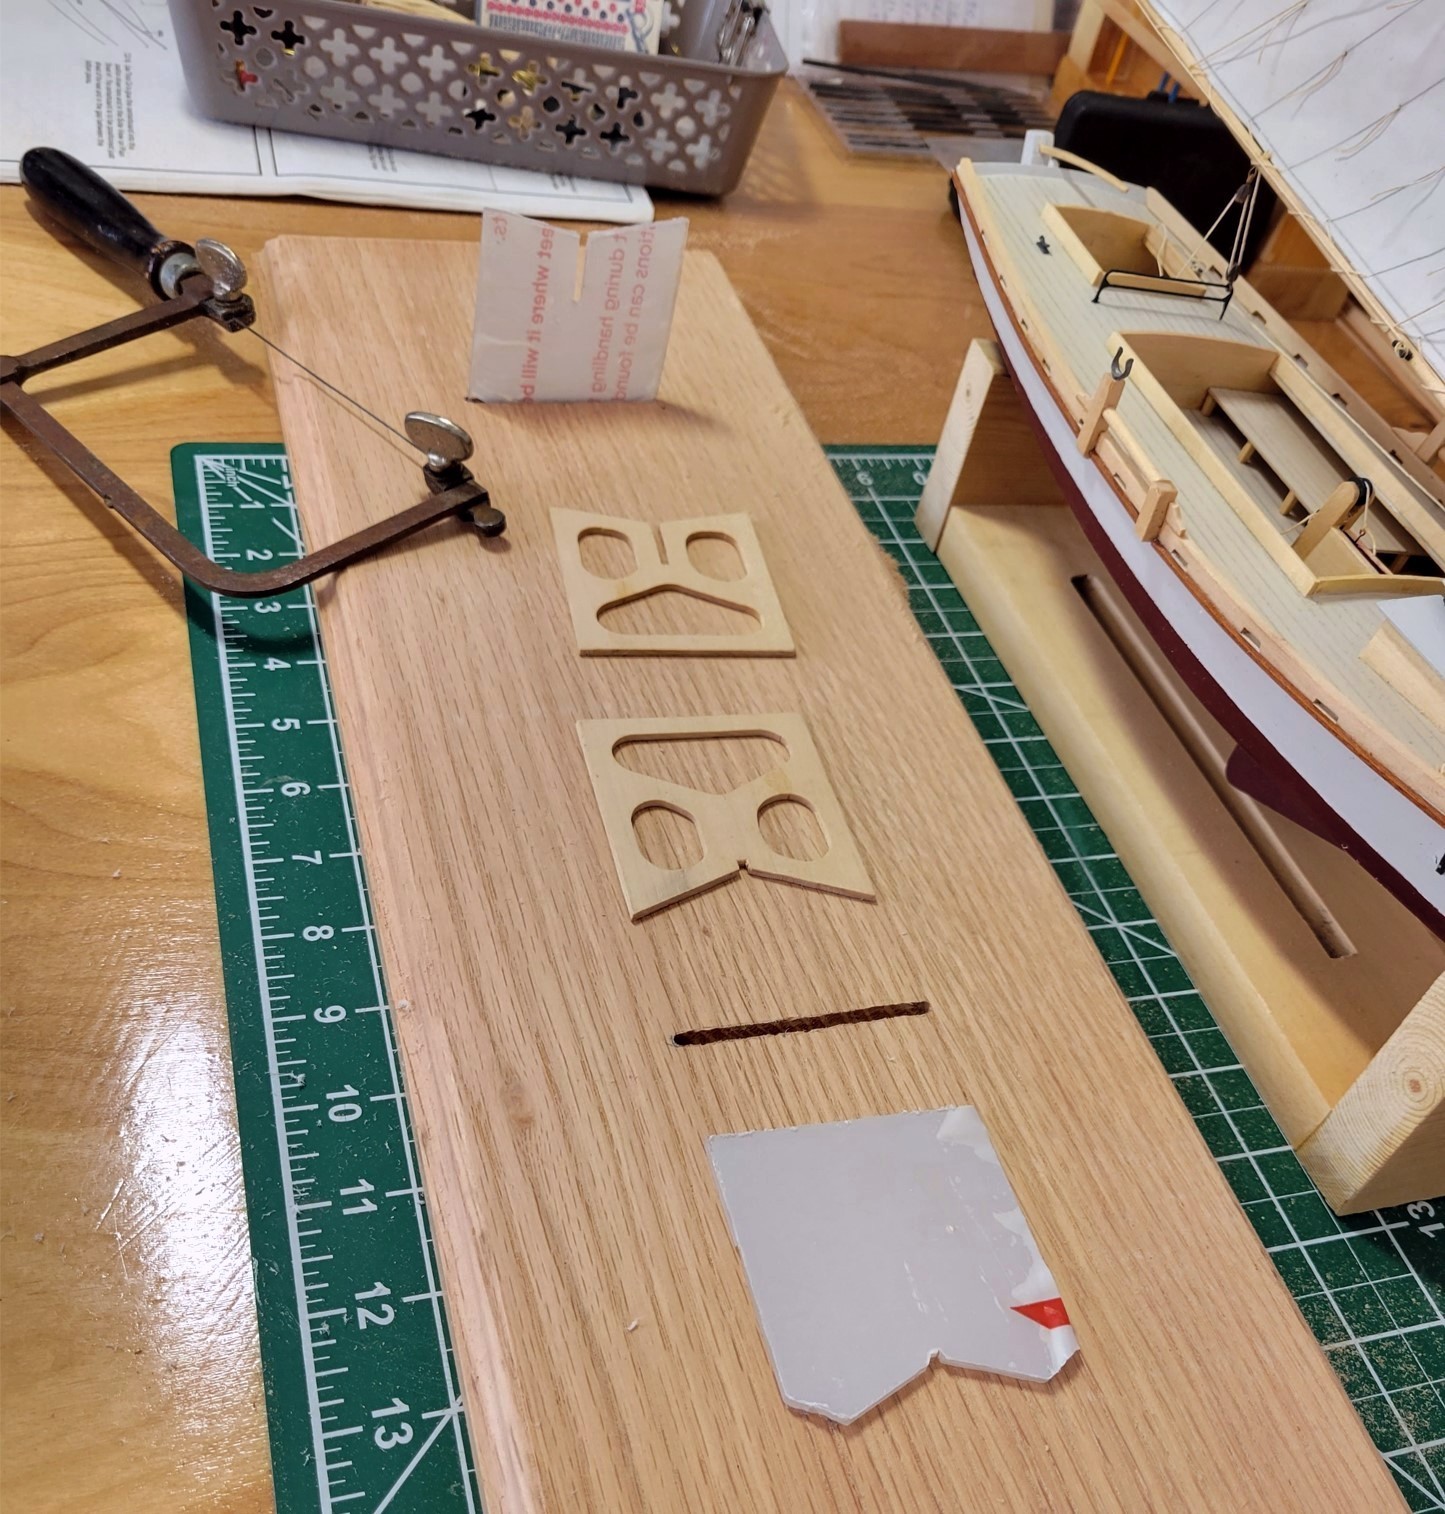
Side Note: Shop Supply Projects
Working Stand
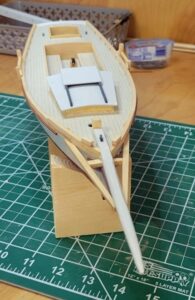
The instructions say to install the centerboard and use the display stand for the remainder of the build. I felt the display stand was too flimsy and I would break it often. Instead, I am leaving the centerboard to the end and might try to make the stands out of Plexiglass.
Bow Supports and Added Fittings
The supports on the head were a oops that I decided to keep.
The Rub rails are real Mahogany from my stash that I have been dragging around the country since the 1970s.

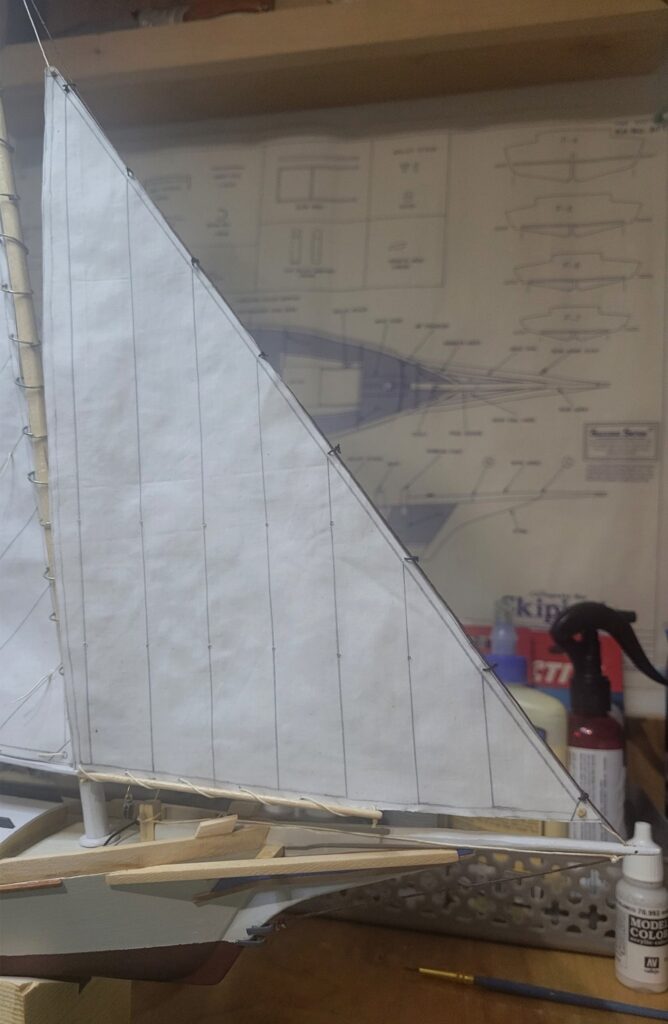
Sailcloth
Here, I am laying out the sail on some slightly yellowed cloth I got from Hampton Roads Ship Model Society.
A photo immediately above shows a test section of the cloth sitting in front of the model.
What I learned:
- The same Ultra Flat Poly I used on the deckand unpainted wood surfaces works great for stiffening the cloth and making it feel like canvas.
- Have to draw the lines on both sides before coating/soaking the cloth with Poly.
- No real benefit of a second coat Tried over cutting to have thicker edges to fold over, but found it did not look good at this scale.

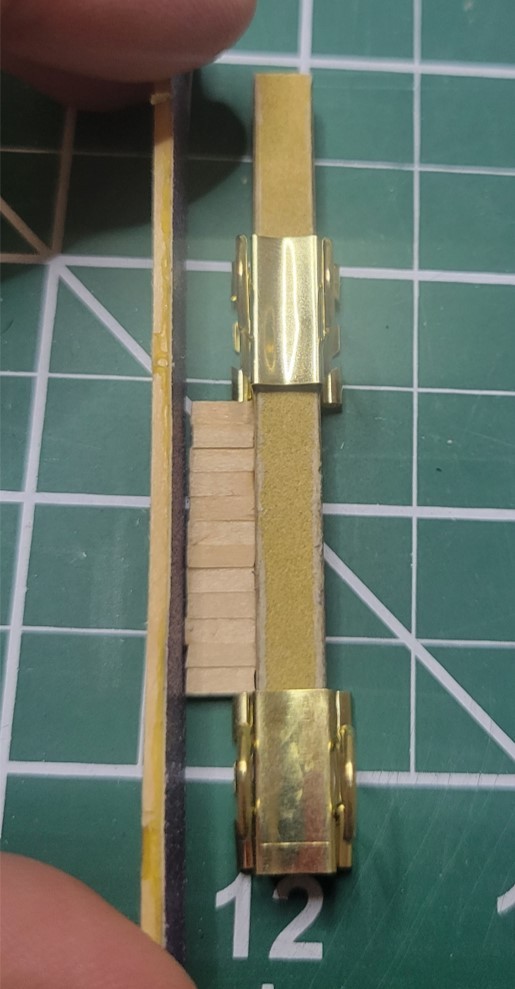
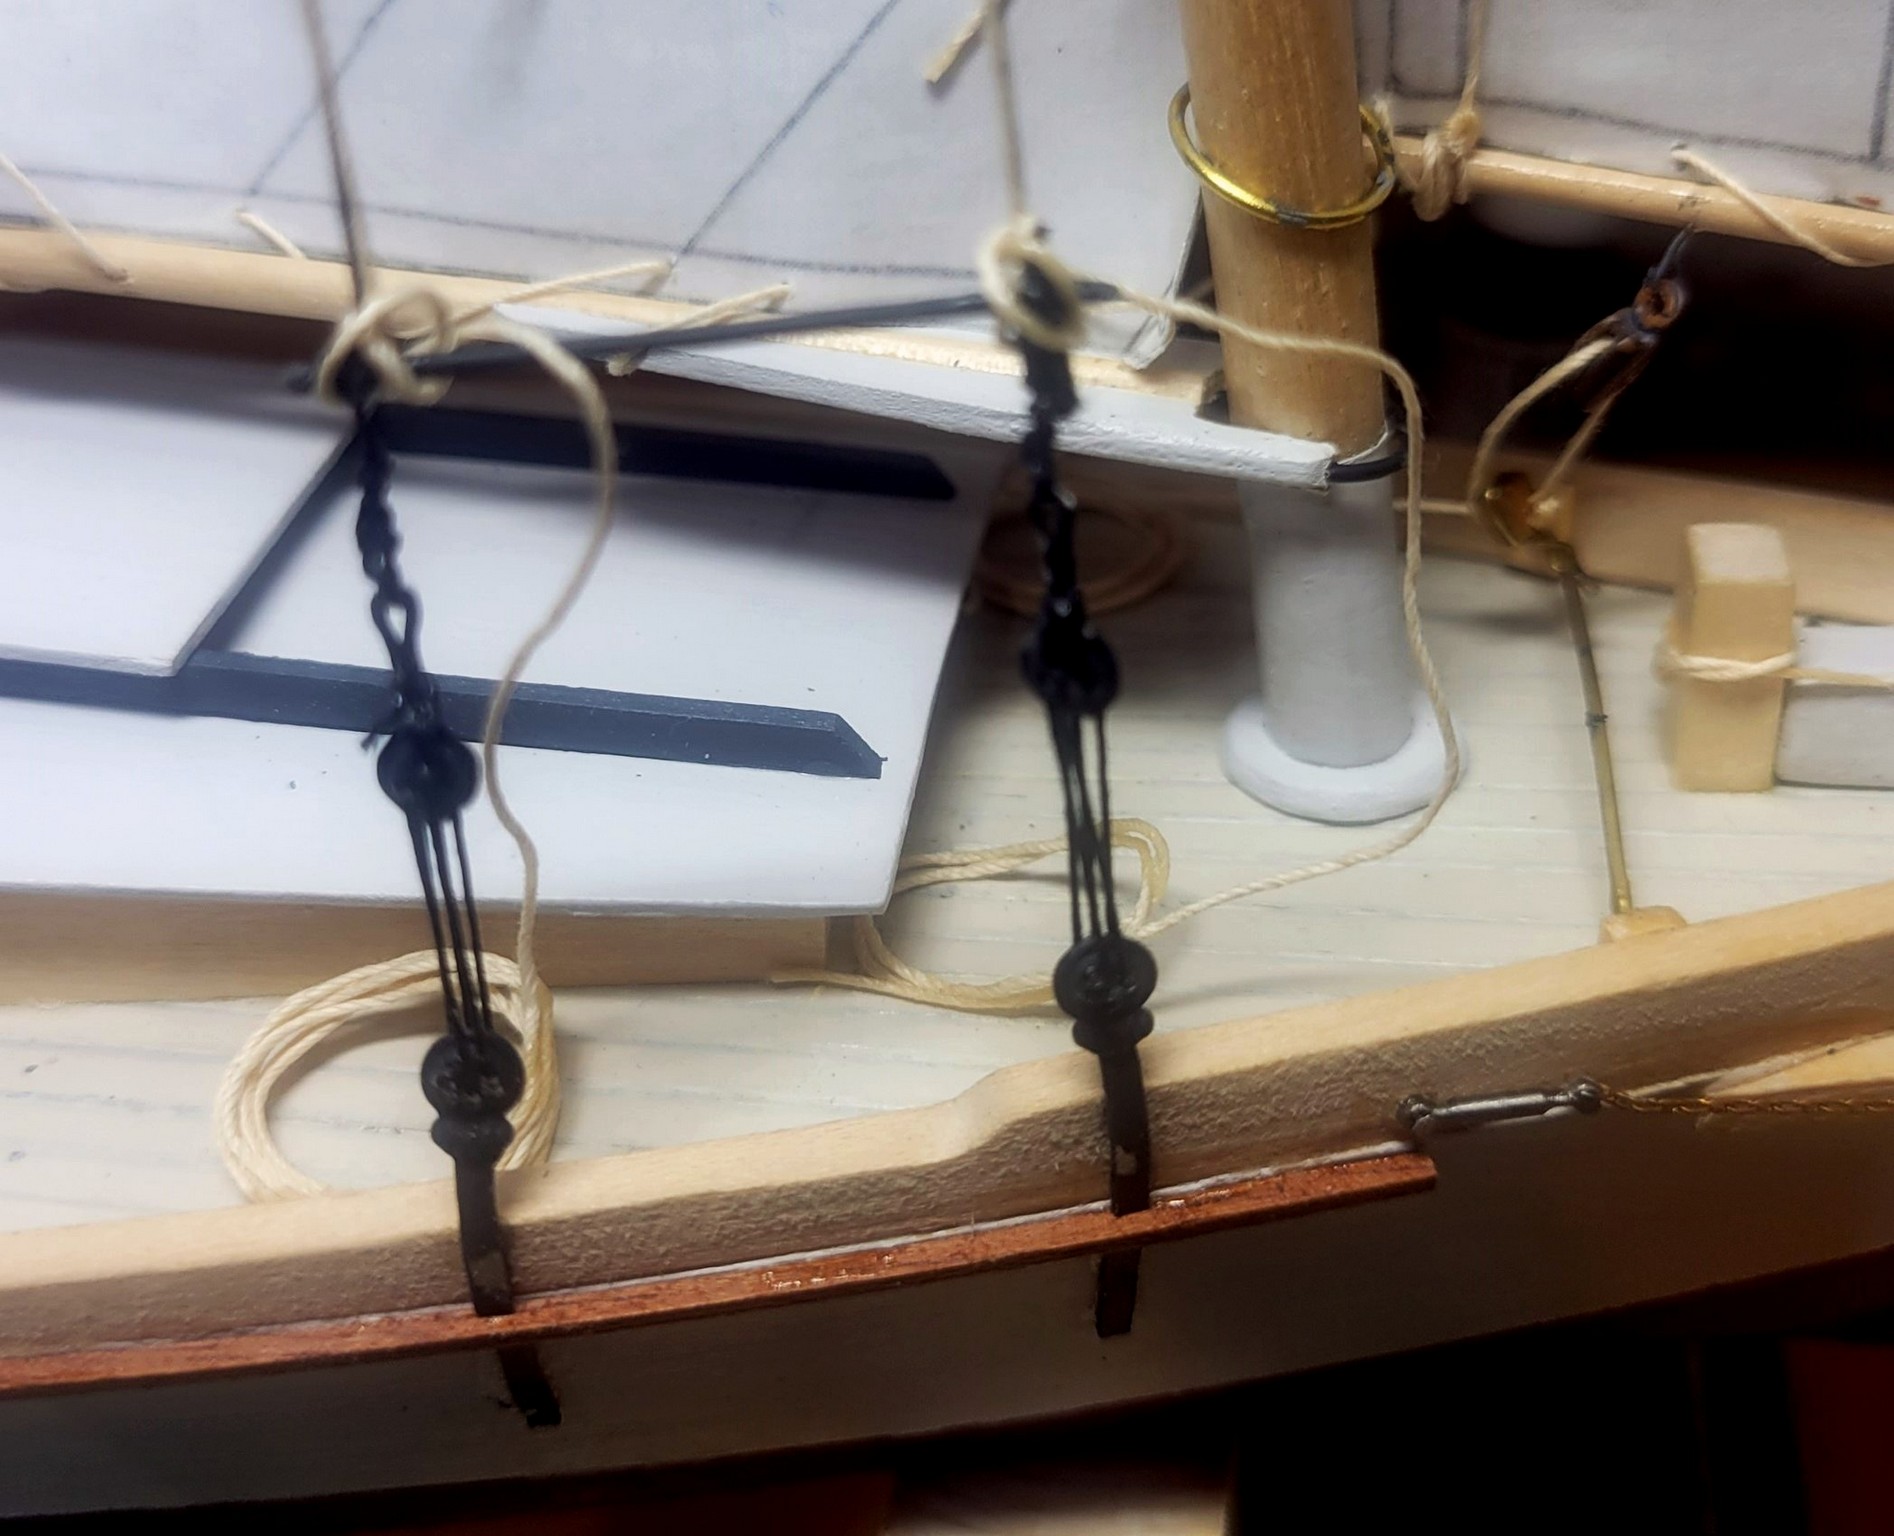
Mainsheet and Jibsheet Travellers
The instructions said to use thick CA for the main traveler assembly. I found Soldering worked much better.
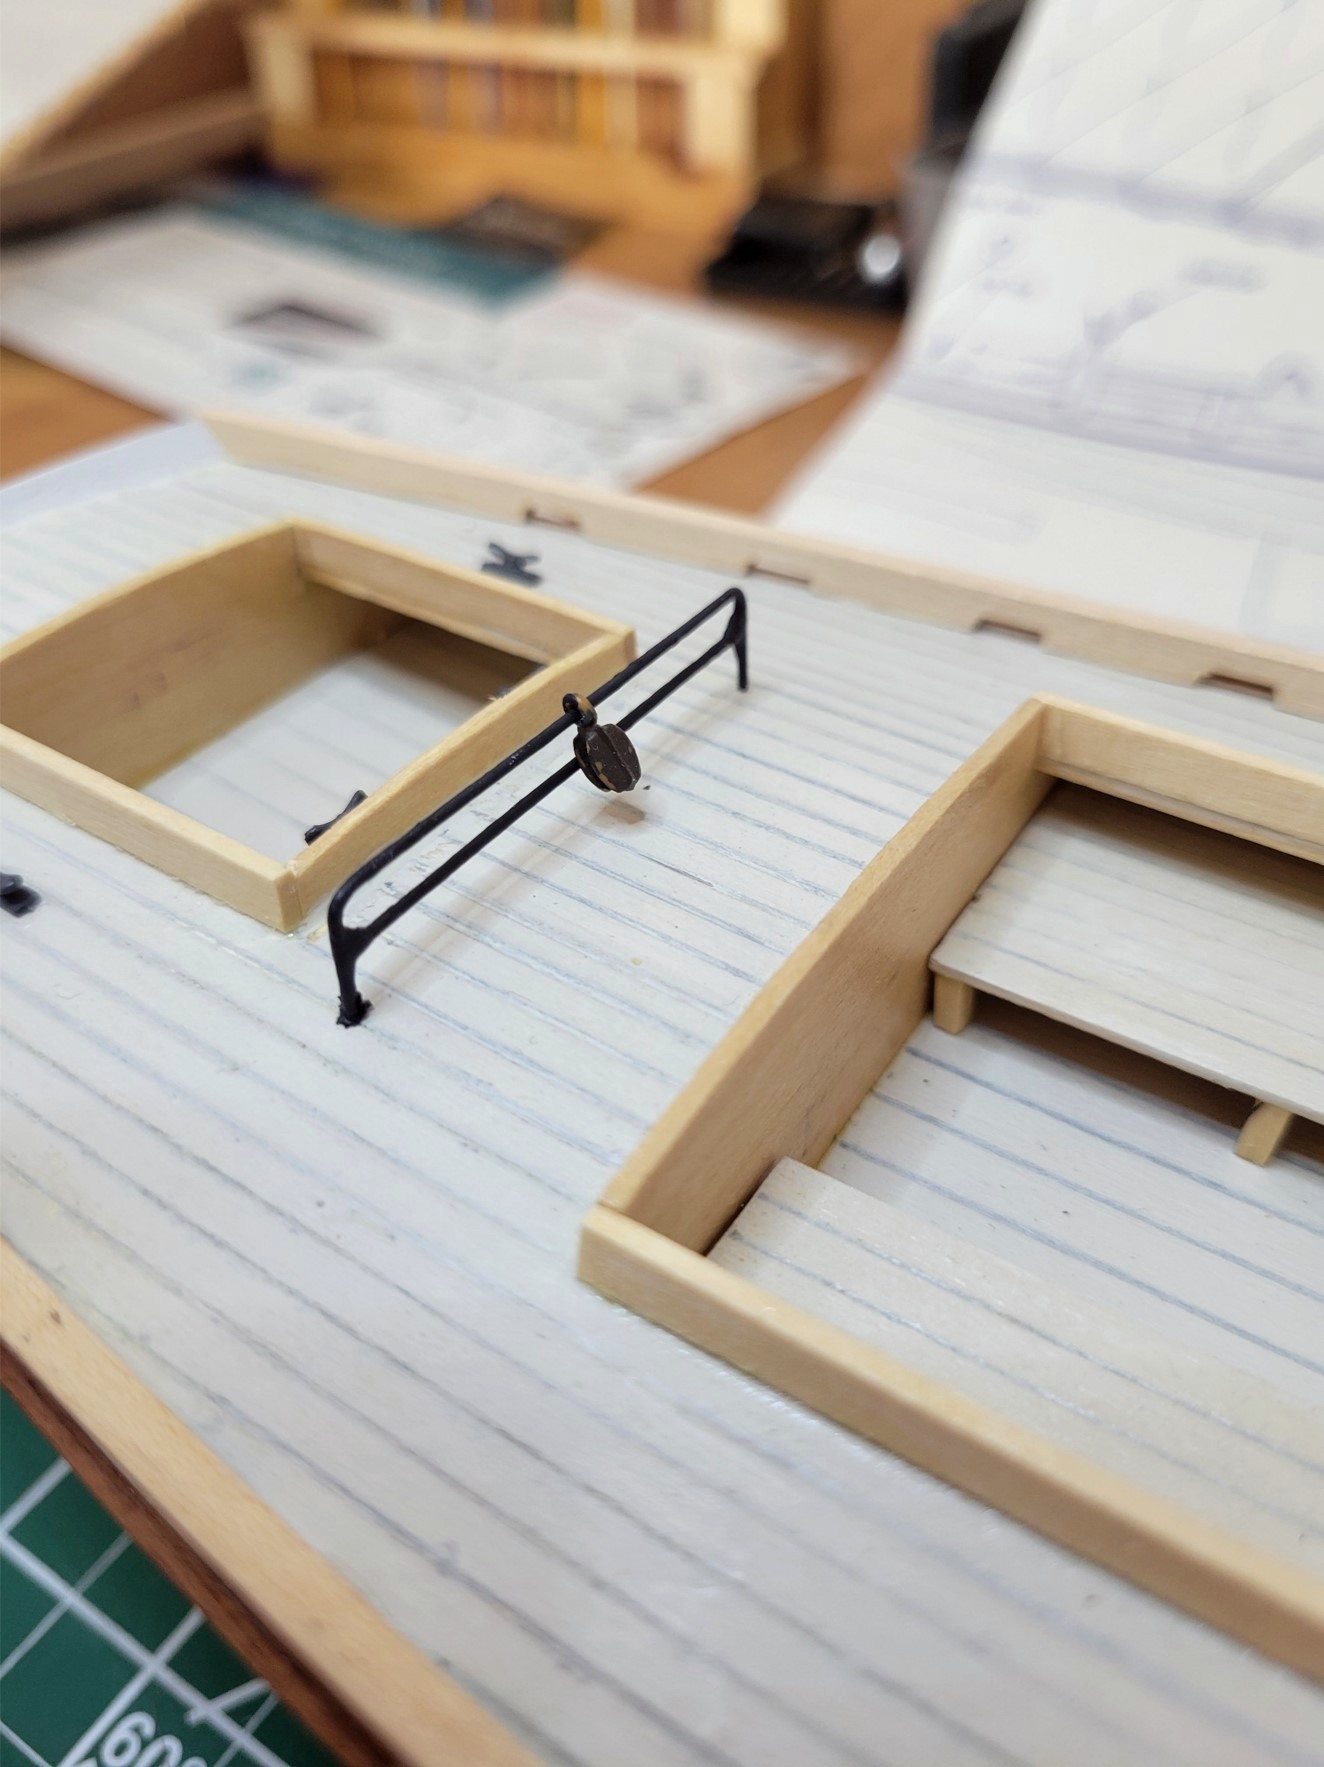
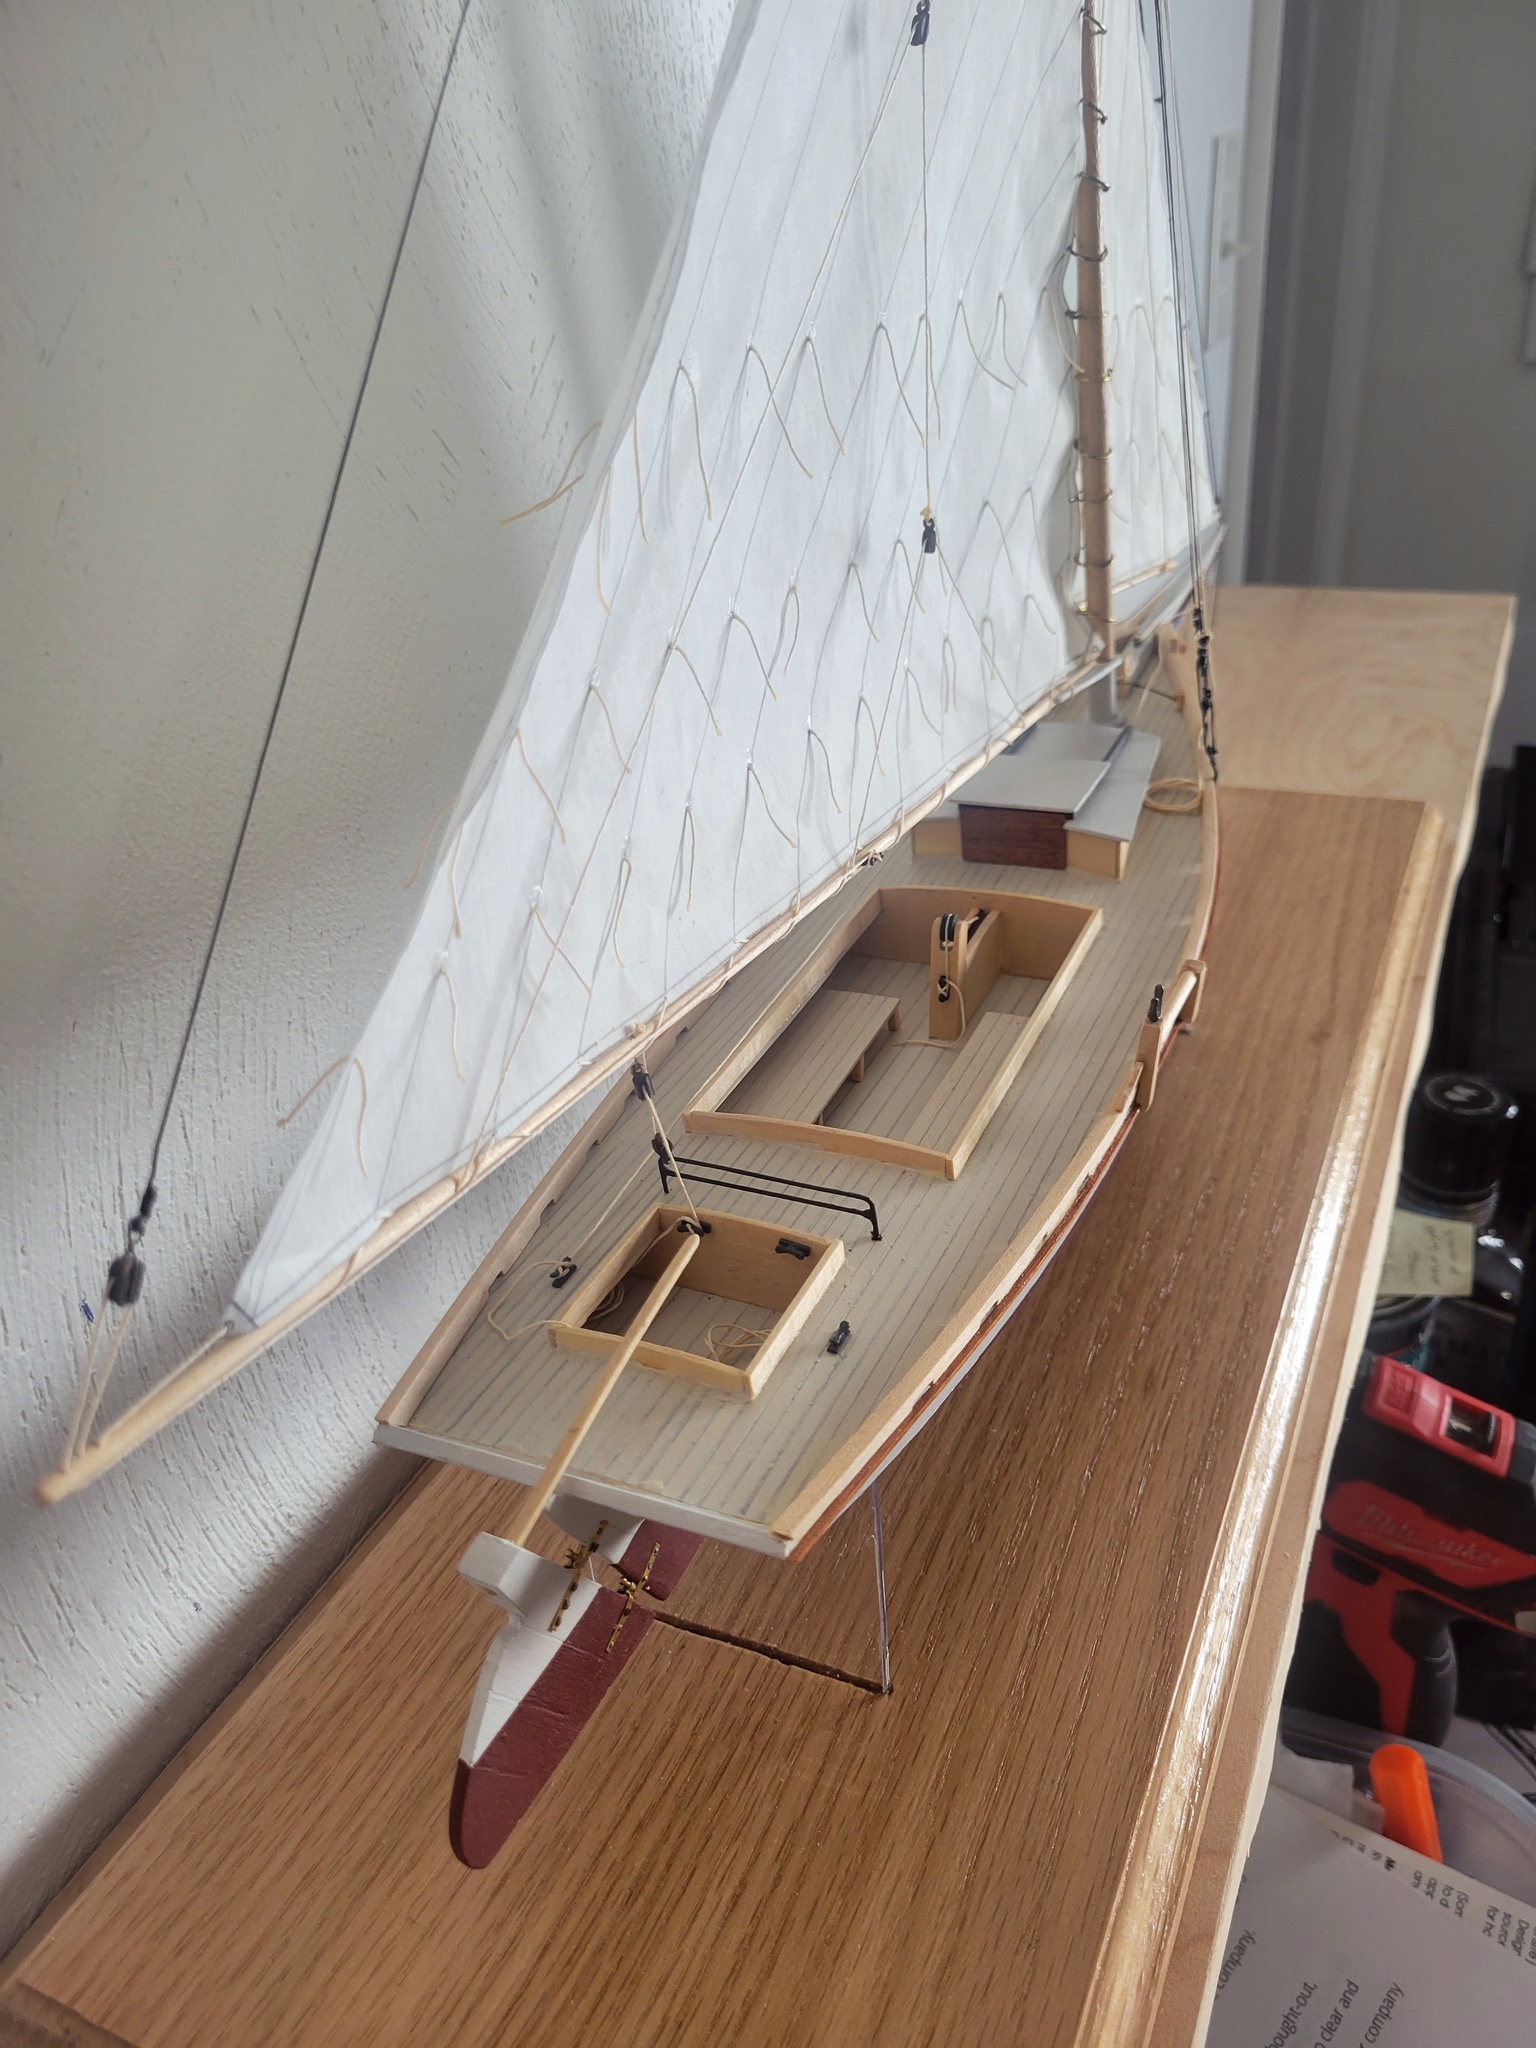
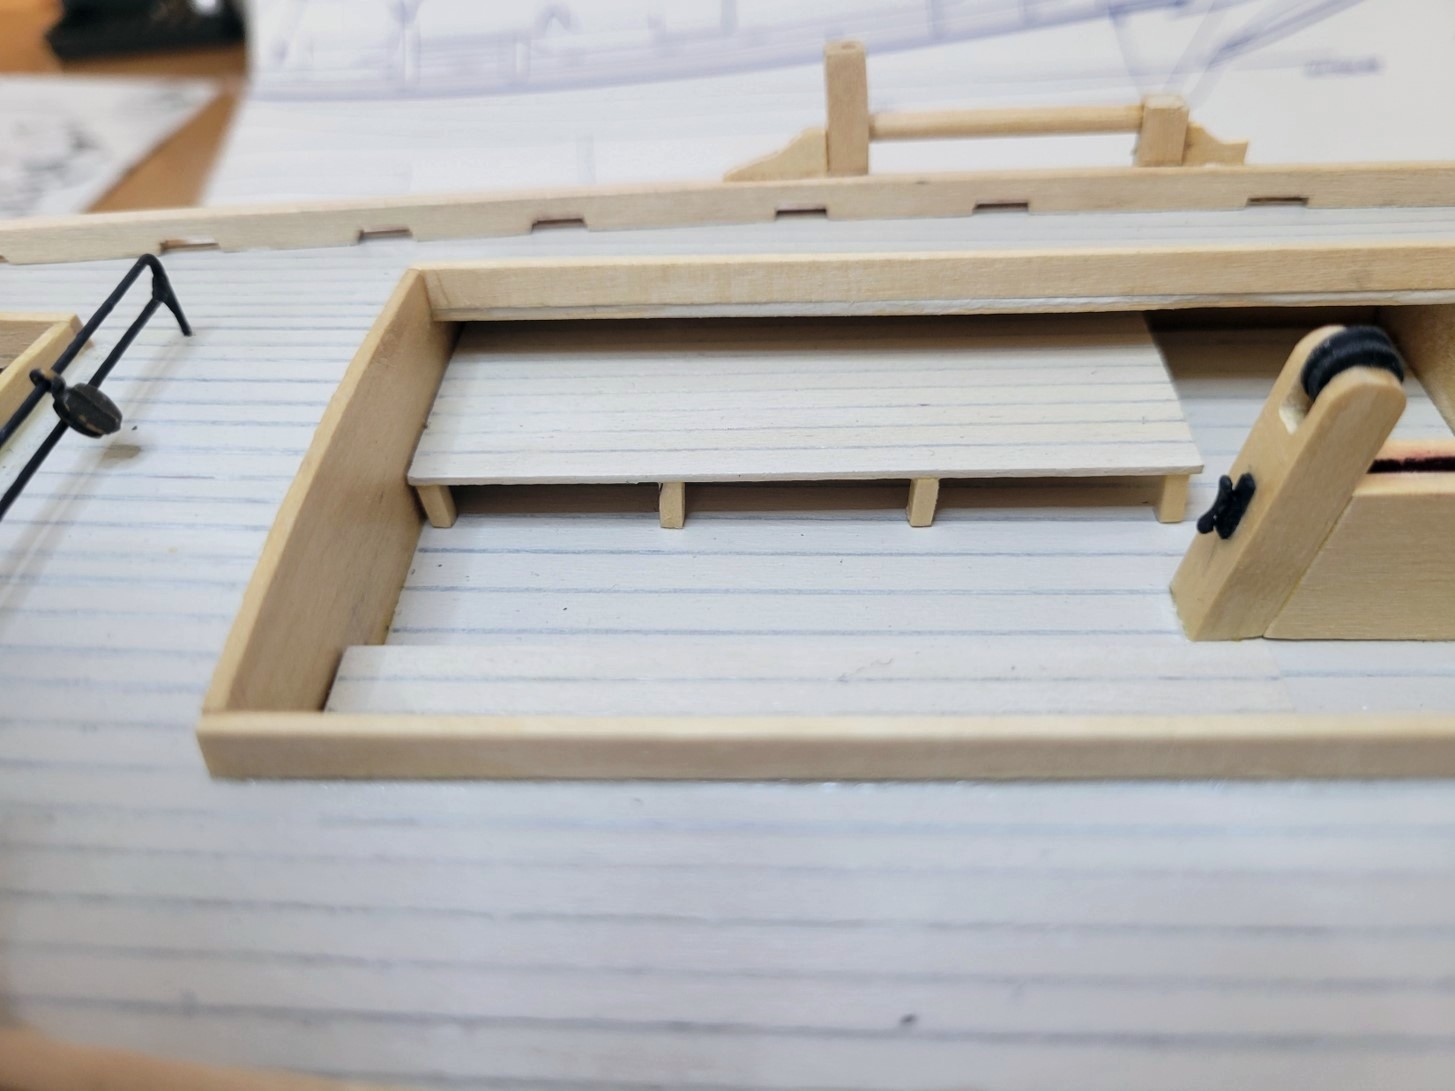
Seats
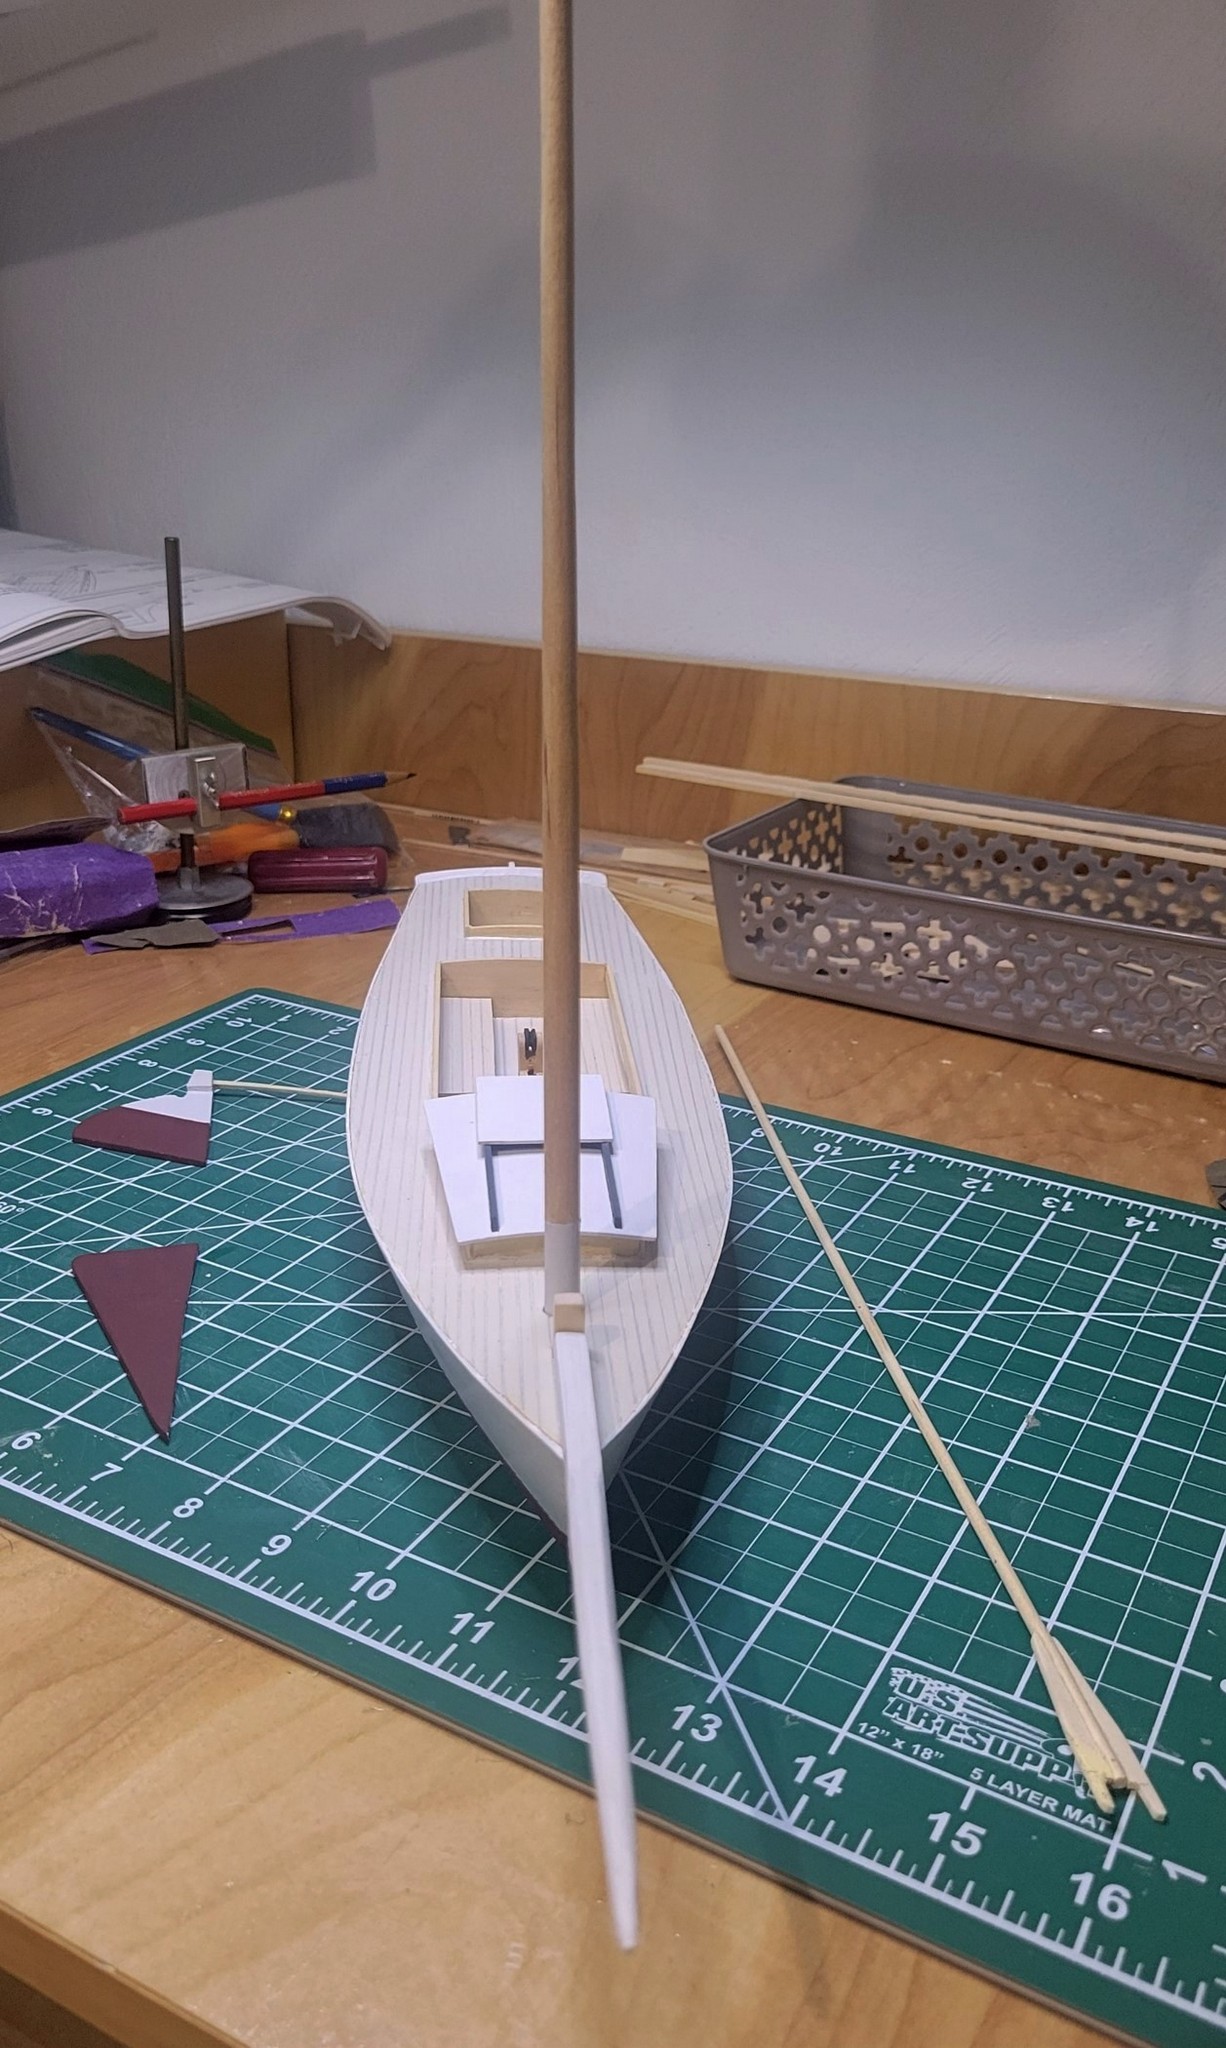
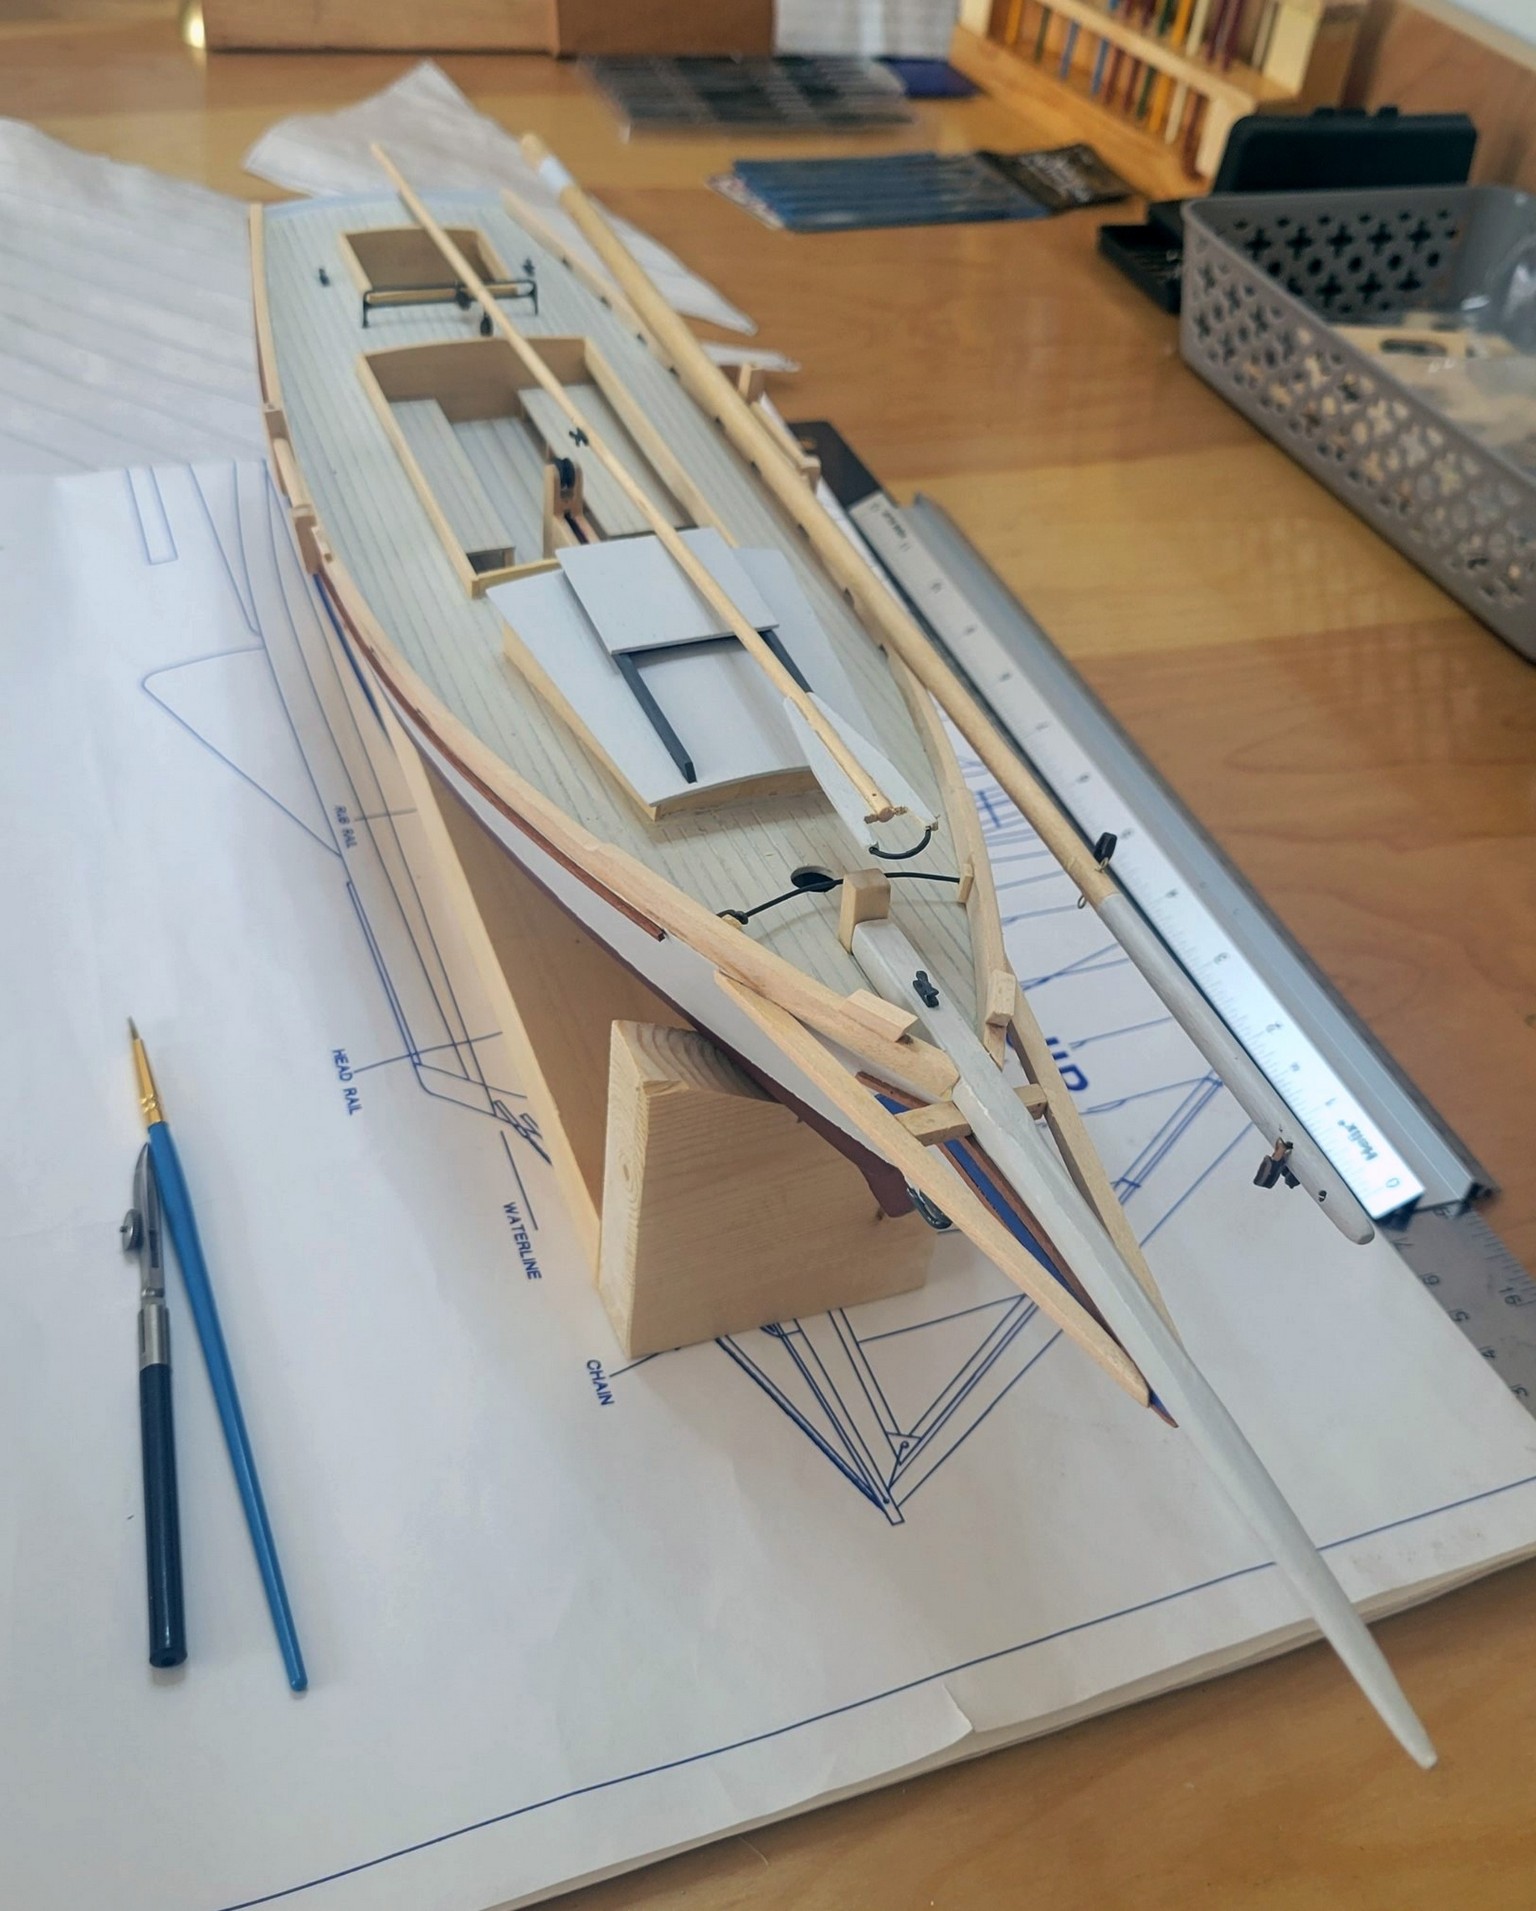
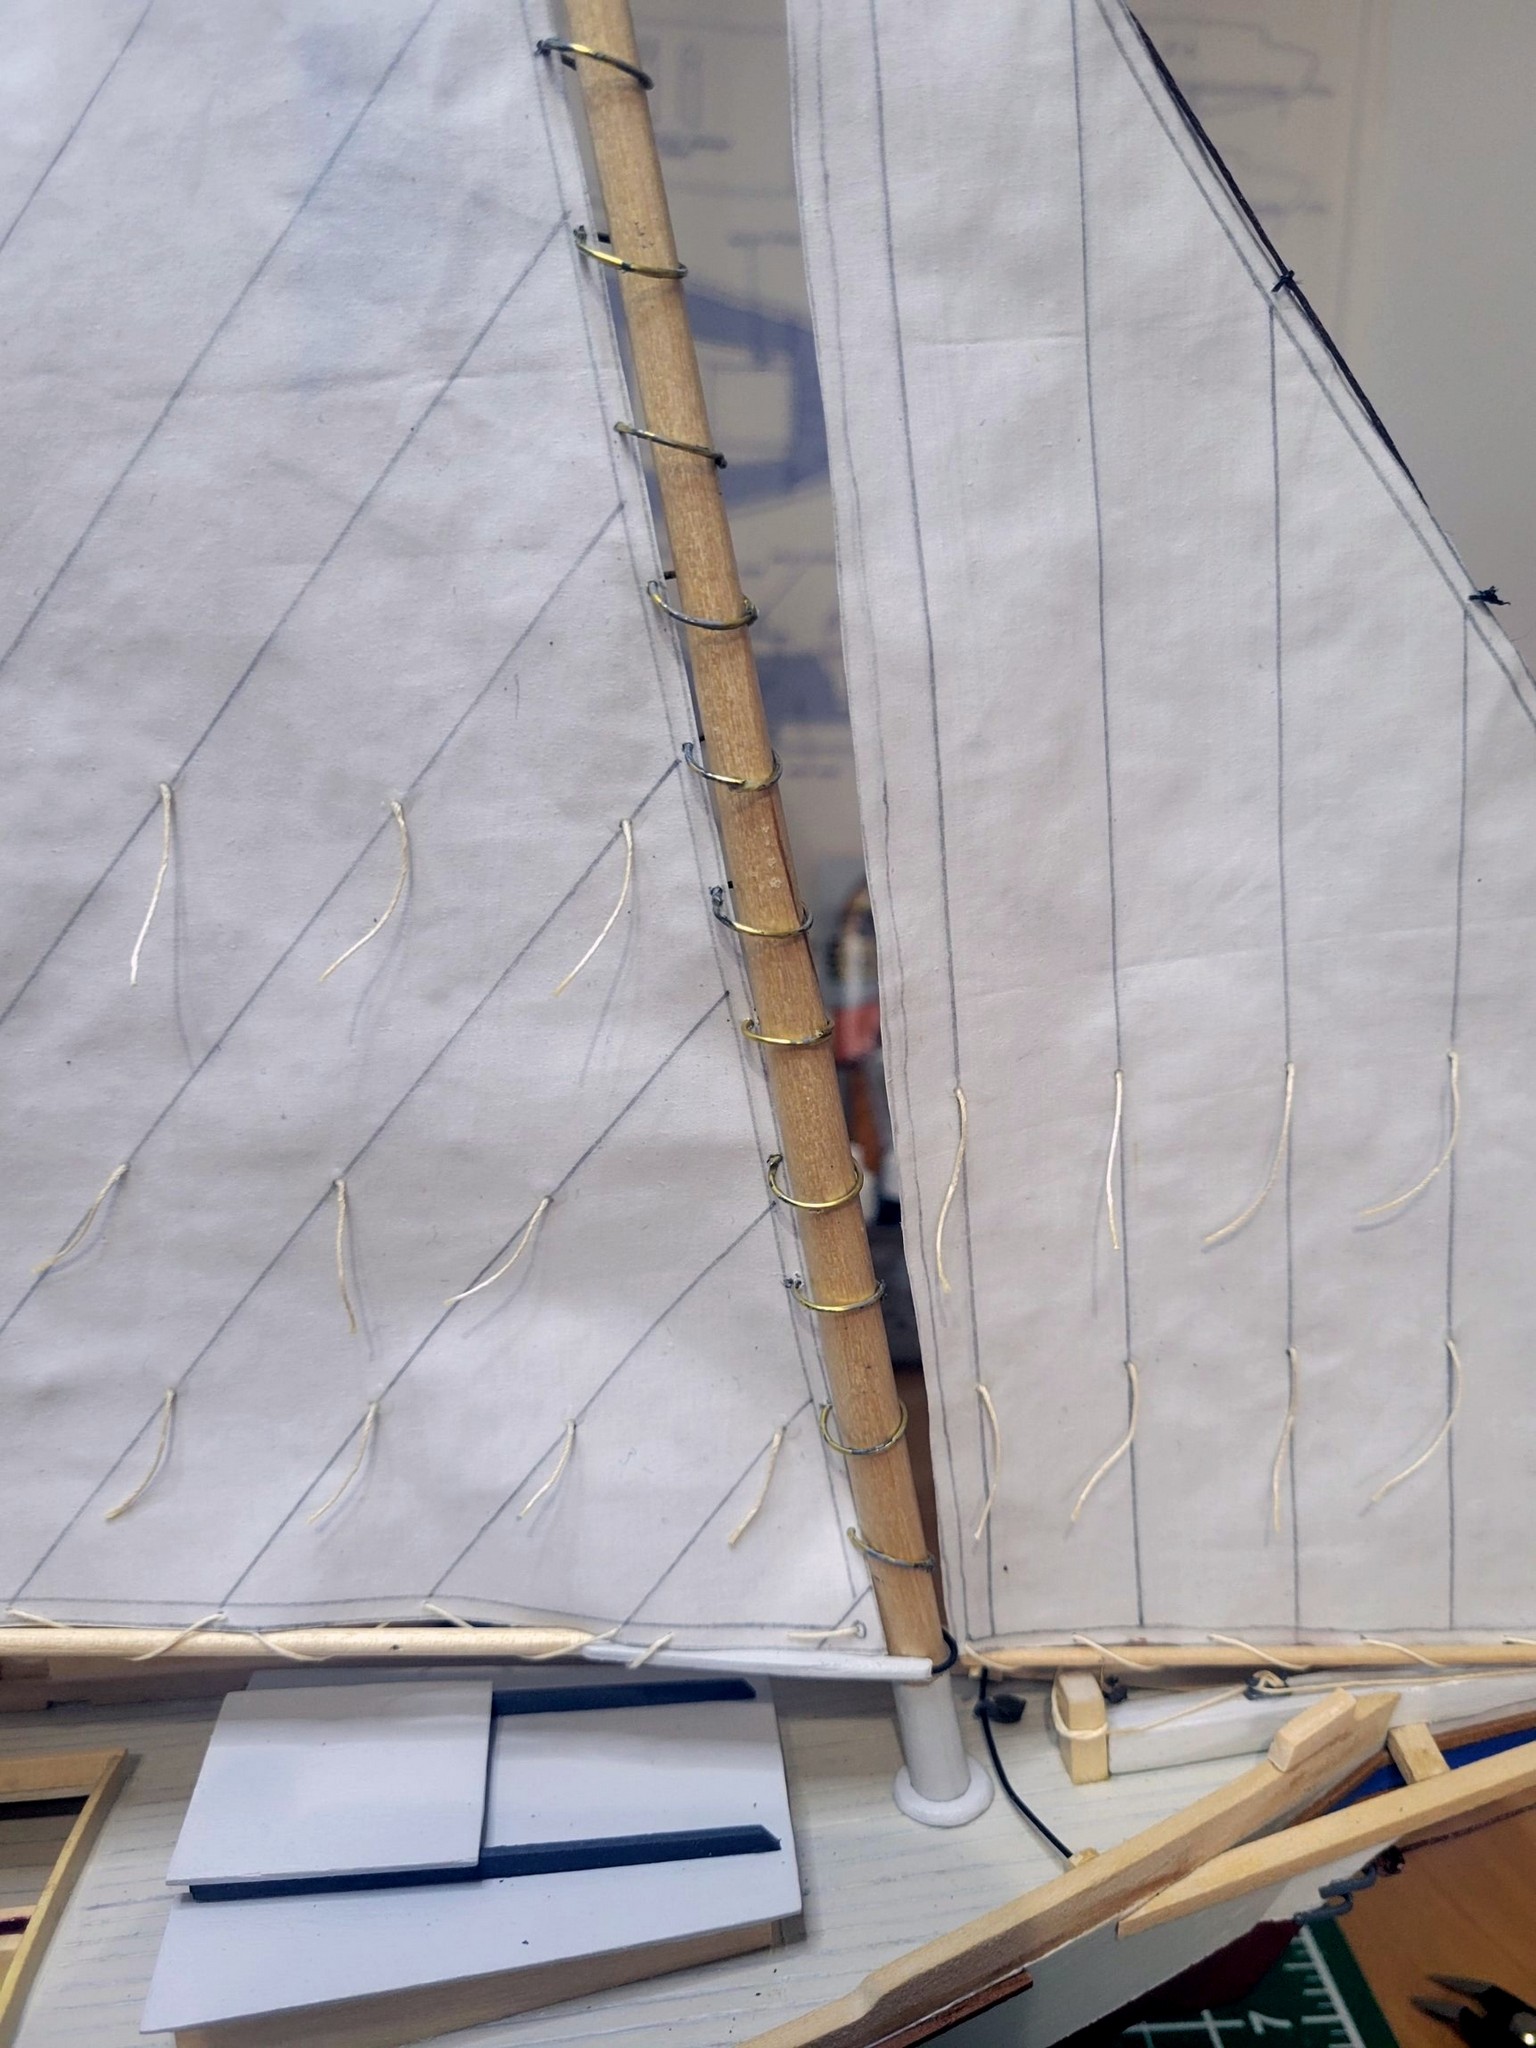
Mast and Rigging
Pre-Assembly
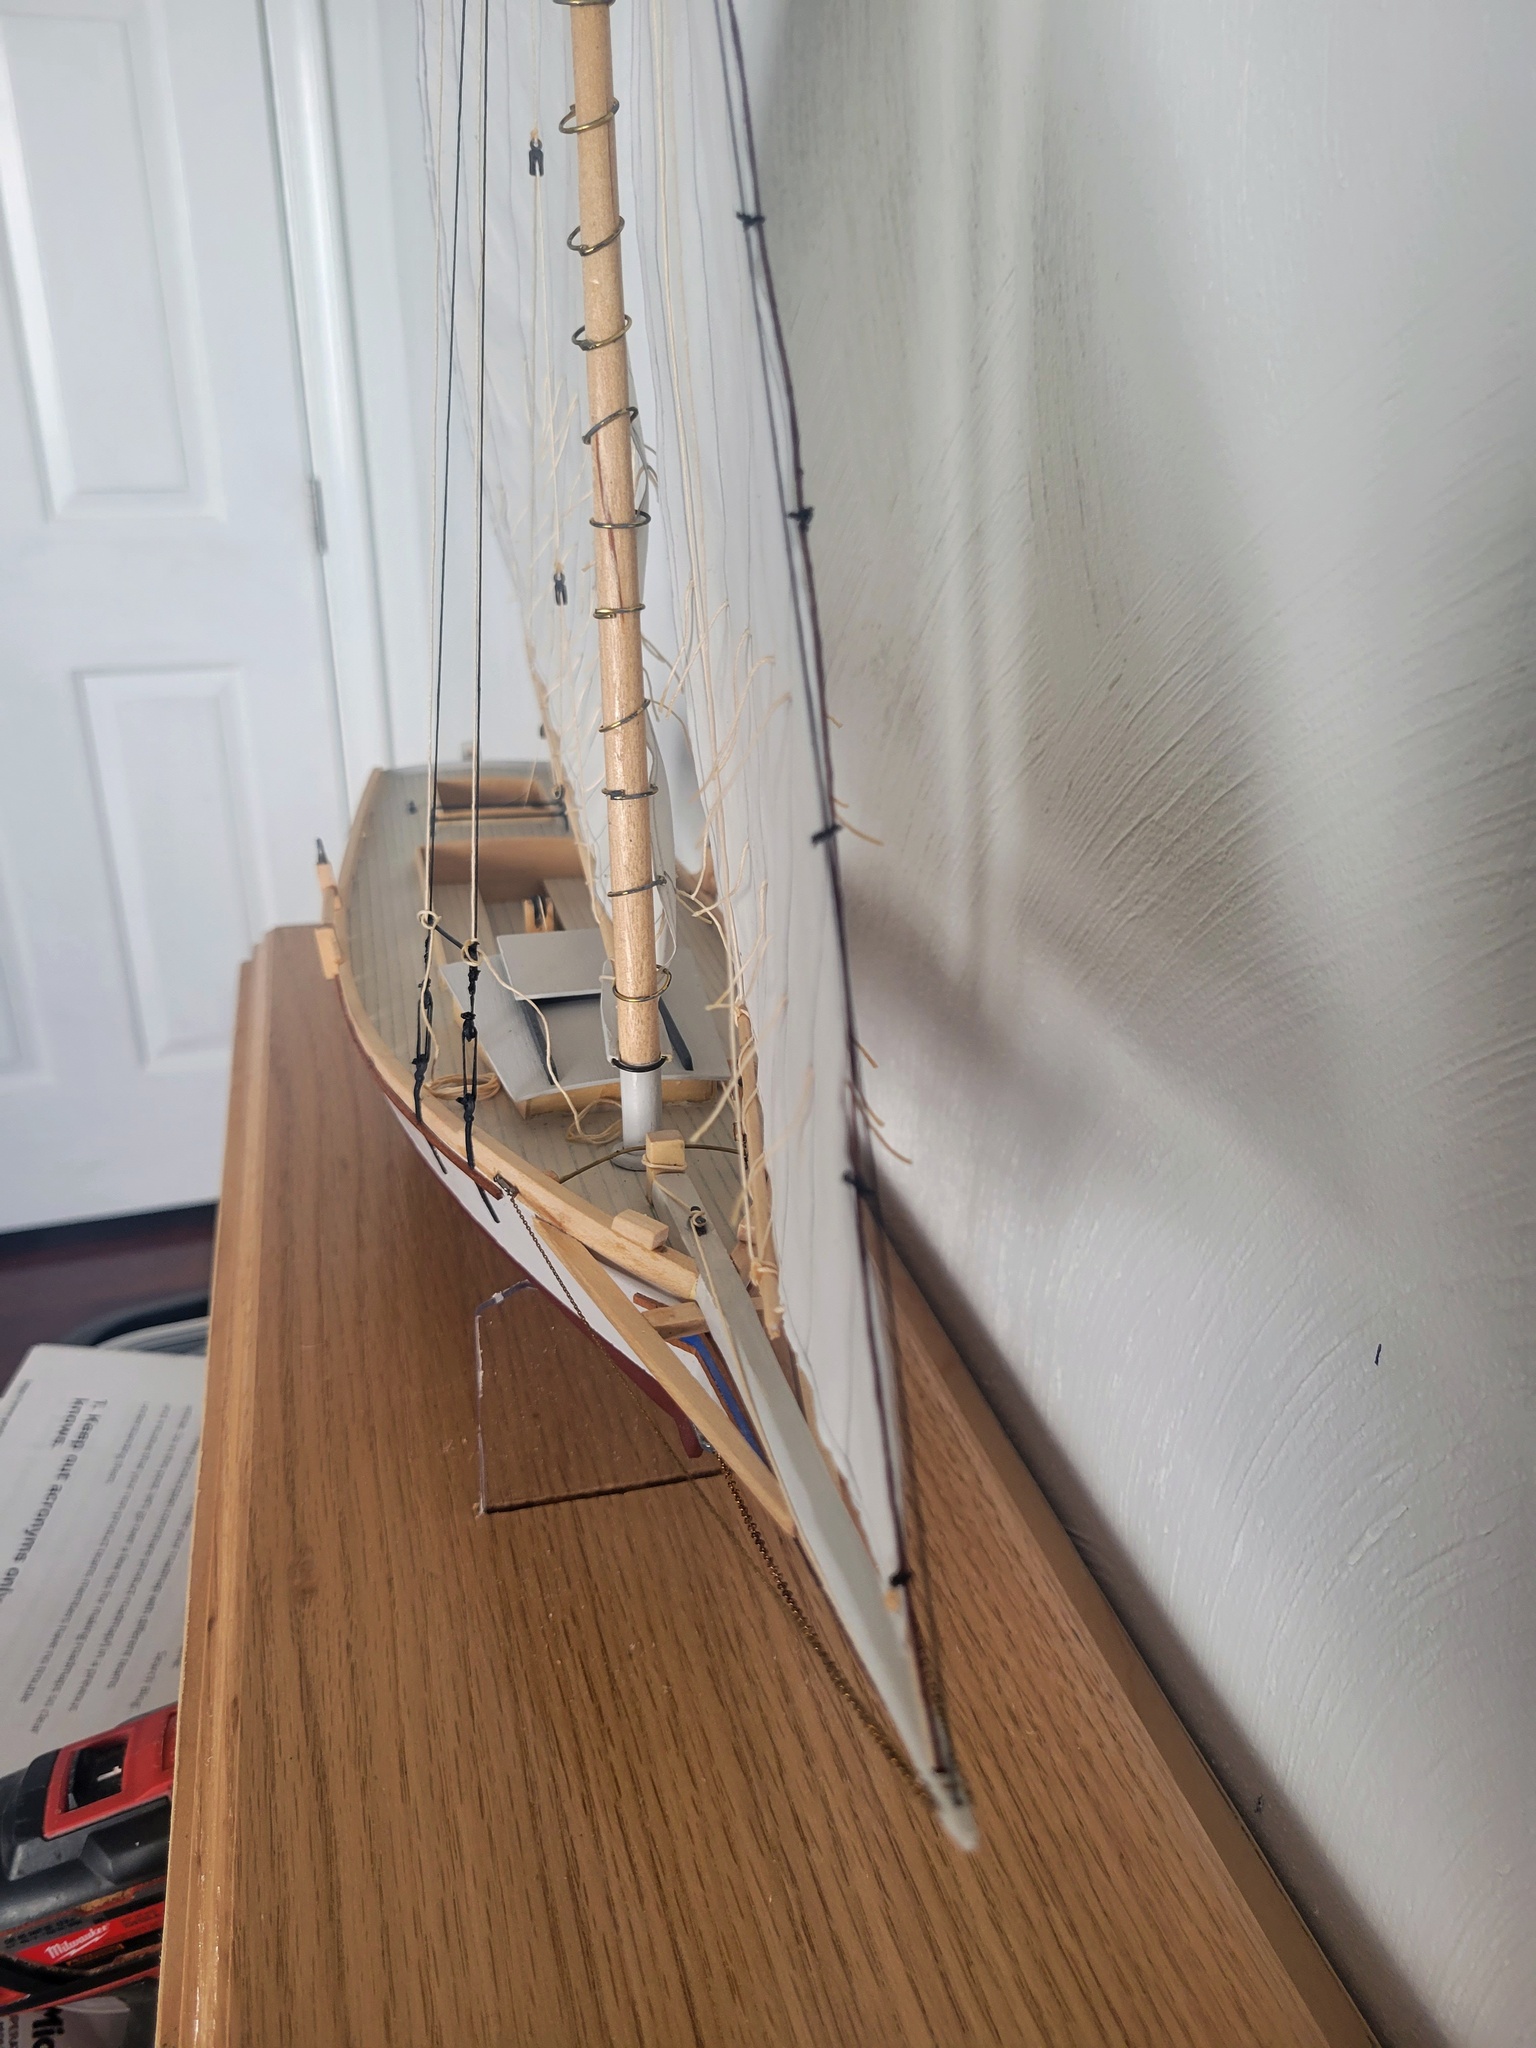
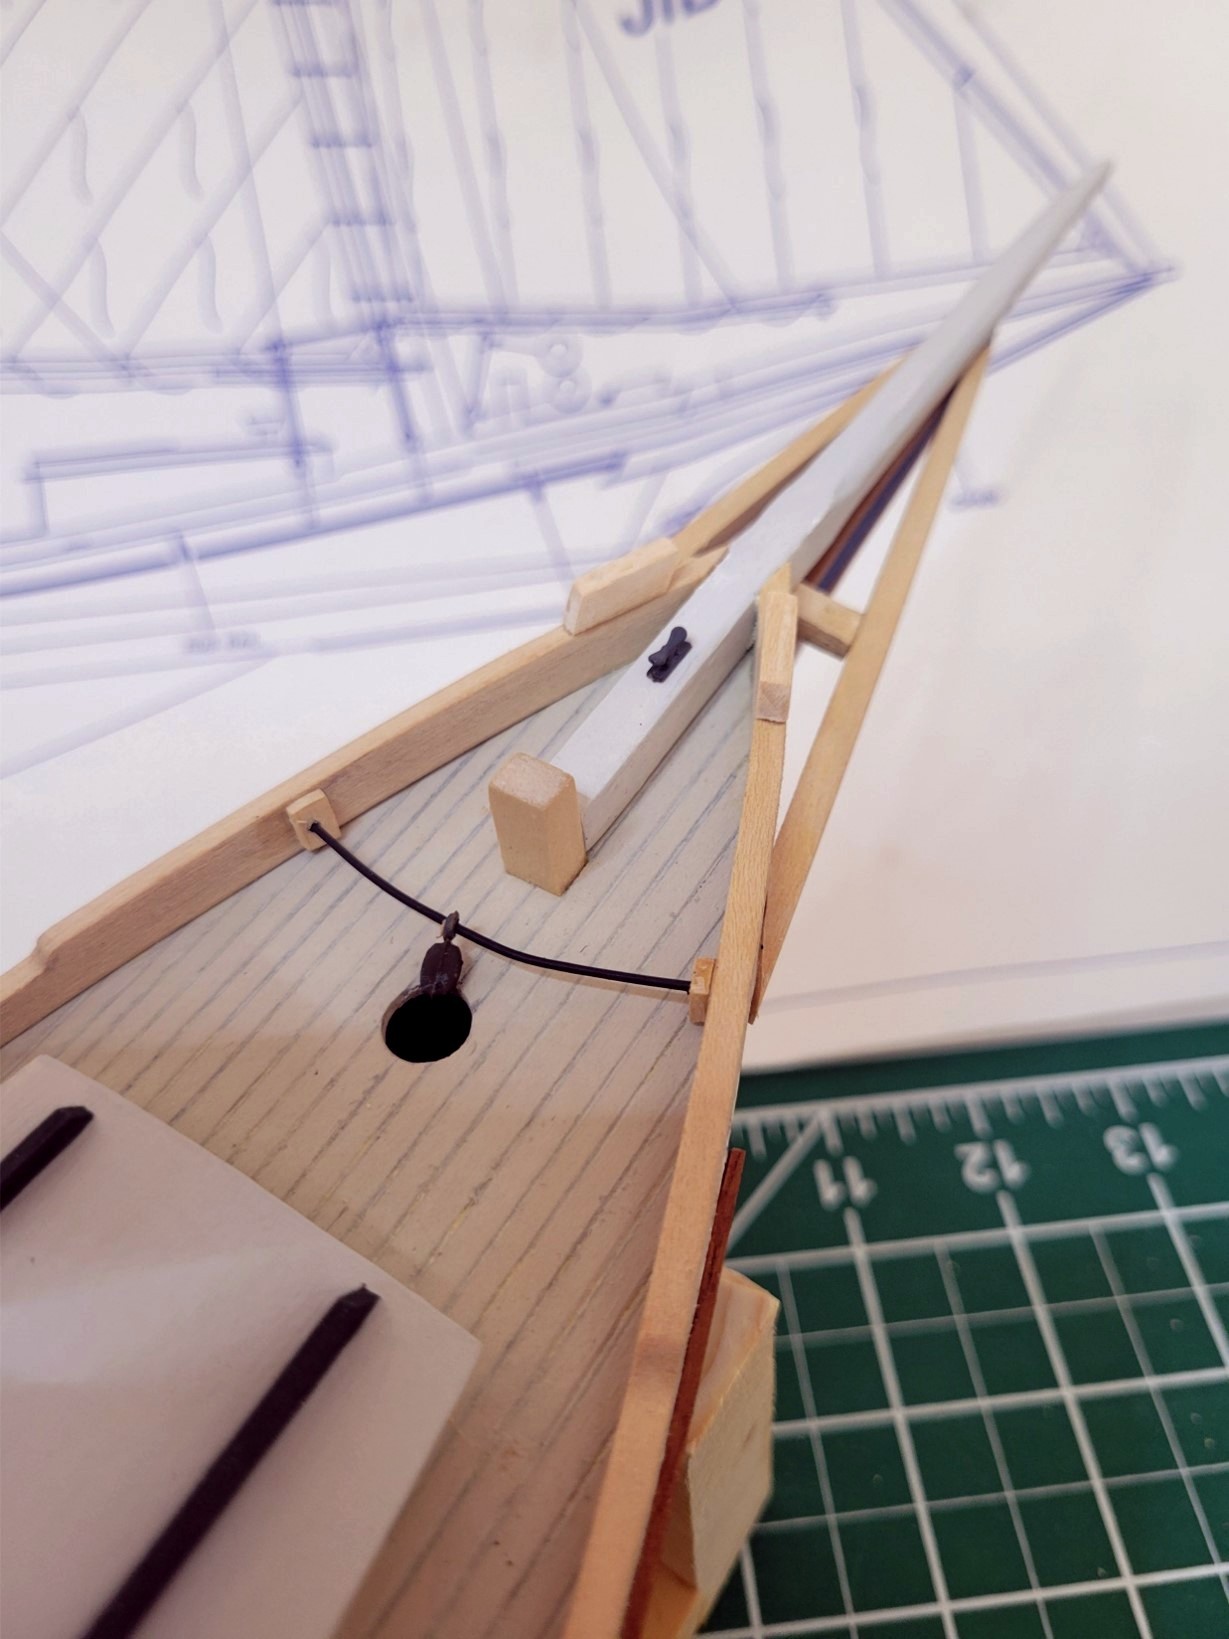
Stepping the Mast
The deck collar was not in the instructions, but I felt it was needed. I took a appropriate thickness of scrap wood, coated both sides with thin super glue and let it soak in, to prevent splitting. I then drilled and carved it.
The instructions said to glue the mast, but I feel the fit was tight enough that it did not need glue. It will make any future repairs easier too.
I could not find any coins small enough to fit under the mast 🙂

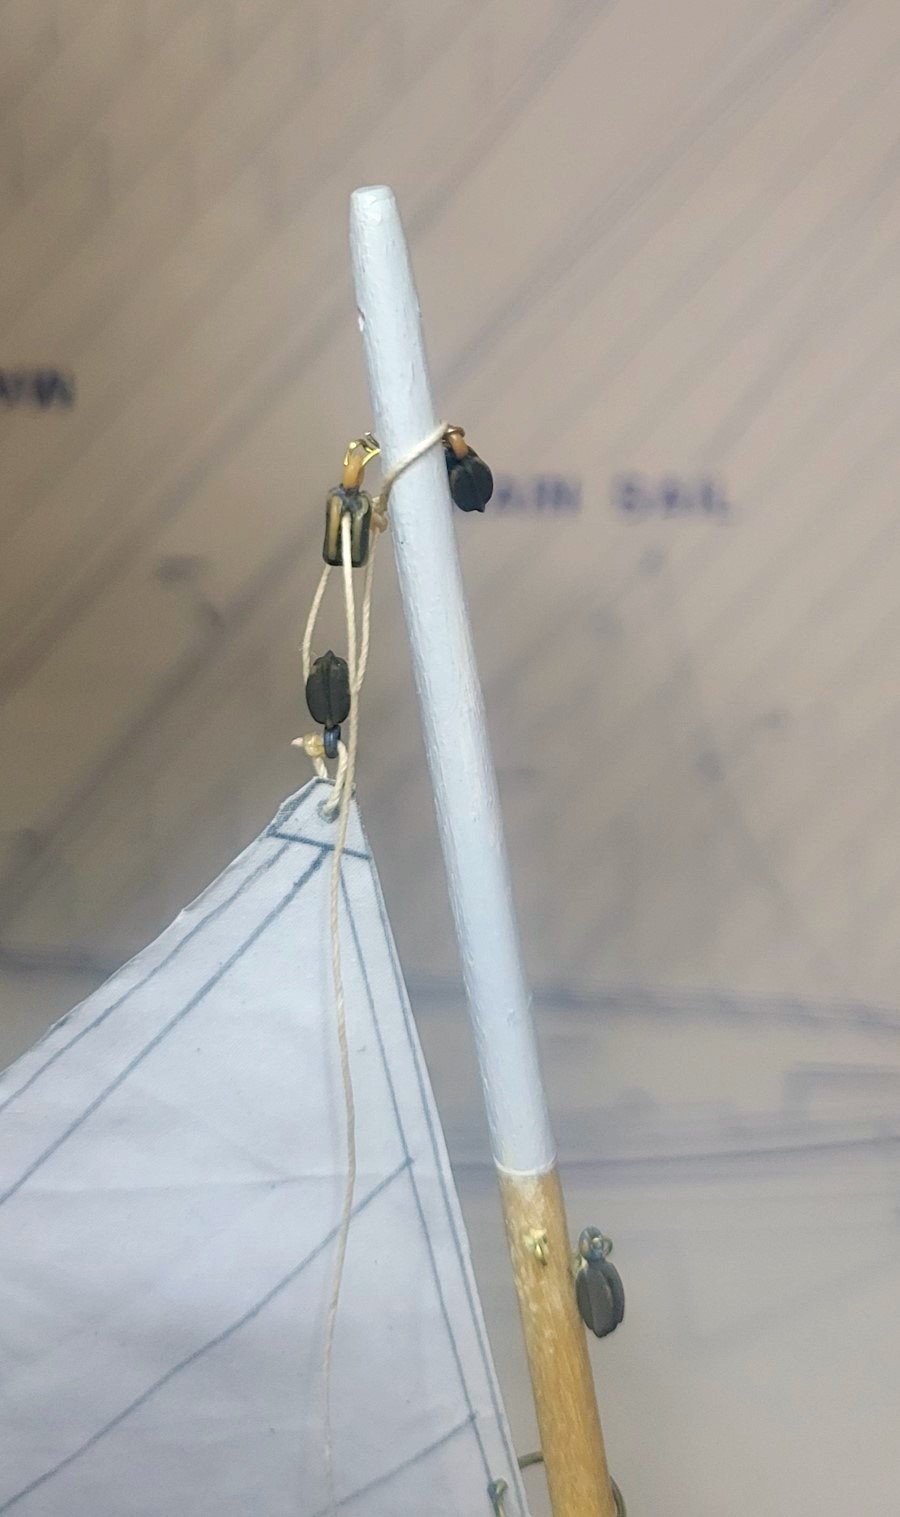
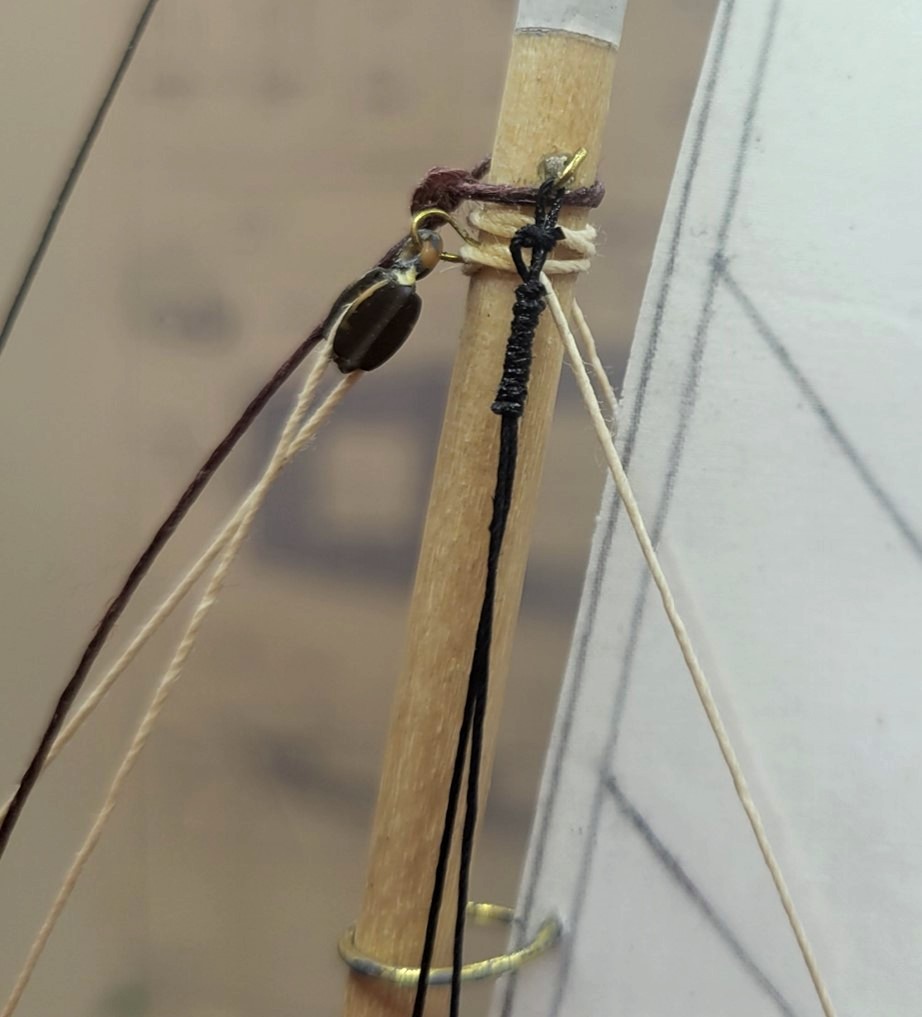
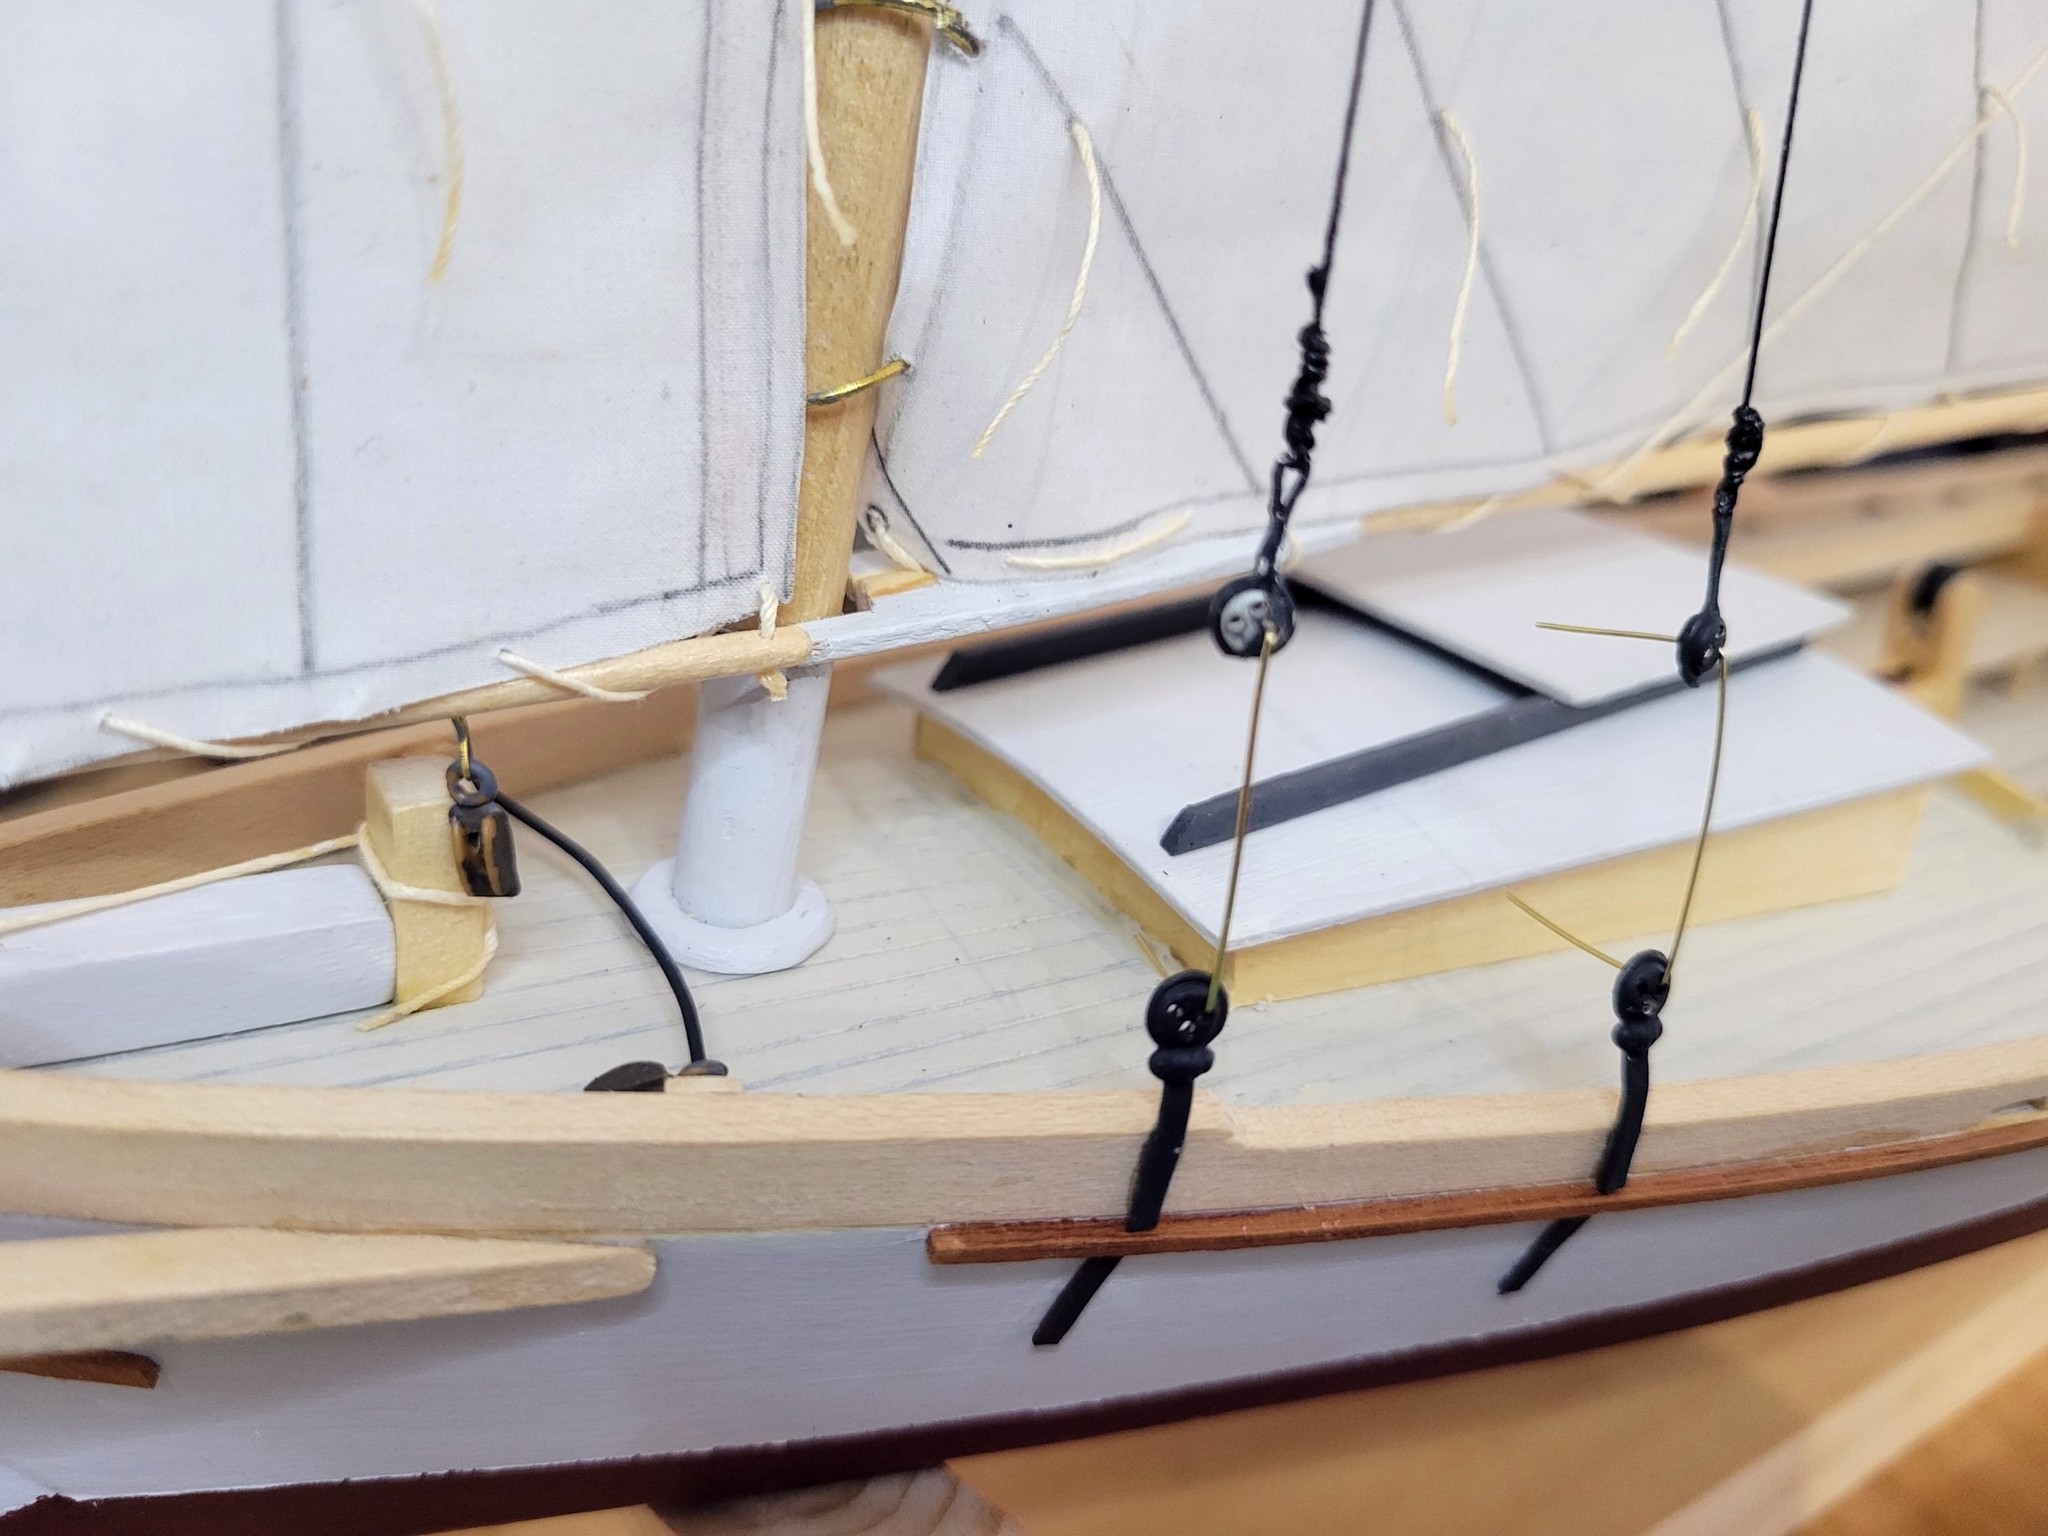
Blocks and Fittings
I did not like the rust-red blocks, so I painted them brown and gray. The paint did not stick well to the plastic, so they came out weathered.
The instructions said to glue the boom bail to the top of the boom jaw. I thought that would look poor so I drilled holes for the bail to go into the jaw

Jib
The directions called for using the thin black cord for the stay. It looked too small to me and I thought it should be thicker than the other places that called for the black cord, so I used some brown cord I had on hand.

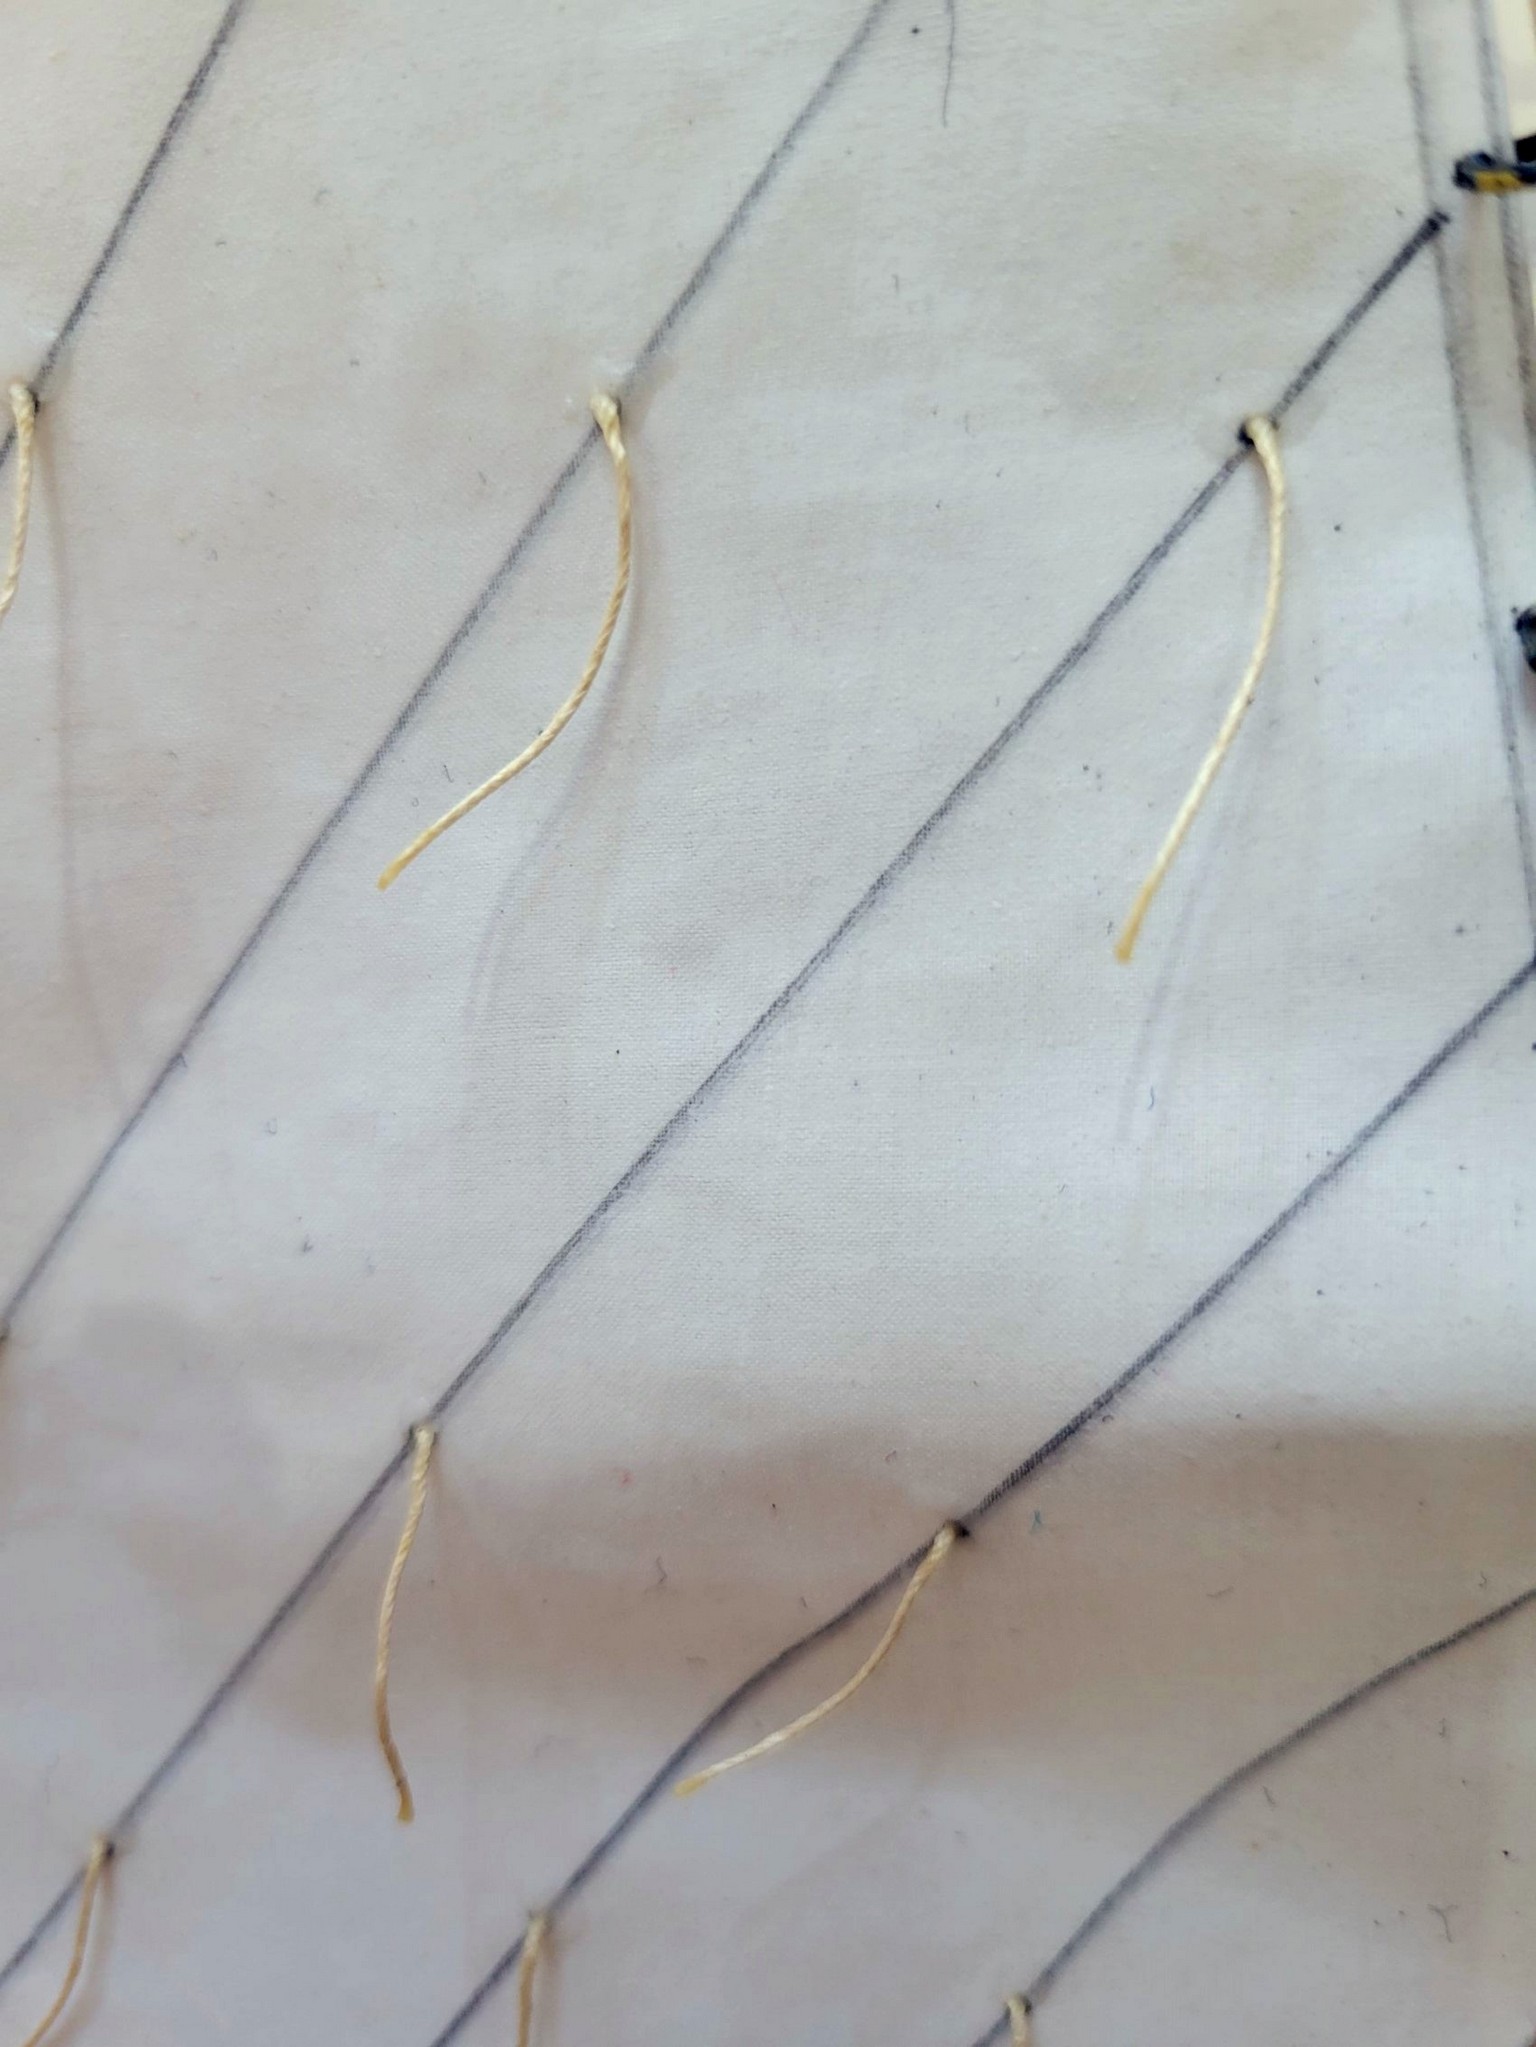
Reefing Lines
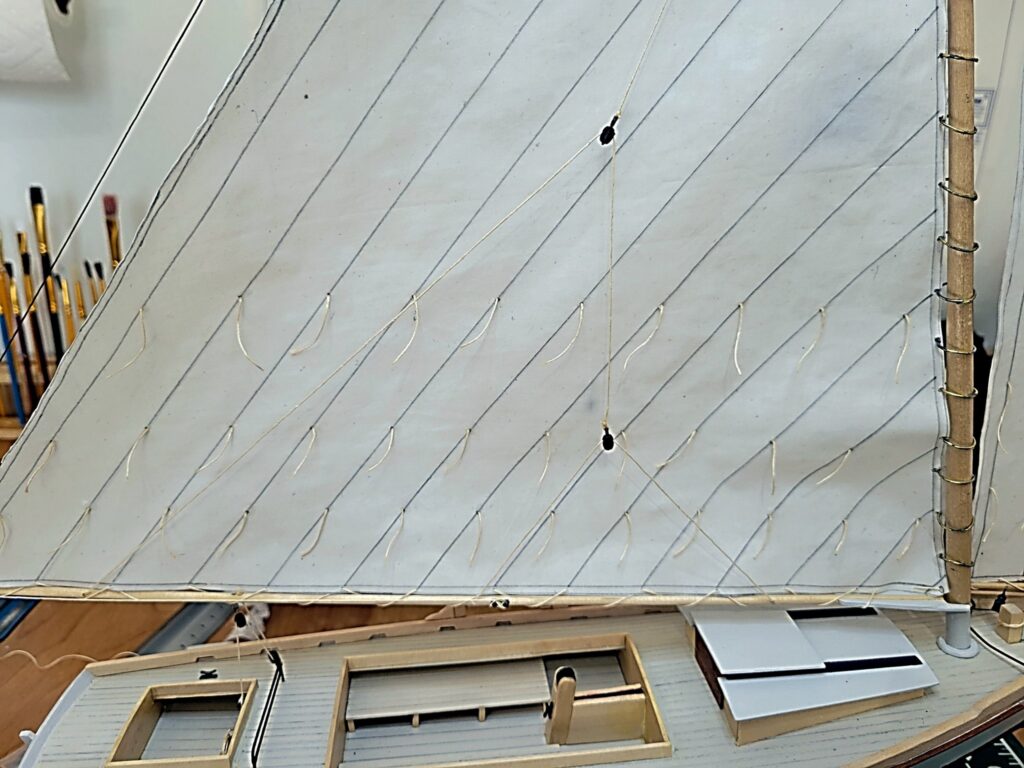
The instructions called for gluing 1” lines to each side of the sail. I decided it would be better to drill the marks and insert a 2” line with 1” hanging out each side. I also decided that the two lower rows or reefing lines on the mainsail would look too long based on the spacing so they are ¾” per side.
Lifts
Shrouds
A trick for the dead eyes, picked up from Ship Modeling Simplified, by Frank Mastini:
Bend wire into a open rectangle of the required distance and insert into the dead eyes to get the required spacing.
Instead of two 15 inch cables, I cut a 30 inch cable put on one deadeye and used the spacer ran it up to the mast and down to where I put on the other deadeye using the spacer.
Rudder
The instructions called for gluing the rudder to the stern post, but I wanted it more realistic and the tiller now moves the rudder.

Bowsprit Guys

Looking at pictures of real skipjacks, I noticed that the bow sprit guys were actually chain, so I substituted chain and turnbuckles for the rope.
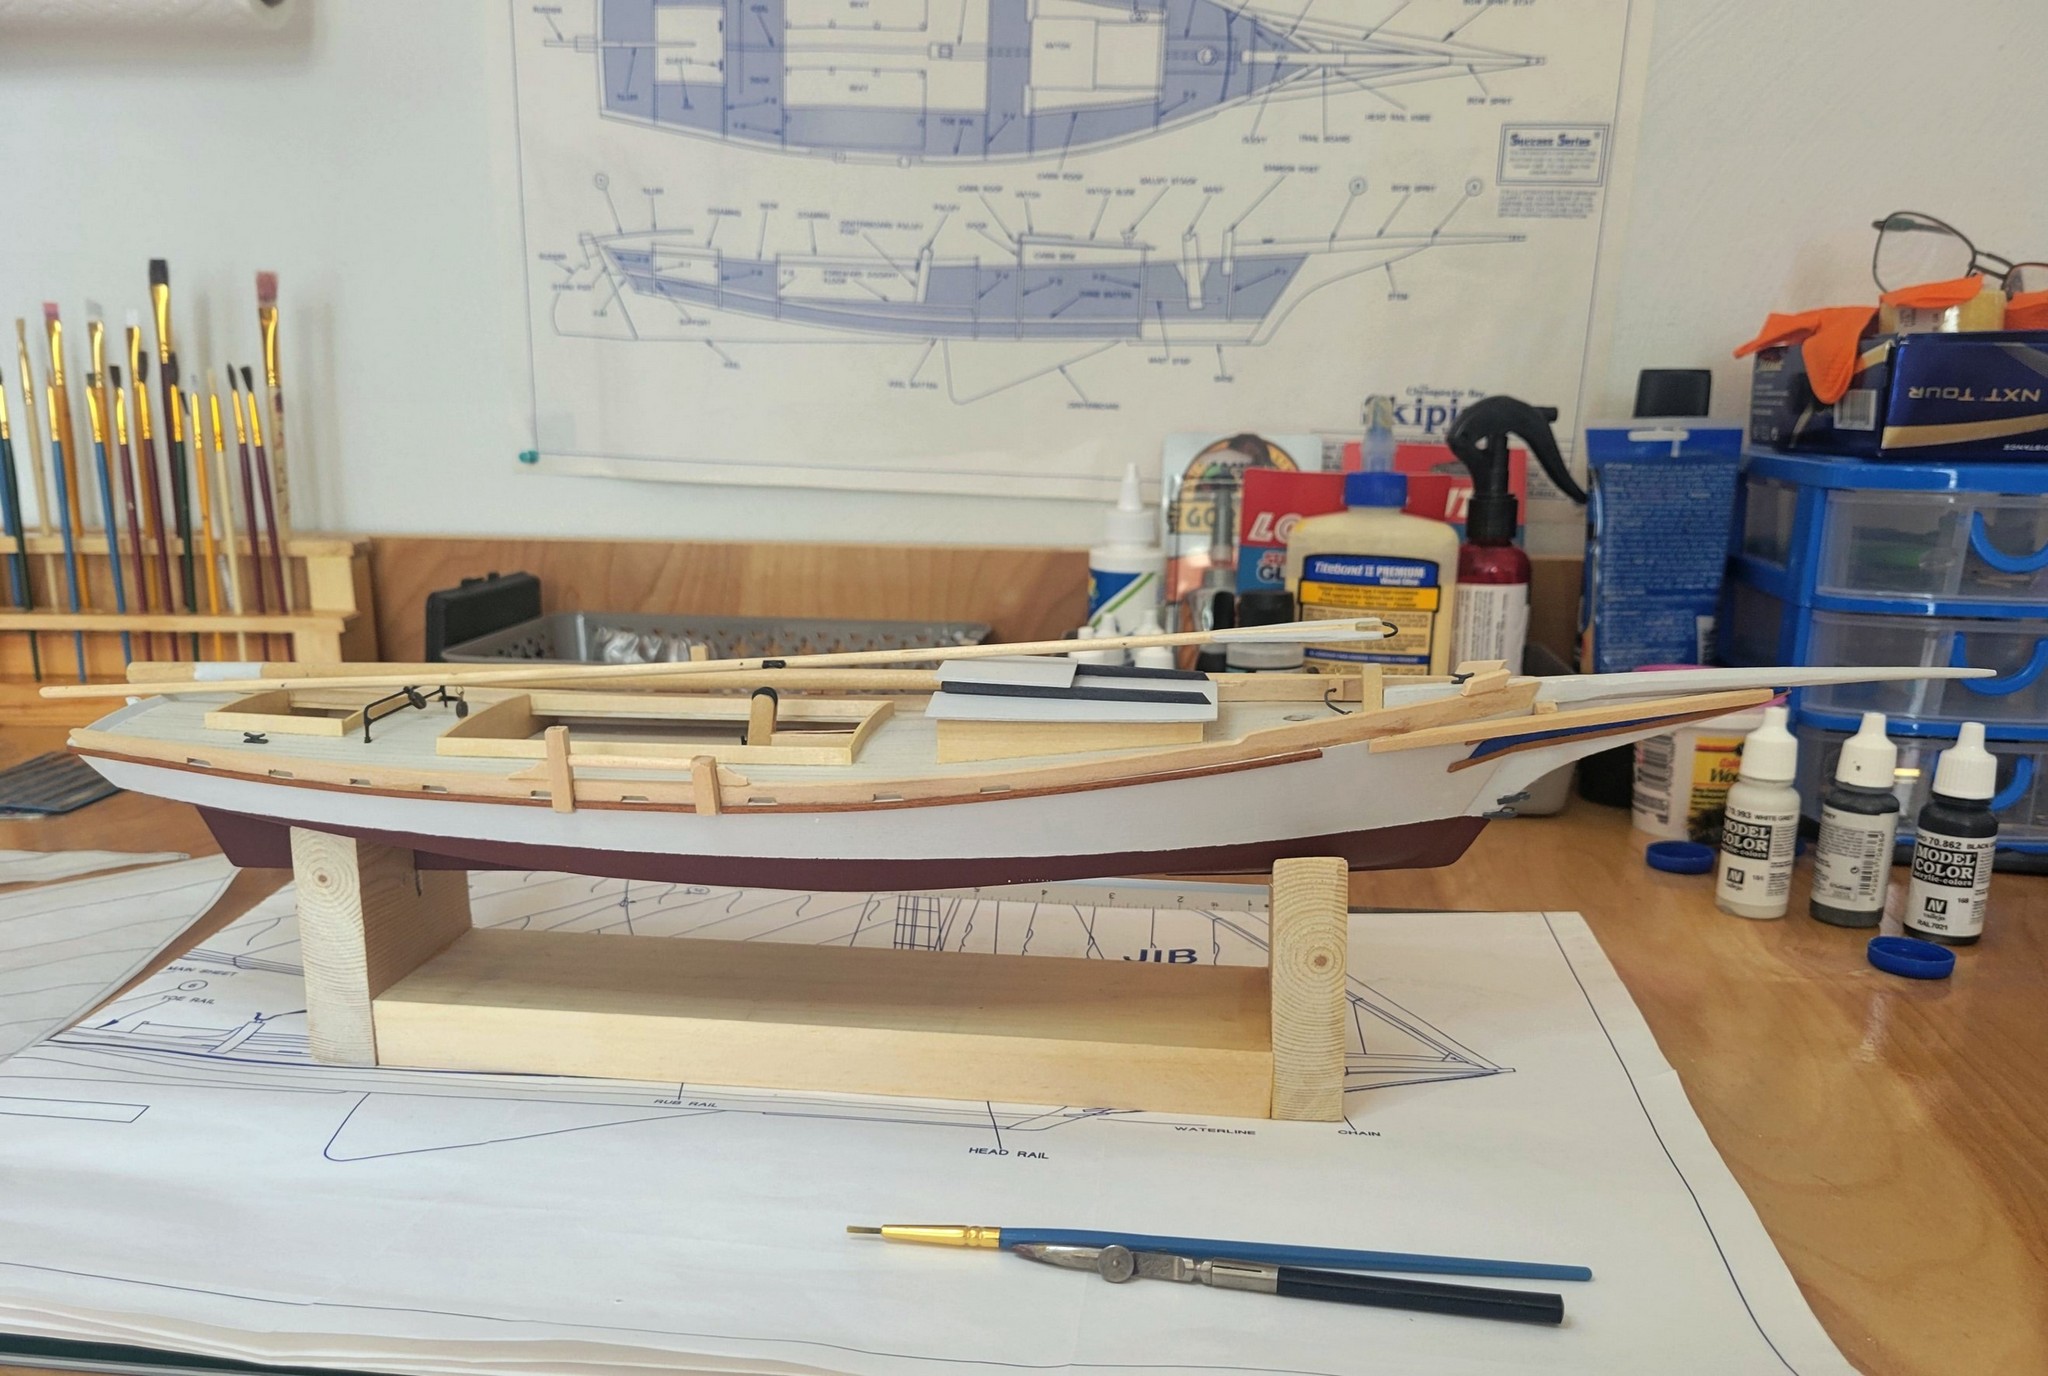
Display Stand
In the foreground of the picture including the model is the stand I made 1x8x24 oak and plexiglass from Lowe’s. In the center of the same image are the supports that came with the kit, which split along the grain with even the lightest of handling. I traced the originals on the plexi and cut with a jewelers saw. I narrowed the width of the forward support.
That concludes the build log! Go back to the top to see the finished model.